Download
1 / 5
50 likes | 366 Vues
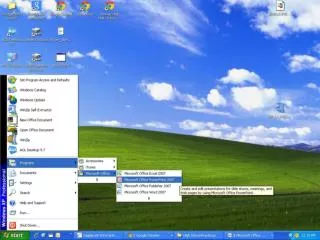
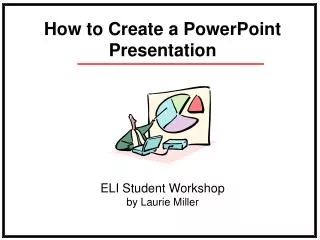
Learning how to create hypermedia PowerPoint through a PowerPoint hypermedia. Do not begin Slide Show. Stay in normal view for now. Step 1: Click or scroll down and read the 2 nd slide. Step 2: Click here to check your link .

E N D
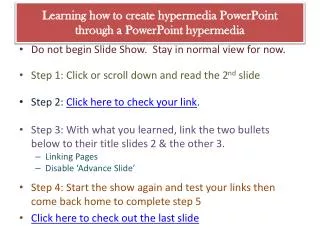
Learning how to create hypermedia PowerPoint through a PowerPoint hypermedia • Do not begin Slide Show. Stay in normal view for now. • Step 1: Click or scroll down and read the 2nd slide • Step 2: Click here to check your link. • Step 3: With what you learned, link the two bullets below to their title slides 2 & the other 3. • Linking Pages • Disable ‘Advance Slide’ • Step 4: Start the show again and test your links then come back hometo complete step 5 • Click here to check out the last slide
Linking Pages using “Buttons” • This is easy. Click on the “Insert” tab from the toolbar at the top. • Either highlight the word(s) or select the object you want to use as a button. Try it with this arrow. Select it then- • Click on “Action” from the toolbar. • Select “Hyperlink to” – scroll down to “Slide…” and choose 4. The Green Arrow • Click OK • Staying in normal view , click on or scroll down to slide 3. Read and follow the directions.
Disable Advance Slide • By doing this, slides will not advance by clicking the screen. Users will have to use the links you make! • Click on the “Animations” tab on the top toolbar. • On the far right under “Advance Slide” UNcheck the box “On Mouse Click” • To the left of that, click on “Apply to All” • Next, click on the “Slide Show” tab and select “From Beginning” then follow Step #2 HOME
The Green Arrow • If you have successfully linked the green arrow to this page…Congratulations! • Next, hit ESC to end the slide show • Create a link with the arrow below that goes back to the first page. • Then scroll up to the first page and follow Step 3. HOME
Linking to Websites • Not only can you link pages, but you can add links to websites. • Instead of showing the long messy address such as • http://ees.as.uky.edu/educational-materials • You can embed that link to a word or picture just like you did to link pages. Let’s try linking it with words this time. Press ESC to end show. • Highlight the website address above and use the key command “Ctrl + C” • Highlight this title in blue font: Weathering & Erosion Animations • Click on the “Insert” tab from the toolbar at the top. • Click on “Action” from the toolbar. • Select “Hyperlink to” – scroll down to “URL…” • Use the key command “Ctrl + V” to paste the address. • Click OK • Start the slide show to check your link