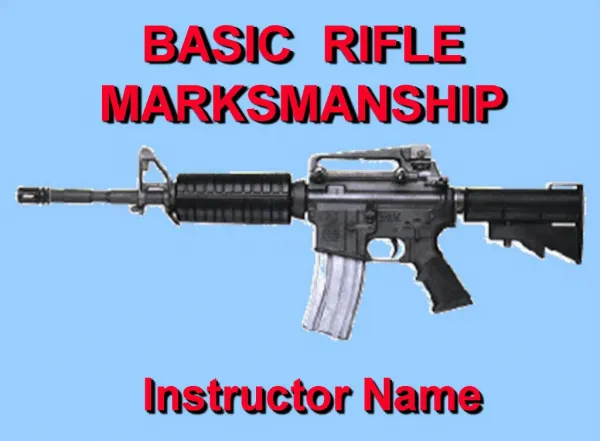
The Principles of Marksmanship Instruction
140 likes | 406 Vues
The Principles of Marksmanship Instruction. Principles of Marksmanship Instruction. Principles that should be the foundation of all marksmanship instruction Principles focused on developing the best and most effective teaching methods for new shooters Principles that help new shooters:

The Principles of Marksmanship Instruction
E N D
Presentation Transcript
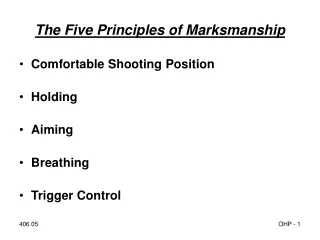
Principles of Marksmanship Instruction • Principles that should be the foundation of all marksmanship instruction • Principles focused on developing the best and most effective teaching methods for new shooters • Principles that help new shooters: • Learn rifle target skills more quickly and effectively • Establish a foundation for their future development regardless of their personal goals • Enjoy their marksmanship experience more • Are more likely to become life-long participants
#1: Teach Safety First, Last and Always • Safety instruction and discipline must be part of all shooting activities • Keep safety simple, not complex • Focus on critical performance factors: Muzzle, Action, Trigger, Target • Real safety requires practice, not justintellectual awareness • Continue safety emphasis at all levels
#2: Start with the Most Appropriate Rifle • Rifles must be appropriate for the age, physical size and maturity of the junior • Junior must handle rifle comfortably and safety • Rifle must offer appropriate competition opportunity • Advance junior to another rifle when they are ready 10-13 years 12-15 years 13-16 years 13-18 years
#3: Use the Correct Stock Length • A rifle that is too long (or too short) cannot be handled comfortably • Have stocks of variable lengths available • Fit stocks to individual shooters • Shorter stock lengths facilitate ease of handling, better rifle control, better positions.
#4: Use Big Targets Start with a target big enough to contain all well-executed shots. Misses are negative—hits are positive. Graduate to the official target when shot groups merit advancement
#5: Work Ethic and Interest are Keys • Shooting is a motor skill developed through correct repetitions • Natural ability has little or nothing to do with shooting advancement • Some shooters do poorly at first—some do well—neither is an indication of ultimate success • Continue to encourage every shooter in your program
#6: Present Shooting as an Olympic Sport The Olympic dream, with its imagery, idealism and world-wide stature, is the single most important attractor that shooting has for youth.
#7: At First, Teach Only Key Points • Introduce new positions by presenting the fewest teaching points needed • Teach only key points for each position—standing key points shown on right: • Common mistakes: • Teaching the whole clinic—to much information • Teaching nothing or teaching the wrong key points #3—head up/rifle up, achieved with correct support hand position #2—place elbow/arm on side, keep elbow under rifle #1—turn body 90º, stand with side to target
#8: Use the Step Method • Use the “Step Method” to teach new shooting positions • Teaching steps: • Body position only--without the rifle • Position with the rifle—without the sling (sling positions—always find hand stop position before adding sling) • Position with the rifle and the sling • Go back to step method to correct serious position problems STEP B STEP A STEP C
#9: Add Details One at a Time #9/10—pre-shot balance/relaxation checks #7—head position • Refine and improve positions by teaching one new teaching point at a time • Shooters can only master one new thing at a time • Teach—practice—automate—teach again • A teaching progression for standing is shown on the right: #6-Right hand and arm #1—correct hand position #4—hip under rifle, hip angle #5—full relaxation of arm before each shot #3—legs straight & relaxed #2—Foot position, body-target angle
#10: Keep It Positive, Supportive, Enjoyable • Apply corrections calmly & quietly—stay in control • Give positive corrections—highlight the correct action, not the incorrect one • Accept every participant as a person of worth and potential • Young people, discipline, challenges and fun do go together
#11: It’s Positive Repetitions—Not Magic • Shooting ability is developed through positive repetitions—correctly executed position, shots and techniques • Believe in training--minimize changes or experimenting—there are no secrets or magic answers • Use a shooters diary to understand, master and reinforce positive repetitions
#12: Stress Shooters’ Growth, Not Winning • Keep the emphasis on the shooters and their growth not on winning. • Respect every shooter’s goals • Make sure shooting’s life skills live in your program: • Self control, self discipline, emotional control • Concentration skills, goal-setting, achievement • Fairplay, teamwork, leadership • Rewards of hard work, training and competition