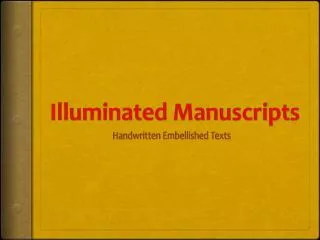
Illuminated Letters
60 likes | 255 Vues
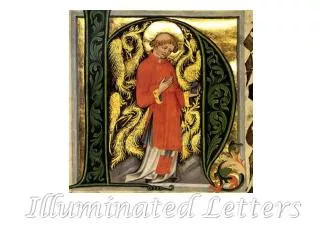
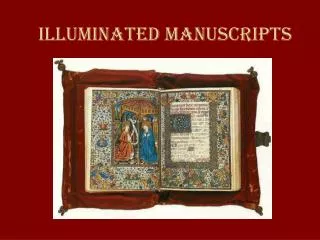
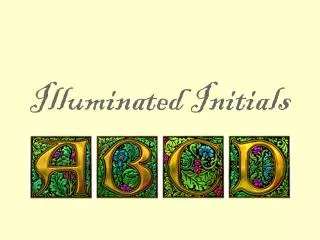
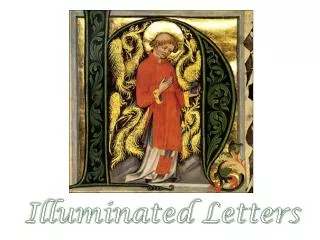
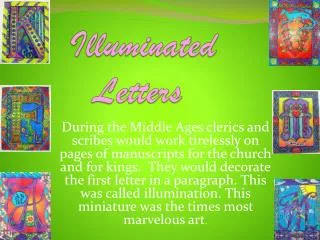
Illuminated Letters . During the Middle Ages clerics and scribes would work tirelessly on pages of manuscripts for the church and for kings. They would decorate the first letter in a paragraph. This was called illumination. This miniature was the times most marvelous art .

Illuminated Letters
E N D
Presentation Transcript
Illuminated Letters During the Middle Ages clerics and scribes would work tirelessly on pages of manuscripts for the church and for kings. They would decorate the first letter in a paragraph. This was called illumination. This miniature was the times most marvelous art.
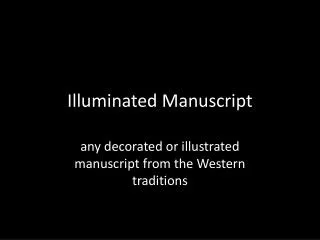
An illumination is an EMBELLISHMENT, or additional decoration that enhances the pages of a written, or manuscript page. • The term, Illumination comes from the term Illuminate, or to fill with light. This effect is achieved with the application of gold leaf to the letters and images, which reflect light and appear to glow.
Procedures • Choose a letter to work with. This could be the first letter of your first or last name. • Check out some of the lettering styles in some of the handouts. • Decide on some images that will surround the letters. Usually, illuminated letters have floral decoration or animals such as serpents and dragons. • After the design is complete, use a dark marker to go around the outside of the letter and image.
Transfer the image on to good drawing paper using the light table or window. Draw a line on both sides of the black line. This will create a space in between each shape. This space should be kept blank while each shape is filled with crayon. • Apply thick and rich crayon in all of the shapes. • After the image is completely colored in you will fill in the spaces with watered down black tempera paint. • Your crayon colors will pop and • illuminate!!!