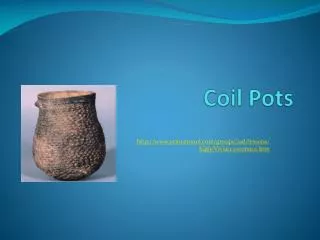
Coil Assignment
Coil Assignment. Learn how to hand build by a method that allows for essentially any size or form. Learn to design pottery without the use of the potter’s wheel or slab construction.

Coil Assignment
E N D
Presentation Transcript
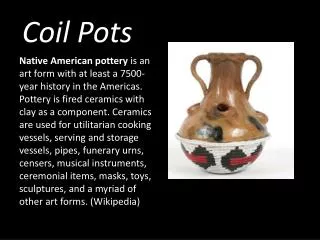
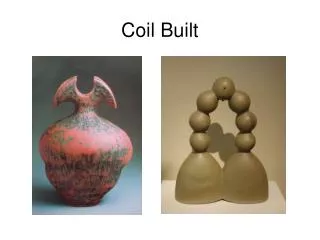
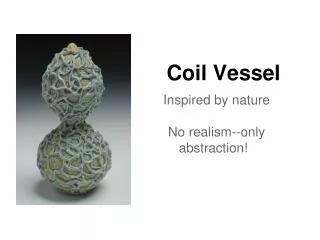
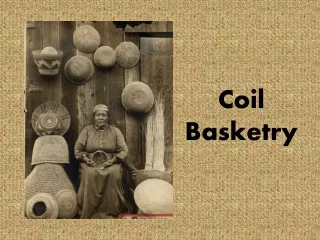
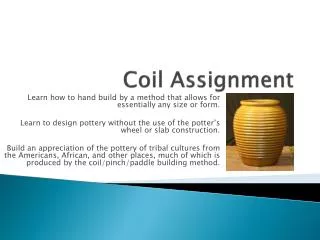
Coil Assignment Learn how to hand build by a method that allows for essentially any size or form. Learn to design pottery without the use of the potter’s wheel or slab construction. Build an appreciation of the pottery of tribal cultures from the Americans, African, and other places, much of which is produced by the coil/pinch/paddle building method.
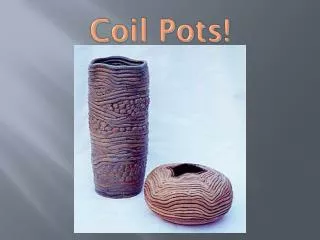
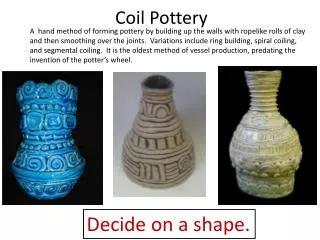
Final Product Design Limitations • For the first piece made by this method the final product is to be an essentially closed form with one or more small opening(s). • Total height no larger than 12 inches, not shorter than 10 inches. • Width should be no wider than 8 inches. • The final surface is to be uniform with no lumps of hollow divots on or in the surface. • It is to be decorated before bisque firing. • Make a form that would not be easier to make with slabs or with s potter’s wheel • List your own interests and incorporate something personal in the design piece.
How to get Form and Decoration Ideas Use the following as ways of thinking but not rules or limits • Think of it as an organic form. Think of natural forms from the animal and plant world. Think of microscopic forms, undersea forms, fantastic forms, and so on… • Think of gracefully moving form. • Make sketches to develop ideas. • List your own favorite animals seeds, foods, plants, sea life, parts of human body, and so on… • Make a personal relate it to secret interest of yours. • Make it non-functional or functional, but not something commonly used this way. • Keep it secret and decide how literal you want to make it. • Title it with a made-up word, real words, or a number.
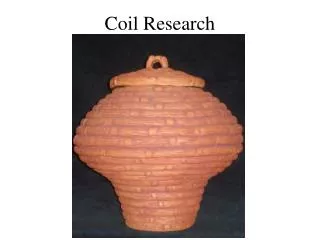
Surface Decoration Ideas and methodsIt may be decorated by any of the following, but is is to be secorated before bisque firing. • Have parts smooth and some parts textured. • Carve a linear or a repeat pattern design in the surface. • Have some parts burnished (polished) and some parts dull. • Use a stamp that you design and made. • Use graffito (scratched line through slip) or mishma (slip inside the scratches or texture) • Paint a design with slip. • Print a slip design on it with a foam stamp you made. • Inlay a contrasting colored clay in the surface. • Make it between 3/16th and 3/8 inch thick with uniform thickness throughout, using the thinner wall for a small piece or the thicker wall for a larger piece
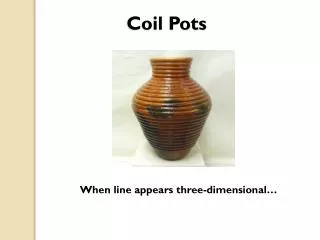
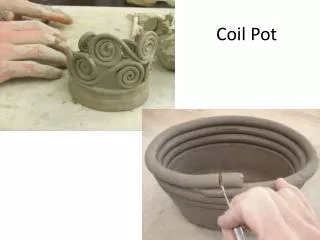
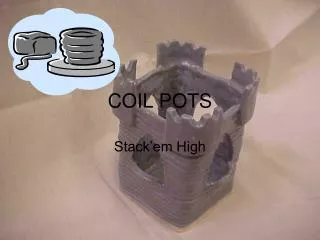
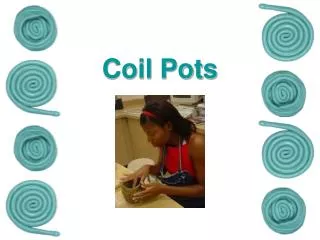
Construction Method • Step 1: Use a pinch pot bowl form or slab as the base and add coils by pinching them (laminating them) to the top until form is complete. • Step 2: Do not stack and join the coils on top of each other for this piece. • Pinch coils to the inside or outside of the top of the vessel. • Score, Slip, and Smooth coils together. Pinching raises the wall each time a new coil is added. Use all 8 fingers surrounding the work and the thumbs inside the piece so you can control the size of the circumference of the piece. • Turn the Piece as you work. • Do not let it get wider than you want it. • Use your pattern to control the shape of the pot.
Construction Method • Step3: Stop working before the piece begins to sag and let dry from the bottom up so it will support the weight of more added clay. • Wrapping the top tightly but leaving the bottom slightly exposed overnight may achieve this condition. • Step 4: When adding soft clay to a piece that has begun to harden you must pinch the harder top edge thin so the new soft clay can wrap over the top edge and be pinched on from both the inside and the outside. • Score and add thick slip (form the bottom of a throwing container) to the harder clay surfaces before wrapping the soft clay over the edge. When work is continued, add clay until it again seems too soft to keep the form you want.
Construction Method • Step 5: Finish the bottom portion first and smooth it with a paddle and scrapper before it is dryer than leather hard. • Step 6: Smooth and decorate • Step 7: Let Bisque Dry • Step 8: Bisque Fire • Step 9: Glaze with contrasting colors • Step 10: Glaze Fire
Hygienic Work Habits • No Sanding or Scrapping dry clay because clay dust is harmful to breathe. • Please know Hazards for you own protection, protection of others in the class, and that of people who may use your pottery. • For example, the free silica ion in the clay can cause fatal respiratory illness (silicosis) if breathed too much over a periods of time.