Poster Basics – Poster Layout
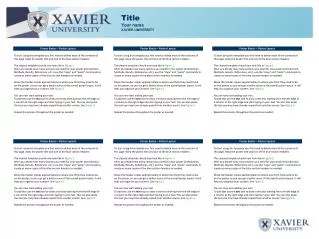
Title Your name XAVIER UNIVERSITY. Poster Basics – Poster Layout. Poster Basics – Poster Layout. Poster Basics – Poster Layout.

Poster Basics – Poster Layout
E N D
Presentation Transcript
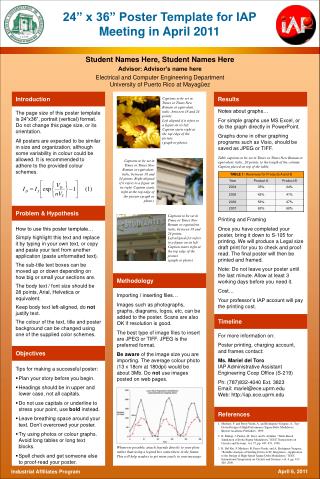
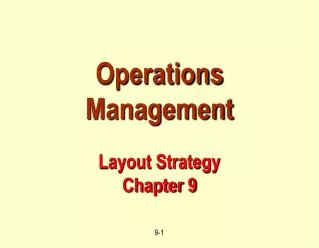
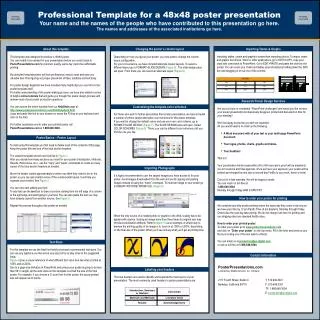
Title Your name XAVIER UNIVERSITY Poster Basics – Poster Layout Poster Basics – Poster Layout Poster Basics – Poster Layout To start using this template you first need to delete most of the contents of this page. Keep the poster title and one of the blue section headers.The cleared template should now look like in Figure 1. After you decide how many sections you need for your poster (Introduction, Methods, Results, References, etc.), use the “copy” and “paste” commands to create as many copies of the blue section headers as needed.Move the header copies approximately to where you think they need to be on the poster, so you can get a better sense of the overall poster layout. It will help you organize your content. See Figure 2. You can now start adding your text. To add text use the text tool to draw a text box starting from the left edge of a column to the right edge and start typing in your text. You can also paste the text you may have already copied from another source. See Figure 3.Repeat the process throughout the poster as needed. To start using this template you first need to delete most of the contents of this page. Keep the poster title and one of the blue section headers.The cleared template should now look like in Figure 1. After you decide how many sections you need for your poster (Introduction, Methods, Results, References, etc.), use the “copy” and “paste” commands to create as many copies of the blue section headers as needed.Move the header copies approximately to where you think they need to be on the poster, so you can get a better sense of the overall poster layout. It will help you organize your content. See Figure 2. You can now start adding your text. To add text use the text tool to draw a text box starting from the left edge of a column to the right edge and start typing in your text. You can also paste the text you may have already copied from another source. See Figure 3.Repeat the process throughout the poster as needed. To start using this template you first need to delete most of the contents of this page. Keep the poster title and one of the blue section headers.The cleared template should now look like in Figure 1. After you decide how many sections you need for your poster (Introduction, Methods, Results, References, etc.), use the “copy” and “paste” commands to create as many copies of the blue section headers as needed.Move the header copies approximately to where you think they need to be on the poster, so you can get a better sense of the overall poster layout. It will help you organize your content. See Figure 2. You can now start adding your text. To add text use the text tool to draw a text box starting from the left edge of a column to the right edge and start typing in your text. You can also paste the text you may have already copied from another source. See Figure 3.Repeat the process throughout the poster as needed. Poster Basics – Poster Layout Poster Basics – Poster Layout Poster Basics – Poster Layout To start using this template you first need to delete most of the contents of this page. Keep the poster title and one of the blue section headers.The cleared template should now look like in Figure 1. After you decide how many sections you need for your poster (Introduction, Methods, Results, References, etc.), use the “copy” and “paste” commands to create as many copies of the blue section headers as needed.Move the header copies approximately to where you think they need to be on the poster, so you can get a better sense of the overall poster layout. It will help you organize your content. See Figure 2. You can now start adding your text. To add text use the text tool to draw a text box starting from the left edge of a column to the right edge and start typing in your text. You can also paste the text you may have already copied from another source. See Figure 3.Repeat the process throughout the poster as needed. To start using this template you first need to delete most of the contents of this page. Keep the poster title and one of the blue section headers.The cleared template should now look like in Figure 1. After you decide how many sections you need for your poster (Introduction, Methods, Results, References, etc.), use the “copy” and “paste” commands to create as many copies of the blue section headers as needed.Move the header copies approximately to where you think they need to be on the poster, so you can get a better sense of the overall poster layout. It will help you organize your content. See Figure 2. You can now start adding your text. To add text use the text tool to draw a text box starting from the left edge of a column to the right edge and start typing in your text. You can also paste the text you may have already copied from another source. See Figure 3.Repeat the process throughout the poster as needed. To start using this template you first need to delete most of the contents of this page. Keep the poster title and one of the blue section headers.The cleared template should now look like in Figure 1. After you decide how many sections you need for your poster (Introduction, Methods, Results, References, etc.), use the “copy” and “paste” commands to create as many copies of the blue section headers as needed.Move the header copies approximately to where you think they need to be on the poster, so you can get a better sense of the overall poster layout. It will help you organize your content. See Figure 2. You can now start adding your text. To add text use the text tool to draw a text box starting from the left edge of a column to the right edge and start typing in your text. You can also paste the text you may have already copied from another source. See Figure 3.Repeat the process throughout the poster as needed.