Download
1 / 24
270 likes | 693 Vues
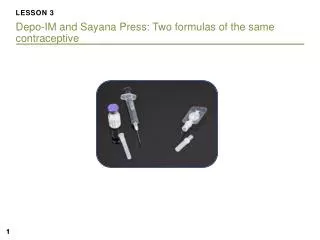
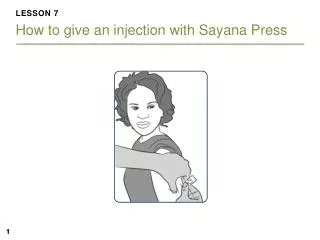
LESSON 7 How to give an injection with Sayana Press. LESSON 7 Learning objectives. Prepare the Uniject for injection. Identify the three appropriate injection site areas. Give an injection with Sayana Press in the correct way. Follow safe disposal methods. Cotton . Swabs.

E N D
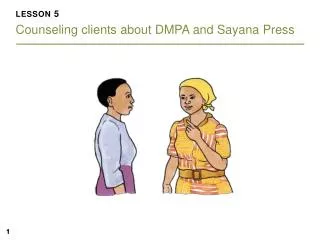
LESSON 7Learning objectives • Prepare the Uniject for injection. • Identify the three appropriate injection site areas. • Give an injection with Sayana Press in the correct way. • Follow safe disposal methods.
Cotton Swabs Prepare the supplies needed for injection Make sure that you have all the supplies and equipment you need.
Handwashing • Wash your hands after you have set out your supplies and before you give the injection. This helps prevent infection. • Wash your hands well with soap and water. • Let your hands air dry.
Choose an injection site Ask your client which site she prefers: in the back of the upper arm in the abdomen (not at the navel) on the front of the thigh
Clean the injection site if needed If the skin where you will give the injection is dirty, clean it with a cotton ball soaked in clean water.
Open the pouch • Check the expiration date on the pouch. • Open the foil pouch and remove the Uniject. • Make sure it is at room temperature.
Mix the solution • Hold the Uniject by the port. • Shake it vigorously for 30 seconds. • Check to make sure the solution is mixed and there is no damage or leaking.
Activate the Uniject • Push the needle shield into the port. • Continue to push firmly until the gap between the needle shield and port is closed. • Remove the needle shield. • Hold the Uniject by the port. • Keep the Uniject pointed upward during activation to prevent spilling the drug.
What is the gap? Drawing Gap Photograph Inside the Uniject (X-ray)
Why is it important to close the gap completely during activation? • The needle is pushed through a barrier that holds the DMPA. • The DMPA goes into the needle. • The injection will work. Gap is closed Gap is closed Photograph Inside the Uniject (X-ray)
What happens if the gap is not completely closed during activation? • The needle is only partly pushed into the barrier that holds the DMPA. • The DMPA cannot go into the needle • The injection will not work. Gap is only partly closed Gap is only partly closed Photograph Inside the Uniject (X-ray)
Gently pinch the skin at the injection site The pinch is important to make sure Sayana Press is injected into the fat, and not into the muscle.
Positioning the needle for injection • Insert straight into the skin at a downward angle. • A slight downward angle helps prevent injection of air. • Needle should never be pointed upward during injection.
Insert the needle (arm) • Hold port while inserting. • Insert at a downward angle. • Port should touch the skin.
Insert the needle (abdomen) • Hold port while inserting. • Insert at a downward angle. • Port should touch the skin. • Avoid the navel.
Insert the needle (thigh) • Hold port while inserting. • Insert at a downward angle. • Port should touch the skin.
Squeeze the reservoir • Squeeze the reservoir slowly—5 to 7 seconds. • Do not clean or massage the site after injecting.
Discard the Uniject • Place in safety box. • Do not replace the needle shield onto the Uniject.
GROUP ACTIVITYPractice giving injections on models Follow the instructions on the “Sayana Press Injection Job Aid for Providers.”
PARTICIPANT DEMONSTRATION 1Giving Sayana Press Instructions: • Select two volunteers. • Show the three locations where a Sayana Press injection can be given. • With a capped Uniject, show where the needle will be inserted and how it will be angled.
PARTICIPANT DEMONSTRATION 2Giving Sayana Press Instructions: • Select a volunteer. • Describe the process of giving an injection with Sayana Press while showing it on a practice injection arm. • Repeat with another volunteer.