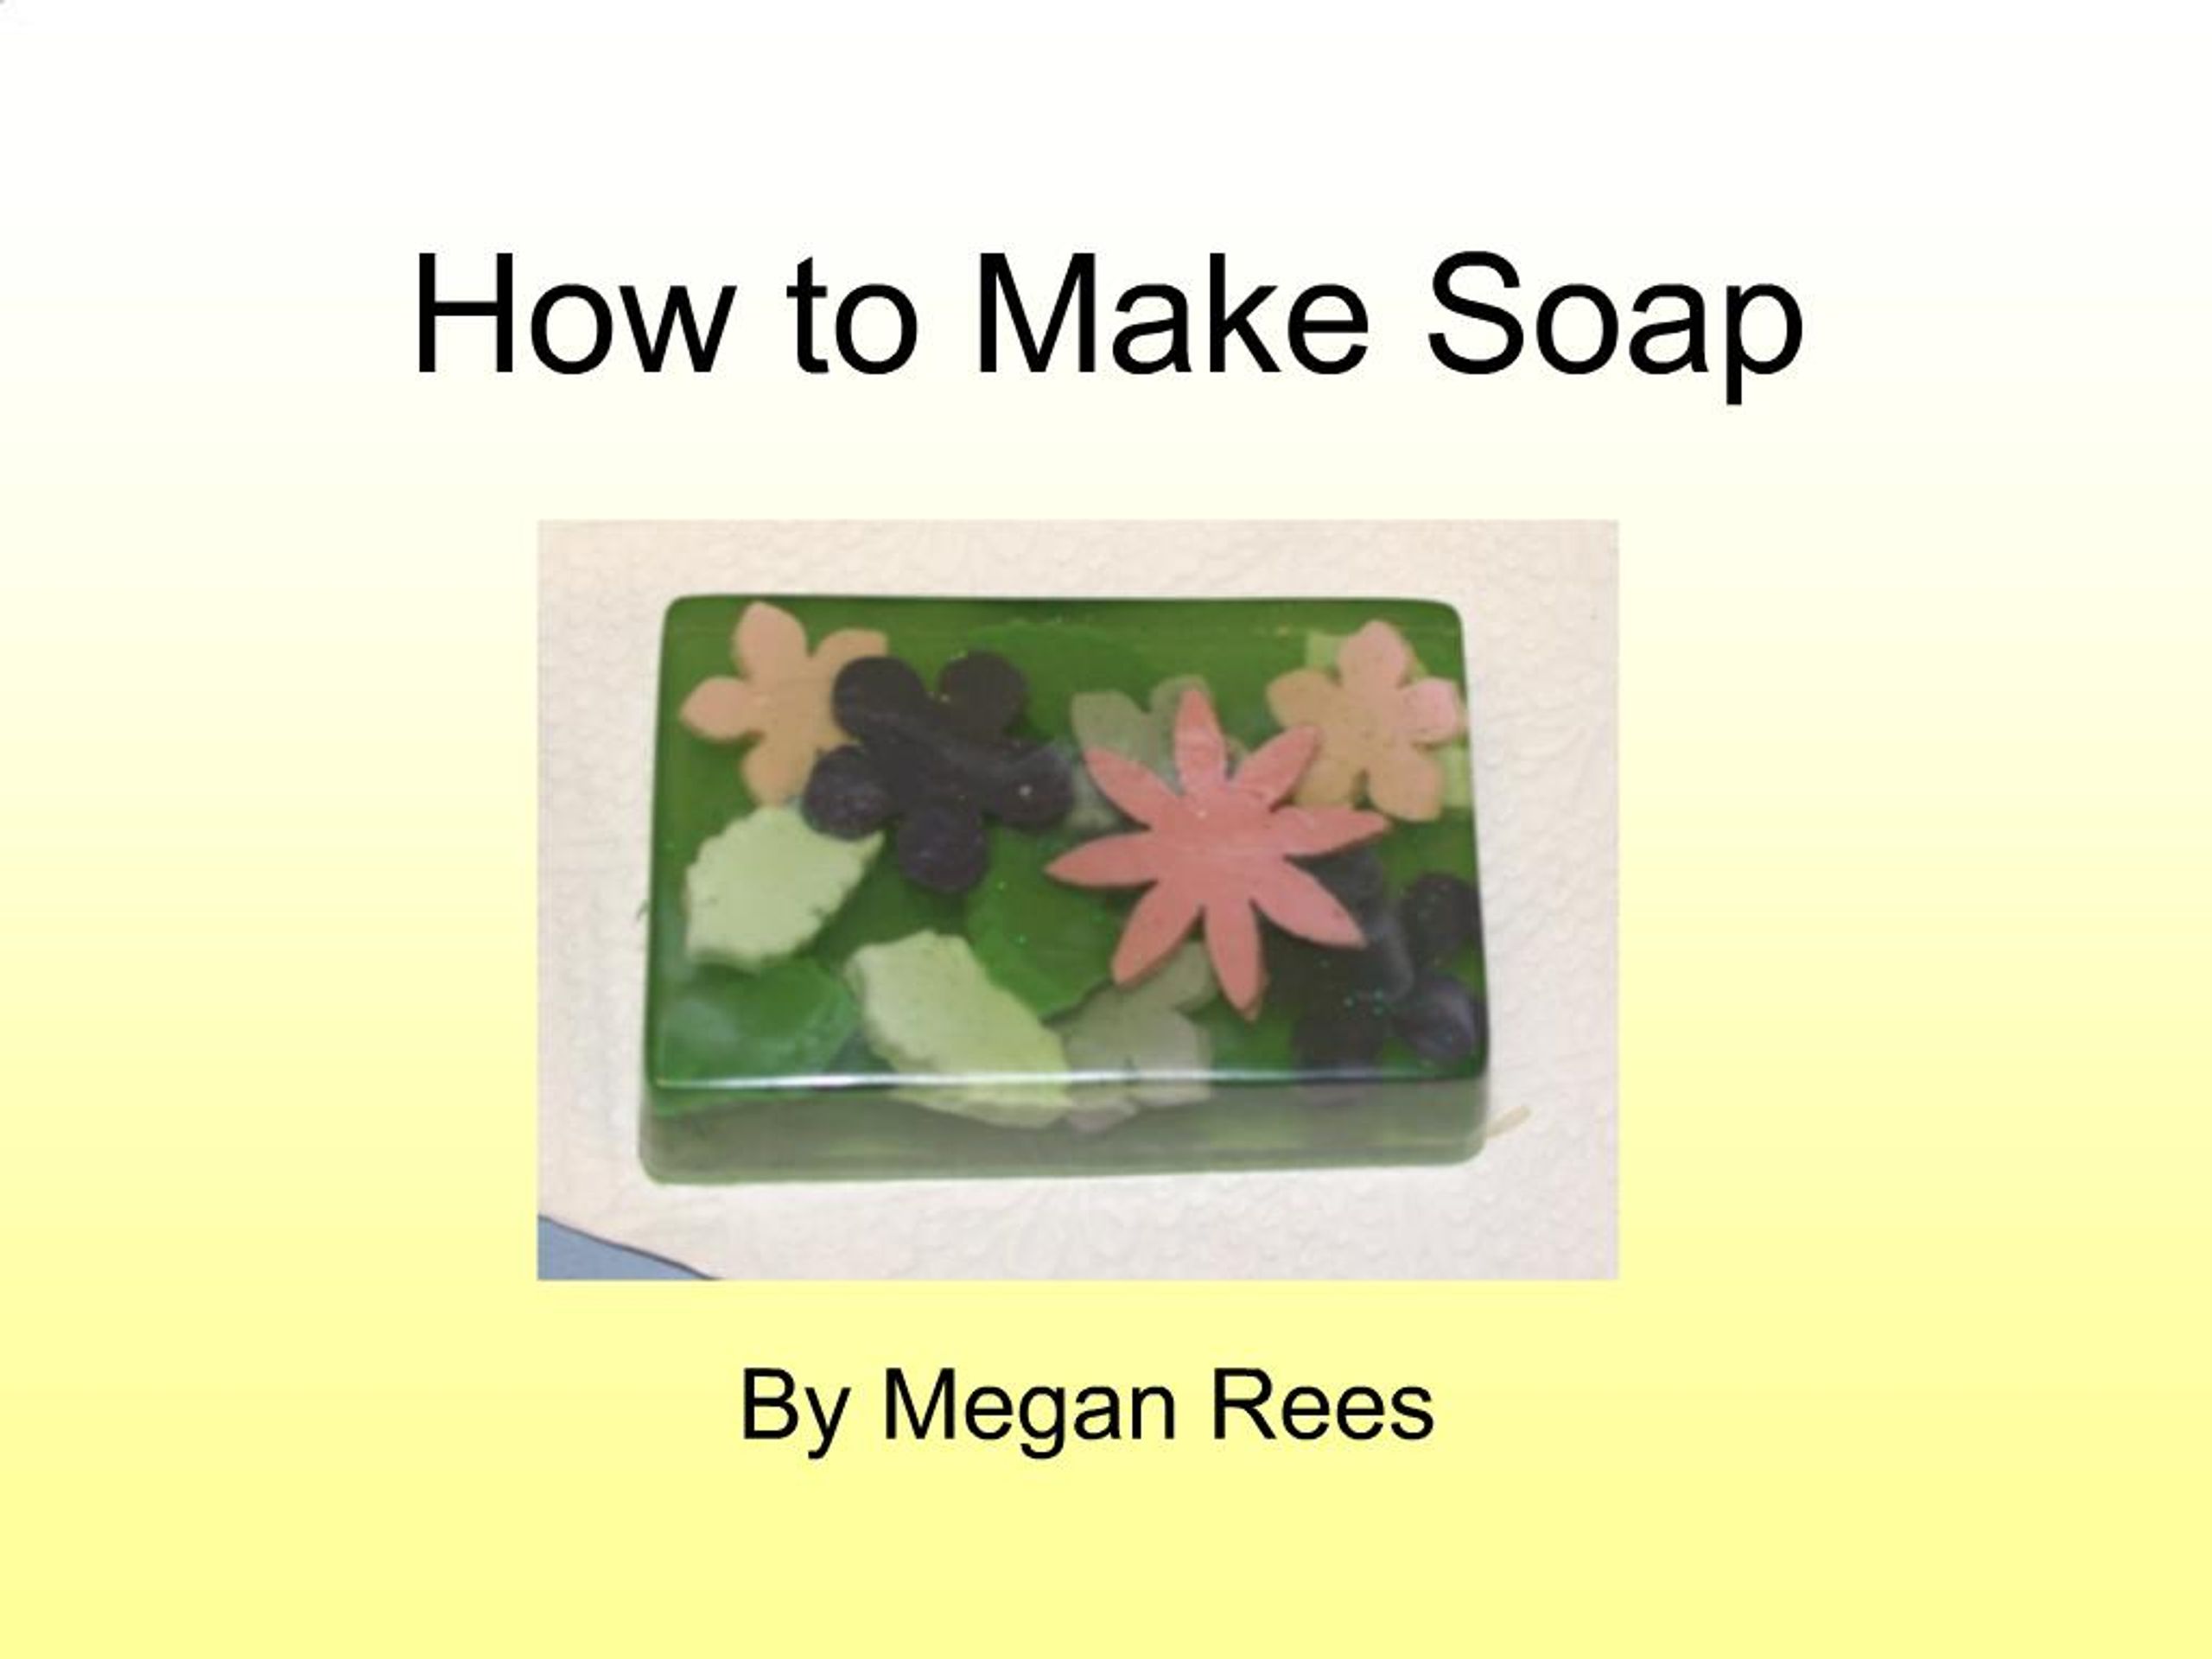
1. How to Make Soap By Megan Rees
2. Supplies Soap mold
Soap base in paper cup
Scent
Dyes
Inserts (cookie cutters)
Bottle of rubbing alcohol
Stirring stick
Paper towel or napkin
Sparkles and/or mica if needed
3. Step One - Preparation To prepare to make soap, make sure you have your inserts ready to go.
For soap inserts, cut them out with cookie cutters in advance, before you even start making your soap.
Have you scents, dyes, sparkles, etc already chosen.
If you are going to do a solid back, you will want to have that cut in advance as well.
4. Step Two – Melt Soap Melt your soap for 30 seconds in the microwave.
If there are any unmelted pieces, stir the soap until the hotter soap melts it.
5. Step Three – Stir-ins Now that your soap is hot, stir in all liquid ingredients such as SCENT, DYE, and if needed, SPARKLES and MICA before pouring.
6. Step Four – Pour Soap After you have thoroughly stirred your soap with its new ingredients, you are ready to pour it into your mold.
You may want to spray the back with alcohol to get the bubbles out.
7. Step Five - Inserts There are many types of inserts, which you will learn about later. For ALL inserts, make sure you spray them with alcohol before you place them in the soap.
8. Step Six – Waiting! After you are finished with your soap, you need to place it in the freezer so it can harden faster and is easier to pop from the mold.
Carry it CAREFULLY to the freezer and leave it there. Mrs. Rees will take care of it after that. You’ll see it the next day in class!
9. Step Seven – Solid Back IF you are doing a solid back, follow these directions:
1. Take your soap from the freezer and ensure that it is sufficiently solid.
10. Step Seven – Solid Back
11. THE END