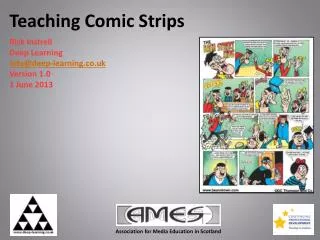
Comic Strips in MS Word
Learn how to create engaging comic strips using MS Word or PowerPoint with this step-by-step guide. Start by selecting the rectangle tool to draw shapes that will form your comic frames. Use callouts to add speech or thought bubbles, formatting them as needed. Incorporate images from Clip Art to bring your characters to life. Add text to convey dialogues or comments effectively. Finally, create multiple panels to tell your story. Get creative and enjoy making your own comic strips!

Comic Strips in MS Word
E N D
Presentation Transcript
Comic Strips in MS Word Or Powerpoint
Step 1 • Press enter 2 or 3 times. • Choose the Rectangle tool from the Drawing button bar. • Draw a small rectangle by clicking once and dragging the mouse with your finger on the left button.
Step 2 • Choose Draw, then Change Auto Shape and finally Callouts. • Choose your callout and then click on it. • Finally click on the right mouse button to choose Format.
Step 3 • Use this dialogue box to format the box. • To add text to the callout, click on it. • Then click on the right mouse button to choose Add Text.
To change the origin of the Callout, click on the small yellow diamond-shape and move it without letting your finger off the mouse button.
Step 4 Nice dog! Thanks! His name is Spot. • Add a person from Clip Art- Insert image. • Repeat until you finish your comic strip.
Step 5 Add a Box with no fill around the scene and begin another Nice dog! Bye Thanks! His name is Spot. Bye