Download
1 / 14
140 likes | 341 Vues
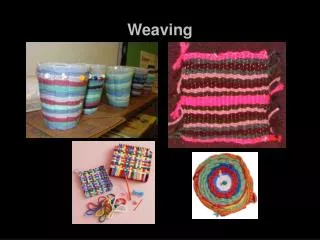
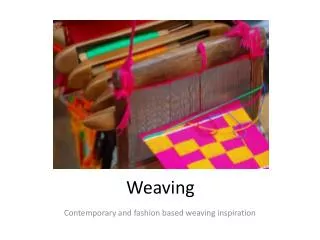
This project invites students to create a compelling woven art piece using two contrasting images that share a common theme. Participants will leverage their pencil shading skills to portray varying values and enhance the composition using a grid technique. Students are encouraged to experiment with elements and principles of design while developing their unique interpretations. Key materials include pencils, drawing paper, newsprint, and optional colored pencils. The project culminates in a thoughtful evaluation of artistic choices and technical execution, fostering creativity and design skills.

E N D
Weaving Drawings Due Jan 25
Objective Students will • 1. Create a work of art based on a theme. • 2. Create a work of art showing skill in pencil shading - varying values. • 2. Create work of art showing value contrast to develop center of interest • 3. Employ elements and principles of design - use mathematical skills in enlarging a composition (use a grid)
Materials • newsprint • pencils- #2, Ebony black • paper towels, q-tips, cotton pads, etc. • drawing paper 80# • colored pencils (optional) • graphite sticks • masking tape, scissors, rulers
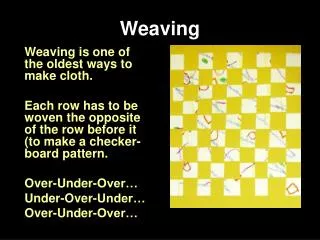
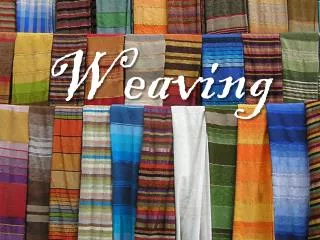
Procedures • 1. • Choose two pictures that have a common theme or idea. Find one that is predominantly darker and the other lighter. Cut them to the same size in something that is in even inches. • 2. • Cut the first picture into vertical 1" strips keeping them together at the top. • 3. • Cut the second picture horizontally in 1" strips. .
Procedures • 4. • Tape the vertical one onto some scrap paper on the top and weave the other picture over and under (traditional tabby weave). Square it up tightly and then tape it on the sides. Repeat this until all the picture is done. • 5. • Tape around all for sides with masking tape and begin to reveal some squares to show more of one picture and so forth until you like the composition. You can eliminate rows and squares that are not important.
Procedures • 6. • On a bigger piece of newsprint make a grid of 2 or 3" squares. This should be the same number of squares as in the design. By using the grid, enlarge outlines that are necessary to draw each square. Only the lines of hard edged areas, not where there is a gradation.
Procedures • 7. • Transfer the design with graphite onto white drawing paper and begin to draw each square. Use all the drawing tools, smudge, shading, blending, transfer tones with cotton pads, etc. Use a kneaded eraser for highlights. Use colored pencils for accents and interest if desired.
Evaluation • 1. Did students select two images around a common theme? • 2. Did students show skills in pencil shading and value contrast? • 3. Did students show skill in using a grid? • 4. Did students create an effective composition employing elements and principles of design • 5. Did students combining two related images in a woven pattern?
Day 1 • Decide on a Theme. • Find two contrasting images that match your theme. • Open word…copy and paste images. • Scale images to inch makes. Scale images to exact same size. • Cut one with vertical strips ever inch and the other with horizontal strips ever inch. (make sure to leave white space at two edges so your strips stay together). • If time, start creating your grid on the news print. This should be no smaller then two inch squares.