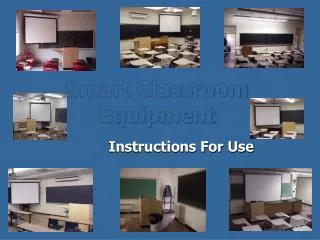
Smart Classroom Equipment
Smart Classroom Equipment. Instructions For Use. Contents. Which classrooms are Smart Classrooms ? What Equipment does a Smart Classroom Have? Getting ready to use the equipment Logging onto Thiel network drives Starting the projector Selecting the players When you’ve finished

Smart Classroom Equipment
E N D
Presentation Transcript
Smart Classroom Equipment Instructions For Use
Contents • Which classrooms are Smart Classrooms? • What Equipment does a Smart Classroom Have? • Getting ready to use the equipment • Logging onto Thiel network drives • Starting the projector • Selecting the players • When you’ve finished • Plugging in other devices (details) • FAQs and Troubleshooting • Recommendations for class use
The following 13 rooms are Smart Classrooms • AC-04, AC-13, AC-34 • AC-108, AC-129, AC-137 • AC-209, AC-233 • G-101 • PC-100 • S-100 • S-200, S-210 Return to Contents Next Topic
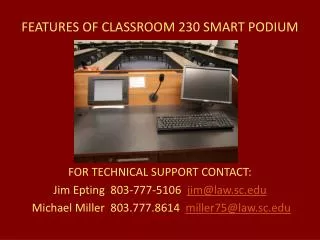
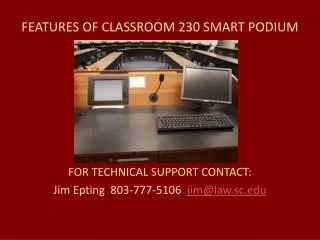
The Equipment is Basically the Same in All Rooms • A Podium with computer, monitor, DVD player, VCR, amplifier, extra jacks and cables to attach other equipment • A multimedia projector • Ceiling mounted speakers
S-100 & S-200 have Additional Equipment • mechanically operated projection screens • wireless microphones • S-200 also has a document camera
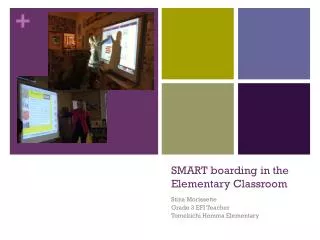
PC-100 has additional equipment • wireless microphone • a SmartBoard Return to Contents Next Topic
Getting Ready to Use the Equipment …. Before Starting the Projector
If you have media (a CD, videotape or DVD) to play or want to connect a camcorder:Unlock the Cabinet
The Keys Insert with the cut side of the key facing DOWN
Connect Any Additional Equipment Needed • Laptop computer • Camcorder • Document camera • Jump drive
The Computer Should Be on; • if you see the Windows logo, the computer is on…
It could be on.. Even though the screen may look like this
Jiggle the Mouse, or Press the Caps Lock Keys to Check If the computer is turned on, the monitor should light up…
or a green light will appear on the keyboard if the Caps lock or Num lock is turned on…
If it has been turned off, turn it on here. Return to Contents Next Topic
If You Want to Log on to Access your “J” Drive… • Doubleclick on the Thiel College Network Login icon.
Log on here as usual.. Return to Contents Next Topic
When the Desktop Screen Appears, Double Click on the Projection Icon
User name: • BLDG code in caps (no space) room # • Academic Center: AC AC233 • Greenville Hall: GV GV109 • Science Wing: SC SC200 • Phillips Center: PC PC100
Password: • Small letters • No spaces • xxxxxxxx
When This Screen Appears, Click the Start projection system Button
WaitWhile the Projection Lamp Comes on You will see PLEASE WAIT in the message area below the Start button
S-100 and S-200 Have Mechanical Screens • The screen should begin to descend when you log onto the projection system Return to Contents Next Topic
When Using the Computer, Click the Box to Minimize the Projection Window - Do not close it!
Insert the Media Into the Drive DVD player VCR
Select the Player DVD Controls VCR Controls
And Use the Controls DVD controls VCR Controls
To Adjust the Volume, Click Return DVD controls VCR Controls
You Can Alternate Between Any or All Players Return to Contents Next Topic
If You Have Minimized the Projection Window, Click on the Titles in the Bottom Toolbar to Maximize Them
Wait While the Message box says COOL DOWN PERIOD
PLEASE NOTE … Do not close the window or log off until the cool down period has ended! If you do, the projector will not shut down.
In S-100 and S-200 • As the projector turns off, the mechanical screen should retract
Once SYSTEM OFF Appears, You May Close the Projection Window… Message indicating that the SYSTEM is OFF