Download
1 / 3
30 likes | 42 Vues
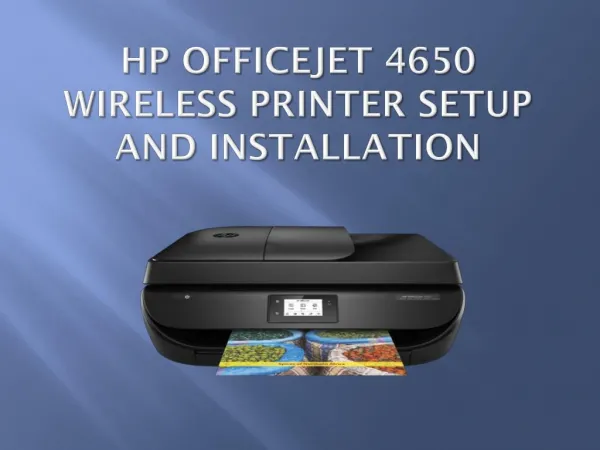
How to setup hp officejet 4650 wireless printer, simple step by step instructions for your 123.hp.com/oj4650 printer.

E N D
How to set up HP Officejet 4650 wireless printer HP Officejet 4650 printer supports wireless connection. The wireless network does not require any cables for the establishing the connection. Assign a unique network name to avoid confusion with the rest of networks. Read through the steps below to set up the HP Officejet 4650 printer to a wireless network. Necessary steps to configure the printer to a wireless network 1.Uncrate the 123.hp.com/oj4650 printer from the shipment box. 2.Eradicate all the packing materials around the box. 3.Establish the power connection for your printer. 4.Switch ON your printer and system. 5.Load unused sheets of paper into the main tray. 6.Put genuine ink cartridges into their slot. 7.Install compatible printer driver for your printer. 8.Connect the printer to a network. What is the procedure required to connect the printer to a wireless network The first thing to do for the setup process is to open the box. The box includes a USB cable, power cable, ink cartridges, user manual, software installation CD and warranty card.
Hold the plastic bag of the printer and pull the device out of the box. Remove and discard all the packing materials around the box. Place the printer on a flat surface. Open the scanner lid and remove the styrofoam sheet from the scanner glass. At a point, you need to power on the printer. Take the power cord from the printer’s shipment box. Insert the printer's cable between the rear end of the Officejet 4650 printer and a power outlet . Long-press the Power button to turn on the printer. Ensure that you connect the power cable straight to the wall socket rather than to a surge protector. It is done for the better performance of the printer. On the printer’s control panel, tap the required preferences such as language/region and date and time. Click OK to confirm your choice. Open the input tray and extend the paper width guides to their farthest position. Fill unused sheets of paper into the input tray. Unlock the ink cartridge access door. Seat the ink cartridges into respective slots. After a few minutes, the printer delivers an alignment page. Using the software installation CD, install the driver for your printer. Load the CD into the system’s disc drive. View the list of available devices on the screen.
Select the setup file from the list of available devices. Choose the connection type as Wireless as the printer is compatible with this connection. Complete the installation process using the on-screen prompts. Add the printer name to the list of available devices.