Download
1 / 169
1.78k likes | 1.96k Vues
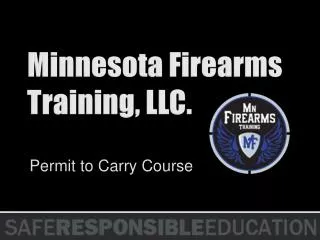
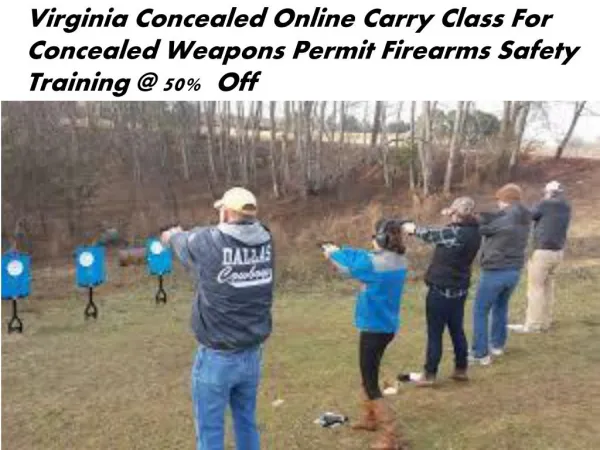
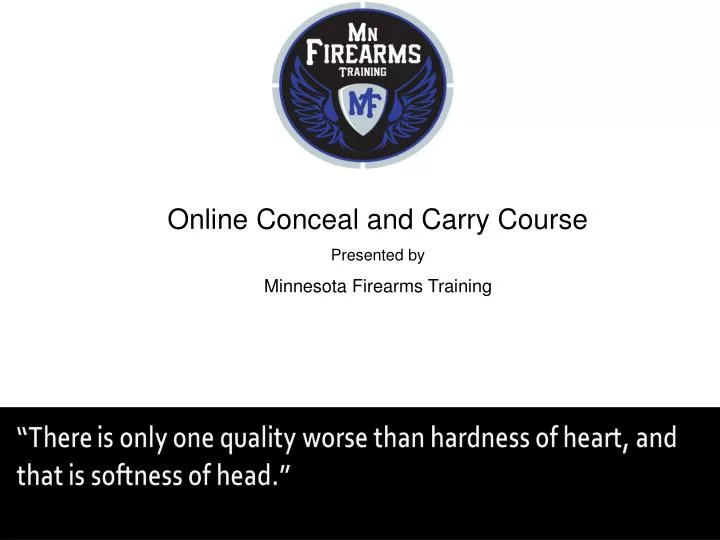
Online Conceal and Carry Course Presented by Minnesota Firearms Training. Responsible & Safe Education.

E N D
Online Conceal and Carry Course Presented by Minnesota Firearms Training
Responsible & Safe Education. Our Definition : By the end of this course you should be reconsidering whether or not carrying a firearm and the responsibility that comes with it is something you are prepared for. It is a tremendous responsibility.
A review of the basic safety principals. • Basic shooting fundamentals instruction. • The elements that must be present to clear the holster. • Effects of a lethal confrontation physiologically & emotionally. • How to obtain your Permit to Carry. • Responsibilities of the armed professional. • Range qualification.
Chapter 1 The Basics of Firearm Safety
Check out your equipment and Inspect your firearm before and after each use. • Properly execute a clearing exercise. • Visually and physically inspect for any potential defects. • Verify your ammunition is in good condition. • Check the 3 B’s Barrel, Brass, and Box.
Rule # 1 The Golden Rule… Every firearm is loaded until you have proven it’s not.
Rule # 2 Never point the muzzle of a firearm at anything you are not willing to destroy.
Rule # 3 Finger straight and off the TRIGGER until you are ready to fire.
Rule # 4 Identify your target and what lies beyond.
Accidental Discharges vs. Negligent Discharges What’s the difference? YOU or someone else has… • Loaded the firearm. • Failed to verify it was completely cleared & unloaded. • And then pulled the trigger. This is not an accident. Call it what it is, Negligence.
1. Every firearm is loaded until you have proven that it is not. 2. Never point the muzzle of a firearm at anything you are not willing to destroy. 3. Finger straight and off of the trigger until you are ready to fire. 4. Identify your target and what lies beyond.
Chapter 2 The Ethics of an Armed Individual
The code of ethics for armed private security professionals is based on four basic principals. • Loyalty • Duty • Service • Integrity
“To educate a man in mind and not morals is to create a menace to society.” T. Roosevelt • Can you keep your emotions out of a conflict? • How do you deescalate a confrontation with someone who my be acting irrationally?
You may be placed in a position to use lethal force to stop a threat. Are you willing to make life and death decisions? • Every time you put on a weapon, you must be mentally prepared and physically capable to make that choice and deal with the aftermath.
Any conflict you are in becomes an armed confrontation, because you are armed. • An armed society is a civil society. This statement is true on two points. The first, you set the example for model behavior. The second, uncivil armed behavior will have serious consequences.
We are not crime fighters. We are security professionals. • Carrying a firearm is for self preservation. • It is never allowed to use lethal force to protect property.
Avoid escalating the conflict. You must take reasonable steps to deescalate a confrontation. • The first thing you will need to explain if ever involved in a lethal confrontation is: • Why are you here? • Why did you bring a gun? • What steps did you take to deescalate the confrontation?
What is reasonable force? Reasonable force is defined as only the force necessary to gain control or create an escape. • Reasonable force is always based on the actions of the offender. • Reasonable force may or may not be lethal.
Chapter 3 Shooting Fundamentals
Isosceles Stance: The shoulders are square to the target with both arms thrust straight out, forming an isosceles triangle. Lean into your target with a slight bend in the knees.
Proper Grip • The webbing between the thumb and index finger must be placed high on the back strap of the firearm (high firm grip). • Knuckles should follow the lateral line of the firearm. • Weak hand shadows the strong hand. • Trigger finger rests on frame of the firearm, not on the trigger! • The same principles apply to a revolver.
The Proper Grip Semi-Auto
Clearing the holster • You are in position with your body square to the target. With your strong hand acquire a high firm grip and completely clear the holster. • You should not have to reposition your hand if you have gripped it properly. • Finger awareness • Keep your finger straight and off the trigger until you are ready to fire.
Ensure you have completely cleared the holster before rotating the firearm. • Clear the holster then rotate the firearm at the hip just above the holster. • Rotating at the hip allows you to engage when under attack at arms reach.
Present your firearm as you marry your hands. • Your hands should meet at the center of your body and come together into a two handed grip as you continue to extend your arms engaging your target. Note: Do not bring your weak hand to meet the strong hand. • Bring the Sights to the Eyes • You should be prepared to fire the gun at any point after you have cleared the holster and rotated the gun to a forward position.
Acquire your target. • Identify the center of mass of the target offered as you access the background.
Stop the attack. • You have committed to stop the attack as quickly as possible. Your finger now moves to the trigger. You apply lethal force until the attack has stopped. • You never fire a warning shot and you never shoot to wound.
Dropping to a knee when receiving fire will reduce the target you offer by half. • Once you have cleared your holster never move backwards with your firearm. • Shoot behind cover if at all possible. • If you are not shooting or reloading you should be running.
Bring the weapon into your chest before moving in any direction other than forward. • Pivot on the leg in the direction you intend to move. Step forward and never back. • Keep your body square to the target. • Heel Toe, Heel Toe, take ground and don’t give it.
Assess the scene for additional threats. • Immediately once the original threat has ceased remove your finger from the trigger. Sweep your firearm from left to right throughout your field of view as you search and assess for additional threats. This will break tunnel vision.
From the low & ready position safety and holster your firearm. • The scene is safe so you immediately safety and holster your weapon. Not only do you need to ensure the scene is safe, you have a duty to protect it as well. • Your firearm should return to the holster in the same fashion you cleared it. Bring the weapon to your hip and rotate the firearm, then secure it in the holster.
Who is injured? • Have you taken injuries? • You are required to call the police. You are also required to provide medical assistance for anyone injured, including your attacker. • Identify causalities.
What is muscle memory? • You must practice a skill in excess of 1000 times before it becomes muscle memory. Then you need to keep practicing it. • Remember you will fight like you train. • Practice, Practice, Practice.
The relationship between the front site and the rear sight in view of the target. • Focus on the front sight. • Both eyes open – preferred. • Identify your target as you assess your background.
“Pumpkin on the Fence Post” refers to placing the bottom of the bulls eye on top of the front sight when aiming (refer to adjacent picture). Point of Impact may vary from firearm to firearm so practice with what weapon you carry. Point of Impact also varies with different manufacturer’s ammunition.
Sight shooting – “Aim small, miss small.” • Precision shooting is more accurate and requires more skill. It uses the sights of the gun to focus on bullet placement. • Most effective with both eyes open while concentrating on the front sight.
Flash shooting is engaging your target as soon as your front sight comes into your sight picture on target. • Very effective and accurate but requires many hours of practice. This is a most useful style of shooting when confronted with multiple targets or when engaging a single target rapidly to neutralize the threat you face with minimal delay.
Point shooting. • More real world defensive scenarios will require point shooting. • Relies on muscle memory and hand eye coordination to determine shot orientation. • The average distance in a gun fight is approximately 21 feet. • Many are as close as 5 feet. • A great majority of DGUs are in poor lighting conditions that make sight shooting less practical.
Chances are in defensive shooting proper breathing techniques will be the last thing on your mind. You will be experiencing a large amount of adrenalin rushing through your body with an increased heart rate, resulting in heavy breathing. If you can control your breathing, shoot at the pause of your breath while exhaling.
Pull the trigger with consistent pressure. • The trigger finger should fall naturally on the trigger, with the trigger centered between the finger tip and the first knuckle. • Maintain a firm grip on the firearm while keeping a rigid arm and wrist platform. • This will ensure consistent target acquisition for follow up shots and should keep the muzzle steady.
Trigger Pull, Revolver • Revolver. • Always shoot your revolver in double action. • A revolver will have a much heavier trigger pull and longer trigger travel than a semi-automatic firearm. • Use the pad of your index finger not the knuckle. • Be sure to follow through with the finger on the trigger back to the reset position.
Chapter 4 Handgun and Ammunition Anatomy
Cylinder Cylinder Release Trigger Grip Barrel Front Site Muzzle Hammer 4 8 2 1 3 6 5 7
Front Site Rear Site Muzzle Trigger Slide Stop De-cocker Magazine Release Hammer Grip Ejection Port Slide Frame 2 8 10 1 11 5 3 6 12 4 7 9
Clearing a Semi-automatic Instructor Demonstration
The “Action” is between the trigger and the hammer and indicates what action is being performed when the trigger is pulled. • Double Action • Single-Double Action • Striker Fire • Single action
Has the effect that a spiral has on a football. Rate of twist is measured per inch. Example: 1/9 or 1/10.