Download
1 / 7
70 likes | 195 Vues
Discover the step-by-step process to turn an ordinary picture into an eye-catching Avatar using Adobe Photoshop. This guide takes you through essential tools and techniques, such as the Mask Tool, Brush Tool, and Marquee Tool, to create stunning artistic effects. Learn how to adjust skin tones with Color Balance, add patterns with Layer Styles, create subtle facial lines with the Burn Tool, and apply outer glow effects. Unleash your creativity and bring your photos to life with this easy-to-follow tutorial!

E N D
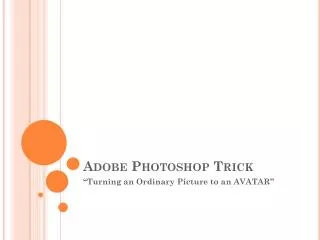
Adobe Photoshop Trick “Turning an Ordinary Picture to an AVATAR”
STEPS • First, select the MASK TOOL and with the BRUSH TOOL, color the face to create a selection. • After coloring the part you have selected, click again on the mask tool to create selection. • Use the MARQUEE TOOL to reserve the selection • Select “inverse”
STEPS • To change the color of the skin, go to: Image AdjusmentsColor Balance • Adjust the Shadows, Midtones and Highlights to make the color of the skin look like an Avatar. • Using the MARQUEE TOOL, we choose “layer via copy” • Click the layer twice to open the menu LAYER STYLE.
Steps • Add “soft pattern” to the skin. • Go to PATTERN OVERLAY • Choose the overlay mode as blend mode. • Adjust the opacity and scale. • Right click the layer and choose MERGE DOWN • Use BURN TOOL to create lines on the faces. • Create new layer: Layer New Layer
Steps • Use BRUSH TOOL to make the dots. • Open the LAYER STYLE’S menu and we add the “outer glow” • By modifying the opacity, we can regulate the intensity of the dots. • Merge the layers. • Decolor the eyes. (Use color yellow)