Download

1 / 11
610 likes | 3.22k Vues
The discus throw is a competition event in track and field athletics in which the player throws a discus to mark the farthest possible distance with a unique motion across a marked field.

E N D
The discus throw is a competition event in track and field athletics in which the player throws a discus to mark the farthest possible distance with a unique motion across a marked field. The discus throw has been a part of men's competition since the first Olympiad in 1896. The women's competition was added to the Olympic program in the 1928 games,
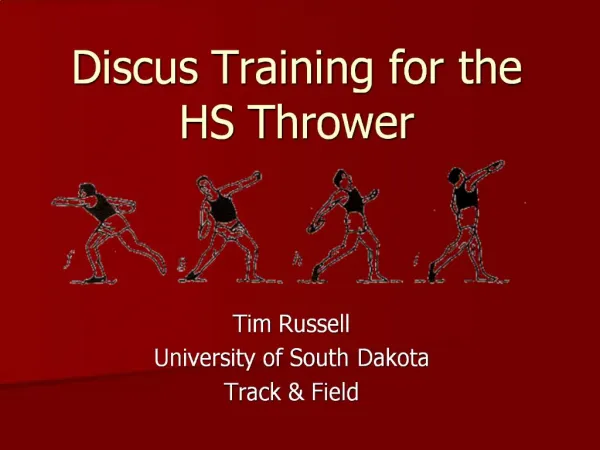
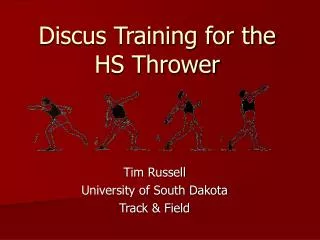
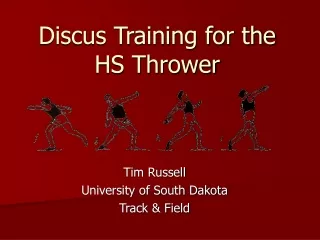
In discus throw, as in many other sports, the person who employs better techniques is always at an advantage and emerges the winner. Bulk of the techniques in discus throw pertains to discus grip, bodily motion and the final release. • In the discus throw, though the athlete completes one-and-a-half rotations within the ring, he/she actually moves forward in more or less a straight line, from the back of the ring to the front.
This means that the speed needed for a powerful throw largely depends on the footwork. It will be worthwhile to study the technique in a step-by-step fashion for better understanding. The other important athletic events are shotput, hurdles and etc... • Grip: Place the non-throwing hand beneath the discus for getting additional support. Your throwing hand is on top of the discus with your fingers and thumb evenly spread.
The top knuckle of your four fingers excluding the thumb should be in touch with the rim and your fingertips reaching to the sides. If you feel more comfortable, you can place the index and middle fingers together while evenly spacing the remaining fingers – as an alternate grip method.
Stance: In discus the initial stance is quite important. Stand in the back of the ring with your feet spread apart than shoulder width and your knees and waist slightly bent. Wind up: This next step is equally important. Hold the discus fairly high in front of your left shoulder and then swing the discus back to the right shoulder level. It is advisable to repeat this exercise a couple of times to gain the required rhythm.
Start the throw: It is said well begun is half done. Rotate clockwise and bring the discus as far back as you possibly can, holding it in your throwing hand only. Your non-throwing arm should be pointed in a direction opposite to your throwing arm. Keep your throwing hand as far removed from your body as possible throughout the throw. Your weight is obviously on your right foot and your left heel is away from the ground.
Begin the turn to the center of the ring: Start rotating your shoulders in the direction of the throw even as you transfer your weight to your left foot. Take your right foot up and swing it around the left. Pivot on the ball of your left foot as you spin toward the center of the ring.
Completing the turn: Just in time your right foot lands in the center of the ring, push off with your left foot but continue pivoting toward the front of the ring Turn to the power position: Pivot on your right foot while swinging the left leg to the front of the ring. Remember that your left foot should land outside of the right
Power position: Next is the all important power position. • Your left side is grounded firm and your left arm is pointing forward. • Your weight is shifting from your right side to your left. • Your throwing arm is outstretched behind you and the discus at about hip level.
Release: The final act is the release of the discus. Continue shifting your body weight forward as you pivot your hips. Bring your arm up at about 35 degrees angle to release the discus. • Please ensure that the discus leaves your hand smoothly off the index finger with your hand at about shoulder height. More importantly, follow through rotating to your left to remain in the ring to avoid fouling.