Download
1 / 26
260 likes | 280 Vues
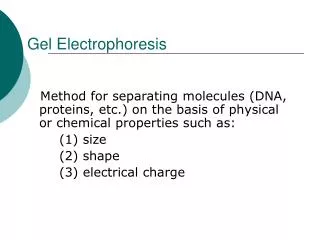
Detailed guidance on preparing gels, buffers, agar, casting trays, and running gels for teaching gel electrophoresis theory in 12 groups. Includes timelines for setup and storage instructions. Suitable for high school biology classes.

E N D
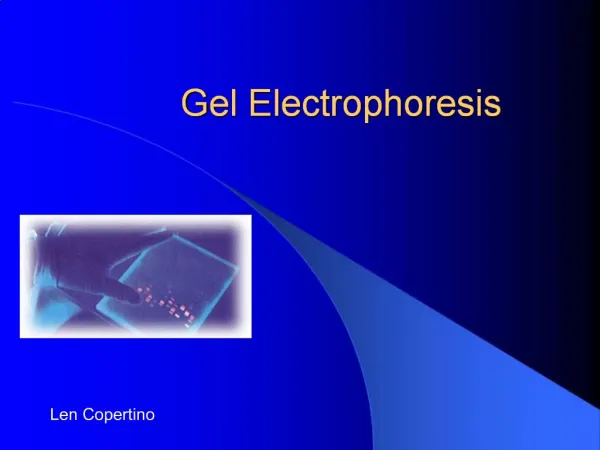
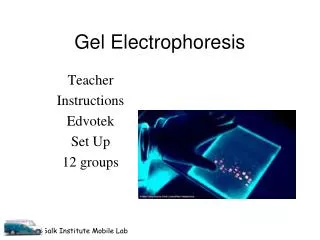
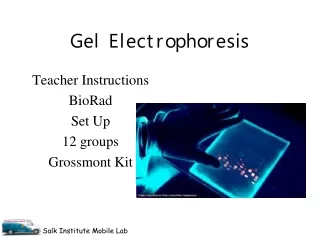
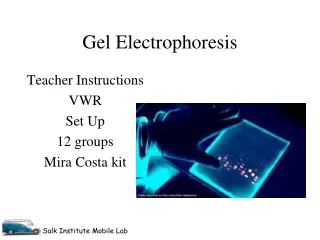
Gel Electrophoresis Teacher Instructions VWR Set Up 12 groups Mira Costa kit
Timeline • Prepare Gels: Up to a week in advance • Class lab: 1-3 days • Teach students to pipette • Load and run gels • Teach electrophoresis theory • Analyze gels • Gels must be analyzed no later than next day after running (stored in refrigerator overnight)
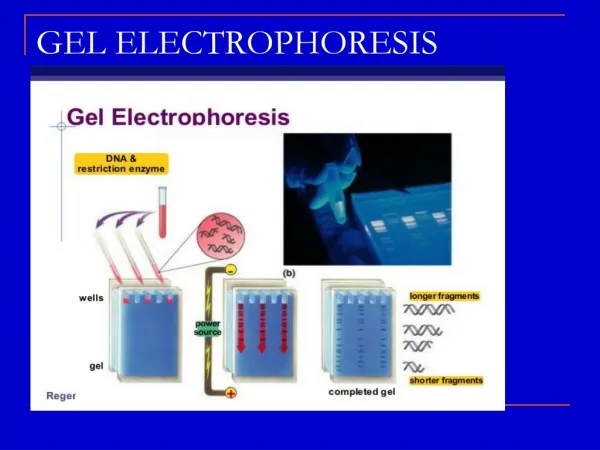
Prepare 1X TAE Buffer for making gels • Measure 36ml of 50X TAE Buffer stock solution into the 50ml conical TAE Buffer measuring tube
Prepare 1X TAE Buffer for making gels • Pour the 36ml of 50X TAE Buffer stock solution into the 2L TAE Buffer mixing bottle
Prepare 1X TAE Buffer for making gels • Fill 2L TAE Buffer mixing bottle to the 1800ml line with water (tap or distilled) • You might need to repeat this as necessary for your number of classes – this bottle should prepare enough 1X TAE Buffer for 6 classes worth of gels REDO
Prepare Agar for Gels • Measure agar powder into the 15 ml agar measuring tube – tap firmly to settle to 4ml mark • Add measured agar powder to agar mixing bottle • You’ll need to make 1 bottle per class
Prepare Agar for Gels • Fill each bottle to the 300ml mark with your prepared 1X TAE Buffer solution • Bottles have been pre-checked for calibration • Cap tightly and shake to mix
Prepare Agar for Gels • Loosen caps slightly and place bottles in your microwave • Set microwave for 1-2 minutes per bottle (less is better - you can always add more time!) • Allow agar solution to come to a boil - stop microwave immediately once a good boil starts
Prepare gels • Carefully remove the HOT bottle from the microwave and swirl - be careful of steam escaping from the loose caps!
Prepare Agar for Gels • Check that agar has fully dissolved or, if re-melting solidified agar, that it has all melted back into solution • Add water (DI or tap) as needed to compensate for evaporation to bring volume back to 300ml
Prepare Gel Casting Trays • Allow Agar to cool until you can just stand holding the bottle with your bare hand • While Agar is cooling assemble gel casting trays • 3 casting trays per class
Pour Gels • Carefully pour 100 ml warm agar solution into each assembled gel casting trays (make sure agar is still fully melted) • Place 2 combs into appropriate slots on each tray
How to store prepared gels • After gels have solidified, remove the combs carefully lift out gel trays • There will be some gel ‘film’ on the bottom • Carefully slide gel out of the tray onto a “patty pac” paper • 4 gels per paper • Wipe excess gel off casting tray and reassemble for next pour
How to store prepared gels • Place papers with 4 gels in a gel storage container • Make sure paper edges are free
How to store prepared gels • Stack second and third (etc) layer of gels in storage container and place container in fridge for up to a week • Kit design is for 2 classes per container • If storing more per container, place 6 gels per layer to distribute weight on bottom level
Setting up prepared gels for class • When you are ready to have students use gels simply carefully lift paper with gels out of the storage container • One layer at a time • Carefully use spatula to lift each gel from paper and replace into gel tray
Setting up prepared gels for class • Place each gel onto flat tray for each student group • Try to keep gels and trays low and level to prevent accidental tearing of the gel
Running gels • Prepare 1X TAE Buffer solution for running gels: • Measure 16ml of 50X TAE Buffer stock solution into the 50ml conical TAE Buffer measuring tube • Pour the 16ml of 50X TAE Buffer stock solution into the 2L TAE Buffer mixing bottle • Fill 2L TAE Buffer mixing bottle to 800ml line with water (tap or distilled)
Running gels • Pour ~ 250ml of mixed 1X TAE running buffer into each electrophoresis box
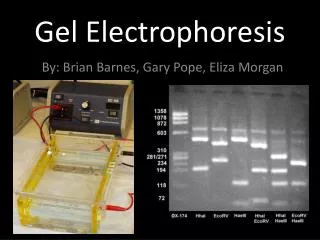
Running gels • After students have loaded their gels carefully place each gel tray into the electrophoresis boxes • Keep track of which groups’ gels are where! • Make sure the well sides of the gels are on the BLACK electrode side • Back to Black, RUN to RED
Running gels • Top off each box as needed with TAE to bring level to just cover gels • Connect power supplies • Place lids on boxes
Running gels • Turn box power on (switch in back) • Use arrows: • Adjust voltage to 120 • Adjust time to 20 min • Can increase voltage to 150 and decrease time to 15 if needed • Press power • If “lid” alarm sounds, turn off power, adjust lid, start again • May need to place large rubber band around box to ensure magnetic connection
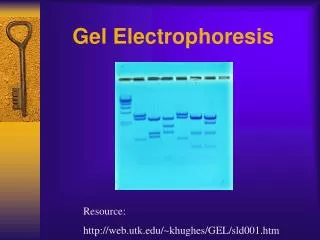
After Gel Run • When the run is complete (colors have separated) turn off the power • Remove the lids from the electrophoresis boxes
After Gel Run • Carefully remove gel trays from the box and depending on time: • Carefully slide each gel from gel tray onto a flat tray and give back to groups to analyze • OR carefully slide each gel from gel tray and place each gel on a labeled patty pac and store back in storage container in refrigerator until next class meeting and then distribute on flat trays • WARNING - WET GELS ARE VERY SLIPPERY!!
Next period and so on… • You can prepare per 2 gels for distribution while per 1 gels are running and so on… • Running TAE buffer is good for all classes – no need to replace unless it gets too hot
Clean up • At end of day used buffer can just be flushed down sink • Rinse boxes and let air dry • Used gels can be placed in general trash