Testing the AutoMARK Ballot Marking Device on Election Day
220 likes | 390 Vues
Testing the AutoMARK Ballot Marking Device on Election Day. Thank You!. Ben Ysursa, Secretary of State and Chief Election Official for the State of Idaho thanks you for your hard work and dedication to the voters of Idaho. . The Ballot Marking Device. The AutoMARK

Testing the AutoMARK Ballot Marking Device on Election Day
E N D
Presentation Transcript
Thank You! Ben Ysursa, Secretary of State and Chief Election Official for the State of Idaho thanks you for your hard work and dedication to the voters of Idaho.
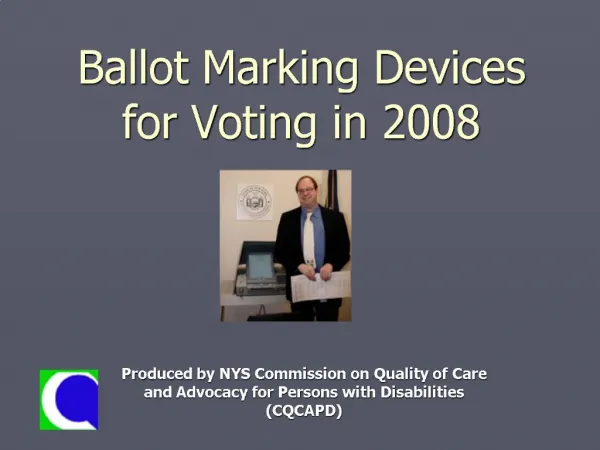
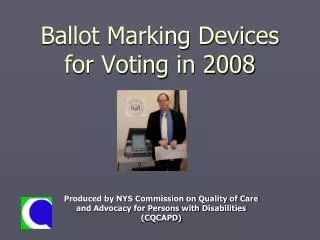
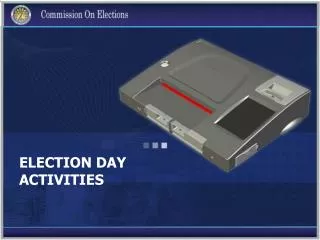
The Ballot Marking Device The AutoMARK is a ballot marking device designed to assist voters that may have difficulty seeing or marking a ballot
A ballot marking device is required by Federal Law A ballot marking device must be available and functioning in all polling places Public Law 107-252 The Help America Vote Act
Set Up • Open the lid, raise screen and lower the ballot tray. • Locate the headphone jack on the front lower-right panel below the keypad and plug in the headphones. • Plug the power cord into the connection in the back of the unit and into an AC power source.
Booting Up • Turn the security key located in the front of the unit to the ON position. • Wait for the ballot marking device to load. • Be patient. • This can take several minutes.
Check the On-Screen Ballot • Insert a blank ballot. • Check the on-screen ballot to be sure it is correct for your precinct. • If it is not correct contact your election office immediately. • Check the audio ballot by listening through the head phones. • Make sure the volume is turned up. • Eject the blank ballot.
The Ballot Print Test • Turn the security key to the TEST position. • Wait for the ballot marking device to load. • Selectthe Test Ballot Print button. • The Ballot Print Test confirms • print calibration and • that all ovals will be marked. • Important. Select the Enable Print Calibration check box.
The Ballot Print Test • Insert an unmarked ballot. • The ballot marking device will • fill all ovals • print each candidate name on the ballot • When the ballot is ejected check each oval. • Make sure all ovals are filled.
Calibration Suggestions • If a “calibration suggestion” is presented press Yes to recalibrate the printer. • Repeat the test. • Most ballot marking devices will not require calibration as they are tested in advance by your county.
3 Ballots Must Pass • Repeat the Ballot Print Test with two (2) more blank ballots. • A total of three (3) ballots must pass successfully. • When the test is complete press “DONE”.
Screen Calibration • Select “Calibrate Touch Screen” from the on-screen menu. • Press the Calibrate button. • Press and briefly hold your finger on the center of the target, then release. • Repeat as the target moves around the screen.
Screen Calibration • Important. When prompted, “Tap” the screen to save the new calibration settings. • Press “DONE” after completing the screen calibration.
The Ballot Read Test • Turn the security key to the “ON”position. • The “Insert Your Ballot” screen will display. • Insert a blank ballot. • Vote each race on the ballot. • Note your choice for each office. • Remove the ballot when voting is complete.
The Ballot Read Test • The Ballot Read Test will verify the device is reading a voted ballot correctly for review by the voter. • Re-insert the voted ballot. • The device scans the ballot and displays the “Verification Summary Screen”. • Check the on-screen ballot to verify it displays the voted ballot as marked.
The Ballot Read Test • If the Ballot Read Test is not successful, the ballot will be ejected and an error message will be displayed. • Contact your election office immediately.
Ready for Use • When all testing is complete. • Turn the key to the ON position. • Remove the key before voter use.
Document and Save • Document testing as directed. • Save test ballots and documentation as directed with election supplies.
Trouble Shooting • If a unit does not operate properly follow the troubleshooting checklist. • Document each step. • Documentation is essential to correctly identify solutions.
Trouble Shooting • If the problem is not resolved after following the checklist, call your election office. • Turn the unit off. • Leave it set up. • A county or vendor representative will repair or replace the unit.
For More Details • See the AutoMARK Election Day checklist.
Thank You Again! • Thank you for your assistance to those voters that may have difficulty seeing or marking a ballot. • With the ballot marking device at your polling place they are now able to vote privately and independently. • The same as all other voters in Idaho and across America.