Download

1 / 18
180 likes | 285 Vues
Join us for Version 3.0 of the Intermediate Electronics and Lilypad workshop where electronics meet textiles. Learn about analog input resistance, Arduino ADC, analog to digital conversion, and serial communication. Discover how to use analog and digital signals in textile sensors and outputs.

E N D
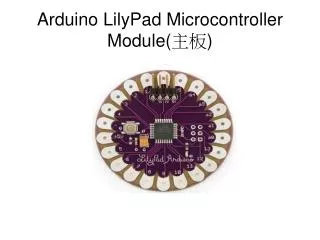
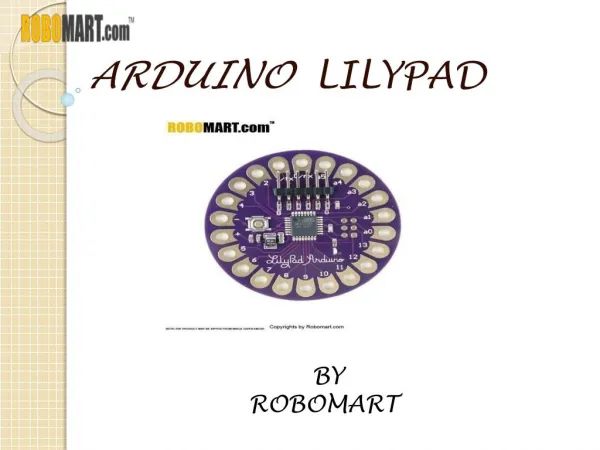
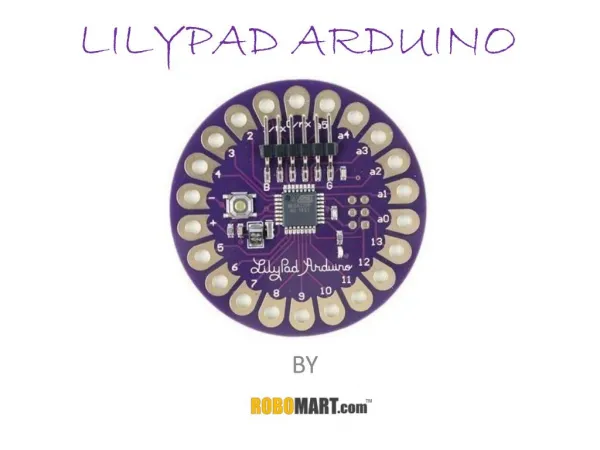
Intermediate Electronics and Lilypad • Where Electronics Meet Textiles • Workshop with • Lynne Bruning and • Troy Robert Nachtigall • Sponsored by • Spark Fun and PlugandWear Versione 3.0 - January 2010
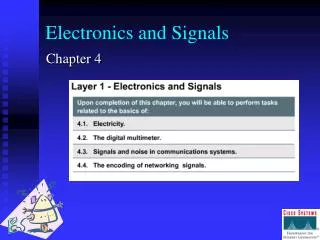
Resistance 3 the degree to which a substance or device opposes the passage of an electric current, causing energy dissipation.
Analog electronic components work by varying the current of electricity The Arduino has a built in Analog to Digital converter. The ADC translates analog signal to a digital code. This is very important to textile sensors What is Analog?
Arduino Analog to Digital Convertor = 210 = 1024 levels 10 bit ADC / 1024 = 0.0048V (4.8 mV) 5V 5V = level 1023 4.9952 V = level 1022 0.0144 V = level 3 0.0096 V = level 2 0.0048 V = level 1 0V = level 0
analog input int texe; texe = analogRead(10); • Use the analogRead function to read from an analog sensor • We need load the value into a variable • variable = analogRead(PIN); • textileresistence = analogRead(buttonPin); • be sure to declare your variables in setup
The trick toreading an analog input • Analog Read requires an extra resistor. • This resistor helps define 0V or 5V leaving no possibility for an empty reading. • Leaving this out can lead to misinformation
Analog Output • Sometimes on and off is just not enough.
Digital to analog Converter (DaC) Acceptable output signal levels • One of the amazing things about Arduino is it’s ability to vary the output voltage on Pins 3,5,6,9,10,11 • This allows us to dim LED’s or change the sound of a piezo (Music) 5V HIGH 4.2V 0.9V LOW 0V
How it works3,5,6,9,10,11 • Only on PINS 3,5,6,9,10,11 • Blinking faster than the eye can see. • It’s actually fake.
analog write • Use the analogWrite function to vary voltage on pins 3,5,6,9,10,11 • Analog Write works on a 0 to 255 (8 bit) scale • analogWrite(PIN,VALUE); • Each value step is equal to .02 volts 255 5V 127 2.5V 0 0V
Let’s Try it • Load up the sketch/Examples/Analog/Fading • Note how it fades.
Let’s Try it • Load up the sketch/Examples/Analog/AnalogInput • Connect the aligator clips to- and a0 • Search for conductive materials
So now we can read our sensors. BUT what ARE THEY SAYING?
SERIAL COMMUNICATION Serial Port
Serial Port // initiate Serial Com and set speed // SPEED Serial.begin(9600); // Print the VALUE to the serial port Serial.print(VALUE); // Print a newline to the serial port Serial.println(“Soft Sensor”); • Serial requires PINs 1 & 0 • The function Serial.begin() opens the serial port and sets it’s speed in setup. • The function Serial.print() writes a value to the serial port • The function Serial.println() writes a new line to the serial port
Mmmm… Serial /* AnalogReadSerial Reads an analog input on pin 0, prints the result to the serial monitor This example code is in the public domain. */void setup() { Serial.begin(9600);}void loop() { int sensorValue = analogRead(A0); Serial.println(sensorValue, DEC);} • Serial output lets us understand what our sketch is doing. • Serial lets us use our arduino as a meter. • Load sketch Example/ Basics / AnalogReadSerial