Download
1 / 25
250 likes | 272 Vues
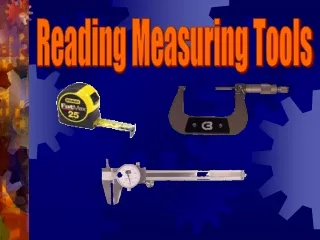
Learn about the importance of accuracy, durability, and ease of use when selecting measuring tools. Explore flat steel rules, measuring tapes, wooden folding rules, and digital/laser measuring devices along with safety tips and maintenance guidelines.

E N D
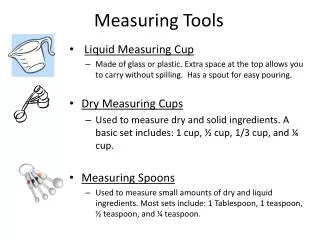
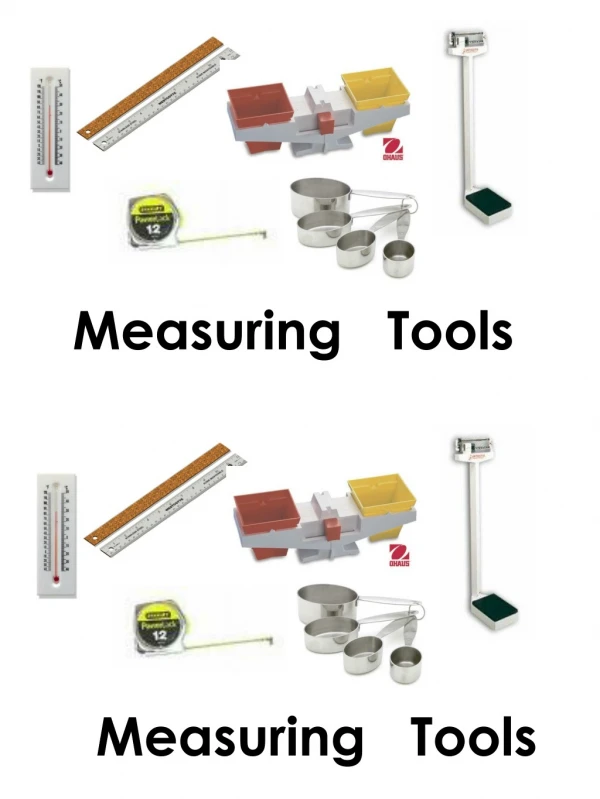
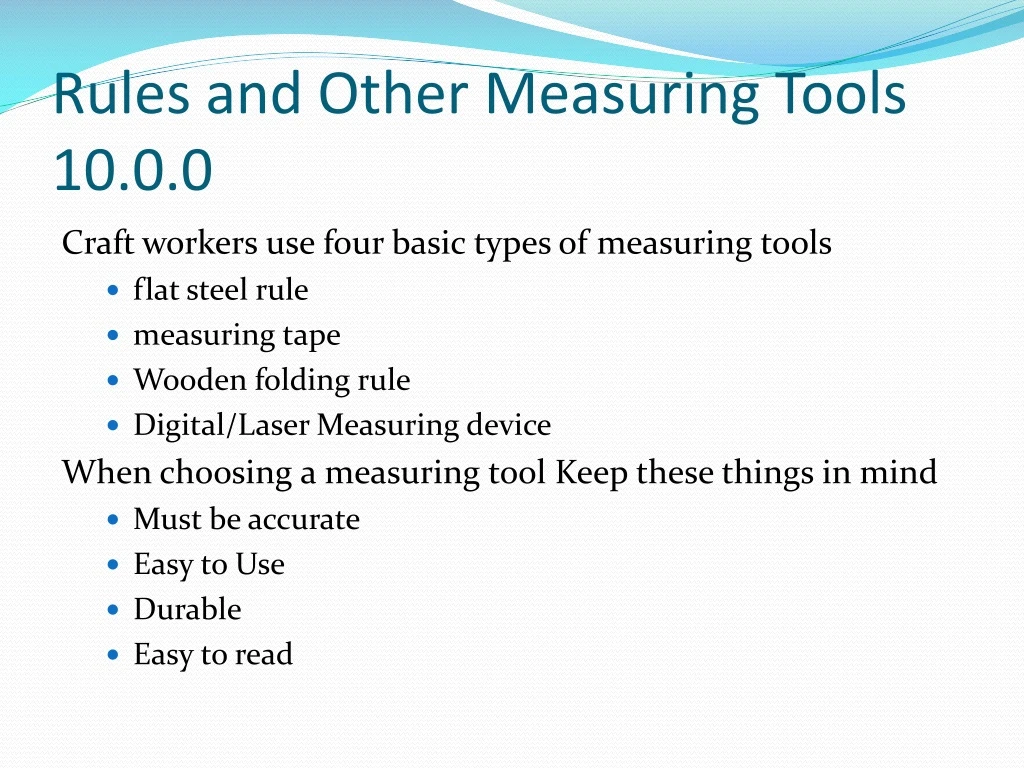
Rules and Other Measuring Tools 10.0.0 Craft workers use four basic types of measuring tools • flat steel rule • measuring tape • Wooden folding rule • Digital/Laser Measuring device When choosing a measuring tool Keep these things in mind • Must be accurate • Easy to Use • Durable • Easy to read
Steel Rule 10.1.0 • Flat steel rule is the simplest and most common • Flat rules can be flexible or non-flexible • Flat rules can be thin or wide • The thinner the rule the more accurately it measures, because the division marks are closer to the work • Generally have four sets of marks • Both sides have 1” mark (longest mark) • ½” mark is second longest • ¼” mark is Next and • 1/8” mark is the shortest on most flat rules • Other side can be marked as small as 1/32” or 1/64”
Measuring tape 10.2.0 • The standard tape measure is marked similarly to a 1/16” standard ruler • May also include metric measurements • Is concave (curved) to strengthen the blade • Once the end is secure turn the blade so edge is resting against the surface then mark material • Most rules are marked for framing walls
Measuring Tapes 10.2.0 • Available in different lengths • Coils up in a metal or plastic case • Has hook at the end • May have a lock to prevent rewinding • End is loose to allow accurate inside or outside measurement How to use a tape measure 7.2.1 • Pull the tape out to desired distance • Place hook over the edge of material to be measured • Record the measurement • Allow tape to rewind slowly
Wooden Folding rule 10.3.0 • Marked in 1/16” on all four edges of the rule • Stiffer so it will remain straight when measuring vertical distances • Come in 6’ and 8’ lengths • Also marked for framing walls
Laser measuring tools 10.4.0 • A battery-powered electronic tape measure • Point at a specific object and press measurement button. A laser will shoot out and a measurement given on a display screen • Can be displayed in Metric or Standard measurements • Some advantages of a laser measuring too versus a traditional tape measure. • Measurements required at higher levels can to taken from the ground • Longer measurements can be taken • Some can do basic math functions (add/subtract) • Measurements can be stored and can be written down later • Some have built in levels • Some disadvantages • Accuracy • Time to learn and use • Much more costly • Must be handled with care
Safety and Maintenance 10.5.0 • Occasionally apply a few drops of oil on the spring joints of a wooden fold and steel tape • Wipe moisture off steel tape to keep it from rusting • Don’t kink or twist steel tape. This can cause it to break • Don’t use steel tape near exposed electrical parts • Don’t let laser level get wet
Levels 11.0.0 • A tool used to determine both: • How level a horizontal surface • How plumb a vertical surface • Spirit levels-got its name because the vials in it are filled with alcohol. Alcohol use to be called spirits. • Most are tough and lightweight • Has three (3) vials filled with alcohol • Center vial for checking horizontal • The end vials for checking plumb • Come in a variety of sizes Spirit Levels 11.1.0
How to use a spirit level 11.1.1 • Put the level on the object you are checking • Look at the air bubble • If the bubble is centered between the lines • The object is plumb Safety and Maintenance 11.1.2 • Precision Instrument and must be handled with care • Keep clean and dry • Don’t bend or apply too much pressure on the level • Don’t’ drop or bump your level
Digital levels (Electronic) 11.2.0 • Feature a simulated bubble display and a digital readout of degrees of slope Laser Levels 11.3.0 • Shoots a line of sight quickly and accurately • Can be used by many people at once • Can be hung from ceiling or placed on tripod • Sturdy to handle jobsite conditions • Comes in a variety of sizes and weight depending on the application
Squares 12.0.0 • Used for marking, checking, and measuring • Many different squares for different jobs • Common types of squares include: • Carpenter’s square • Rafter angle square (speed square) • Try square • Combination square
Carpenter Square 12.1.0 Tongue • Shaped like an “L” • Used for squaring up sections of work to insure they are at right angles • 24” Blade 16” tongue • Tables on one side to make quick calculations such as area or volume Blade
Combination Square 12.2.0 • Has a 12”blade that moves through a head • Has both 45o and 900 angle • Some contain small spirit levels • Uses include: • Testing work for squarness • Marking 900 and 450 angles • Checking level and plumb surfaces • Measuring lengths and width Some contain a center head used on Pipe and a protractor to find degrees Contains Protractor and center head also Standard Try square
Combination Square 12.2.0 Most useful too for layout work. You can use it to do any of the following tasks • Testing work for squareness • Marking 90 degree and 45 degree angles • Checking level and plumb surfaces • Measuring lengths and widths • As a straightedge and marking tool Good combination squares have all metal parts, a blade that slides freely but can be clamped securely in position
How to use a Combination Square 12.2.1 • Set the blade at a right angle (90 degrees) • Place the head firmly against the material to be marked • Use the straight edge to mark the material To Mark a 45 degree angle • Set the blade at a 45 degree angle • Fit head firmly against the edge
Rafter/Speed square • Another type of carpenter’s square • Frequently made of aluminum • A combination “protractor”, “try square” and “framing square” • Marked with degrees for fast easy layout • Small and easy to store and carry • How to Use • Find and mark the place where the line will be drawn • Place the square so it lines up with the bottom of the object • Mark the line
Safety and Maintenance 12.3.0 • Keep dry to prevent rusting • Use light coat of oil on the blade and occasionally clean the groove and set screw • Don’t use a square for anything other than what it was designed for (especially hammering or prying) • Don’t bend a square or use one for any kind of horseplay • Don’t drop or strike the square hard enough to change the angle between the blade and the head
Plumb Bob 13.0.0 • A pointed weight attached to a string • Uses the force of gravity to make the line hand vertical, or plumb • Come in different shapes and sizes • Most common sizes are 12, 8, and 6 ozs • When the weight is allowed to hang freely it is said to be plumb • Some plumb bobs are a combination plumb bob/chalk line (requires special attention) Must be stored in a dry place to prevent chalk problems
Various plumb bobs This is a few examples Of plumb bobs Available for purchase And use by the worker Bob Villa will show you how to plumb a wall using the plumb bob
How to use a plumb bob 13.1.0 • Make sure the line is attached at the exact top center of the plumb bob • Hang the bob from a horizontal member such as a doorjamb, joist, or beam. Be careful not to drop a plumb bob on its point. • When weight is allowed to hang freely and stops swinging, the string is plumb (vertical)
Chalk lines 14.0.0 • A piece of string or cord that is coated with chalk • Stretch the line tightly between two points and then snap it to release the chalk • Can often be housed on a reel inside a box made of various material • Some have a point and can be used as a plumb bob • Must be stored in a dry place-damp or wet chalk is unusable
How to use a Chalk Line 14.1.0 • Pull the line from the case and secure one end • Stretch the line between the two points to be connected • After the line has been pulled tight, pull the string straight away from the work and then release it. This marks the surface underneath with a straight line of chalk
Utility Knives 15.0.0 • Used for a variety of purposes including cutting: • Roofing felt • Fiberglass • Asphalt shingles • Vinyl or linoleum floor tiles • Fiber or Gypsum board • Insulation • Has a replaceable razor-like blade • 6” long handle made of cast iron or plastic • The blade can be locked in one, two, or three positions • Some have a retractable blade that slides back into the handle (these are safest) • Different blades can be purchased for different applications and material Blades come in a variety of shapes and sizes to depending on material to be cut and the design of the knife
A Variety of Utility Knives Standard retractable Utility knife. Blade can be locked in three different positions allowing the blade to stick out further with each position. Extra blades can be stored inside handle This knife is designed to fold as a pocket knife would. Blade has one position and can be flipped one time when dulled; blade must then be replaced Retractable Utility knife with disposable blade. Blade is designed to break off in sections when the blade becomes dull.
How to use a Utility Knife 15.1.0 • Unlock the blade and Push the blade out • Lock the blade in the desired open position • Place scrap wood under object to be cut to protect the surface underneath • As soon as you have finished cutting, unlock the blade and pull back into handle. Safety and Maintenance 15.2.0 • Replace dull blades • Always keep the blade closed and locked when not in use • Position yourself properly and make cut in appropriate direction • Keeps body parts out of blade path (fingers and hands)