Temporary Abutment
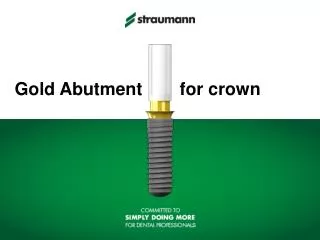
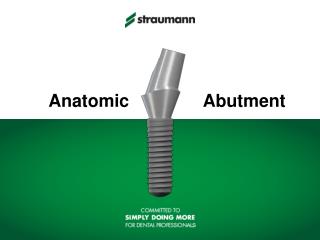
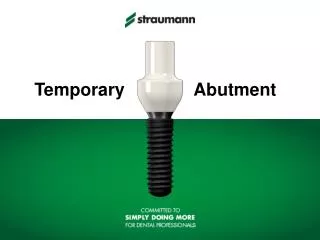
Temporary Abutment. Temporary Abutment Concept. Intended use For NC (Narrow Crossfit ™ Connection) and RC (Regular Crossfit ™ Connection) Screw- or cement-retained temporary single crowns Cement-retained temporary bridges. Component materials

Temporary Abutment
E N D
Presentation Transcript
Temporary AbutmentConcept • Intended use • For NC (Narrow Crossfit™ Connection) and RC (Regular Crossfit™ Connection) • Screw- or cement-retained temporary • single crowns • Cement-retained temporary bridges • Component materials • Temporary Abutment (Polymer, Ti) • Basal Screw (TAN)* NC RC Benefits • Easy chair-side modification • Esthetic temporization • High flexibility • Stability and precision *TAN is one type of titanium alloy material Education
Important • Restoration can remain in mouth for up to 6 months only • Temporary restoration must be out of occlusion • Modification: • Radially max. 0.5 mm for NC and 1.0 mm for RC • Vertically max. 6.0 mm (maintain at least 5.0 mm polymer height) Education
Temporary Abutment Option A • Screw-retained temporary restoration Option B • Cement-retained temporary restoration A B Education
Diagnostic wax-up and lab impression Education
Option A. Screw-retained restoration Steps: • Modify temporary abutment • Roughen upper section of abutment • Use heatless wheels and new carbide burs • Work with low rpm, little pressure Education
Option A. Screw-retained restoration • Hand-tighten individualized abutment into implant or model • Seal screw channel (e.g., with composite) Education
Option A. Screw-retained restoration • Direct veneer the abutment with vacuum-formed sheet technique and fill with acrylic • Remove excess acrylic • Polish finished crown Education
Option A. Screw-retained restoration • Re-open the screw channel • Tighten temporary crown between 15 - 35 Ncm • Cover screw head (e.g., with absorbent cotton) • Seal screw channel (e.g., with composite) Education
Option B. Cement-retained restoration • Modify temporary abutment (no undercuts!) • Roughen upper section of abutment • Use heatless wheels and new carbide burs • Work with low rpm, little pressure Education
Option B. Cement-retained restoration • Isolate modified abutment • Fabricatecementable crown on top (e.g., build up with composite) Education
Option B. Cement-retained restoration • Place customized abutment onto implant • Tighten temporary crown between 15 - 35 Ncm • Cover screw head (e.g., with absorbent cotton) Education
Option B. Cement-retained restoration • Cement crown using temporary cement Education