Download
1 / 12
150 likes | 378 Vues
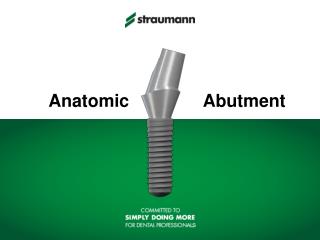
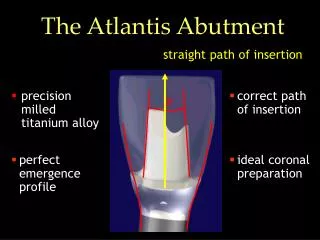
precision milled titanium alloy. 6 °. The Atlantis Abutment. straight path of insertion. correct path of insertion. perfect emergence profile. ideal coronal preparation. The Atlantis Design Process. Scanning. Feature Detection. 3D Model. Initial Design. Final Design.

E N D
precision milled titanium alloy 6° The Atlantis Abutment straight path of insertion correct path of insertion perfect emergence profile ideal coronal preparation
The Atlantis Design Process Scanning Feature Detection 3D Model Initial Design Final Design
Step 1: Scan master casts 3D Optical Scanning
Step 6: Send computer file to milling machine. Machine abutment and duplicate from a titanium alloy blank.
Receive Abutment from Lab Case courtesy of Julian Osorio, DMD, MScD
Place Abutment Cement provisional Suture soft tissue
Check Tissue Gemini duplicate as die for final crown No final impression!
Final Restoration Seated Remove provisional Final result