Mastering Still Life Photography: Composition and Lighting Tips
Explore the art of still life photography with this presentation that covers essential aspects like lighting, subject selection, backgrounds, and creativity. Unlike other forms of photography, still life allows you to have complete control over your composition without subject interference. Learn how to effectively use natural light and backdrops to emphasize your subjects, whether they be foods, flowers, or ornate objects. Engage your imagination and experiment with shapes and textures to create stunning visuals from everyday items.

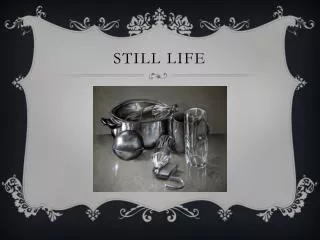
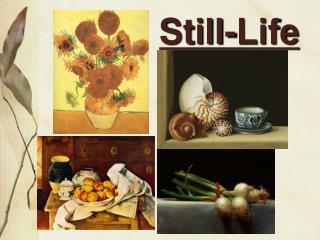
Mastering Still Life Photography: Composition and Lighting Tips
E N D
Presentation Transcript
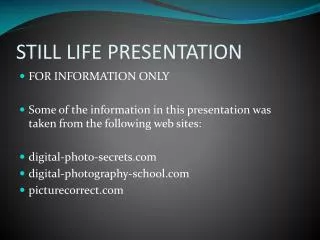
STILL LIFE PRESENTATION • FOR INFORMATION ONLY • Some of the information in this presentation was taken from the following web sites: • digital-photo-secrets.com • digital-photography-school.com • picturecorrect.com
“STILL LIFE” is a fine opportunity to learn about composition and lighting, Unlike portraits, your subject will not get bored and fidgety. Once a photo has a person or a scene in it, it can no longer be classified as “still Life” both on grounds of animation and of scale.
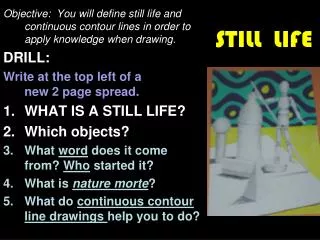
SETTING UP YOUR SHOT • SOME VERY IMPORTANT THINGS TO CONSIDER: • Lighting… • the subject… • Background & surface… • Creativity… • These are among the most important. • Lets consider these one by one.
Lighting • Professional photographers often use a light box to shoot still life. We will be practicing with one later & you can get information on line if you want to construct one yourself. • However, most of the time you are working indoors and can take advantage of natural light coming in through a window – a window facing north works best. • You can also soften the light coming in by placing a light material over the window, such as tissue paper.
You can get rid of hotspots if you use brightly lit white background when shooting glassware An effective use of black and white
CHOOSE YOUR SUBJECT • We see life three dimensionally. The best photos are the ones where the audience could walk into the scene or reach out and touch the subject. • When your highlights spread along the edge of your subject, the subject becomes three dimensional. • Take care if you use a flash as the lighting may look flat with few shadows.
BACKGROUNDS- If the background is too busy, hang a sheet or curtain, or use a piece of wood, stained or painted. • Keep it simple so as not to be distracting. Plain black (maybe velvet) or white (paper will do) background works well in many circumstances. The right background will push the subject forward toward the viewer. The wrong background will hide the subject.
Remove the wrinkles - unless you want this effect in your photo
SURFACE • Your surface could be anything that compliments your subject. • A Bench, table, cloth, bricks, wood….anything • Try to avoid showing the line between vertical & horizontal surfaces
The best thing about still life photography is you don’t need to wait for an opportunity to present itself – you are in charge of the whole thing.
A stained piece of wood makes an interesting surface for autumn leaves A draped cloth makes a perfect Surface for simple fruit
See the result of choosing A good selection of both backgrounds and surfaces
Fruits and flowers can make pretty special photos…… BUT, THE POSSIBILITIES ARE ENDLESS
BE CREATIVE! Find interesting objects – Add them one at a time checking, contrast & lighting
Make sure you fill the frame with your subject….and use macro mode.
Instead of shooting from your height, hold the camera so it is level with your subject. Or, try shooting from different angles. You would be well advised to use a tripod. PAY ATTENTIONTO COLOURS
Or This one? Not without steadying the camera with a tripod… AND not … without adjusting the shutter speed
HOW TO PHOTOGRAPH A GOLD WATCH • It sounds like such a basic task. • But, light can reflect off the glares, create • flares and major wash-outs of details. • So, you have to work with reflection by controlling it.
Place the light overhead, and place the watch on a small white background. Since the subject is rather small, keeping the background small prevents unnecessary flares of back light. Adjust the watch hands so that the time reads 1:51 or 10:09 – the minute and hour hands will act as a frame for the watch’s brand name. Set up white and gray cards around the watch to further control light and reflection.
Turn off all the lights except the ones lighting your subject. Keep ambient light out too. Move the overhead light around to get the desired effect. The camera is on a tripod and pointing down at the watch. Use a flash & set the white balance
The photo on the right is after making adjustments to minimize reflections and flares and emphasize details on the watch. TRY DOING THIS!!
A Personal favourite A
Experiment with different coloured Backdrops and table tops
WATCH OUT FOR REFLECTIONS!!
TO MAKE THISPHOTO BETTER,I COULD HAVEBLOCKED OUTTHE LIGHT COMINGIN FROMTHE WINDOW.OR, MAYBE IT IS MORE INTERESTING WITH THE REFLECTION??
Experimentwith colourtints NOTE THE DIFFERENCE WHEN THERE IS NO SEAM SHOWING
PEAR SCHNAPPSFROM GERMANY 1967PEAR GROWS ON THE TREE INSIDE THE BOTTLE
THE MONEY THAT WAS
D I E F E N B U C K ? R E M E M B E R C O N C E R N S U S A H A S
So, why take “still life” photos? • To practice with lighting and contrast • To show your creative side • To add art work to your walls • To create personal gifts • To immortalize special mementos & heirlooms • To inventory possessions for home and life insurance purposes SO, NOW LETS PRACTICE!!!