Mastering Computer-Aided Design for Efficient Designs
140 likes | 223 Vues
Explore the best CAD programs, harness 2D value, create 3D parts & assemblies, design efficiently, and gear up with valuable tips and resources from a CAD expert. Boost your skills now!

Mastering Computer-Aided Design for Efficient Designs
E N D
Presentation Transcript
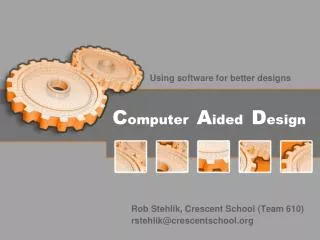
Using software for better designs ComputerAidedDesign Rob Stehlik, Crescent School (Team 610) rstehlik@crescentschool.org
Agenda • Which CAD program is best? • More than pretty pictures • The value of 2D • 3D parts and assemblies • Design tips • Demo: Gearbox design • Resources
Which CAD program is best? • The short answer: Solidworks! • Solidworks is fairly easy to use, and quite powerful. It’s also very common in industry. • But really it doesn’t matter, just use what you have • Learn what your mentors use • Both Autodesk Inventor and Solidworks are available free for students involved in FRC
More than pretty pictures • CAD is a tool for creating designs, not rendering super realistic images
The value of 2D • You can accomplish a lot with simple 2D sketches-robot layout -mechanism geometry -size constraints • Don’t rush to 3D • Examples: kicker designbump traverse
3D parts • Basic process: make a 2D sketch, then turn it into a 3D part • Combining simple features, you can make very complex parts • Demo: make a wheel
3D assemblies • Once you have a set of parts, you can put them together in an assembly • Assemblies help to make sure everything fits together, keep track of weight, create a bill of materials for ordering components • The more detailed your assembly, the smootheryour build
3D assemblies • Keep track of your weight • Assign materials to the parts • Example: wheel assembly • Coyobot VII, team 610 in 2006 Build weight: 142 lbs Regulation weight: 10,000 holes later
3D assemblies • Subassemblies help keep things organized, and make changes easier
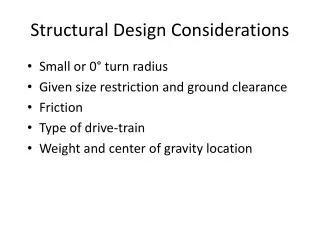
Design Tips • Write out all of your requirements • Start with a standard material size(check mcmastercarr) • Work within your manufacturing capabilities • Talk to your machinists! • Download 3D models, but if possible measure the real thing
Gearbox Design Requirements -single speed gearbox-driven by one CIM motor-50:1 gear ratio-use AndyMark gears
Gearbox Design Some terminology and background info: • Gears are specified by the pitch, which is the number of teeth per inch • The pitch circle is an imaginary circle within the profiles of the teeth of a gear, such that it rotates against a similar circle on a meshing gear • So how do we determine the correct centre distance?
Gearbox Design • Pitch diameter can be calculated by D = N/p • Some common AndyMark gear sizes are shown here • Let’s choose our gears and design the gearbox!
FIRST CAD library http://www.firstcadlibrary.com/ MadTown robotics CAD library http://team1323.com/cad/index.html MadTown CAD tutorials http://www.team1323.com/pages/cad_tutorials.php FRC Designs http://www.frc-designs.com/index.html Resources