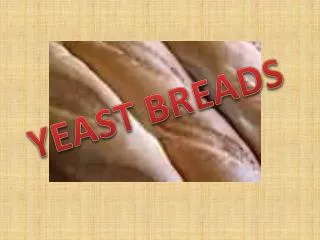
Yeast Breads: Methods and Principles
130 likes | 149 Vues
Learn traditional, mixer, and batter methods, different bread types, and crucial steps like scaling, kneading, proofing, and baking. Understand the science behind fermentation and how to achieve that ideal texture and flavor in your bread.

Yeast Breads: Methods and Principles
E N D
Presentation Transcript
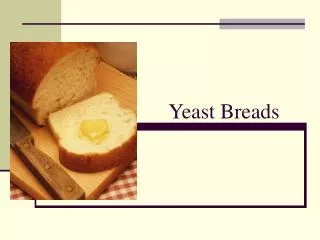
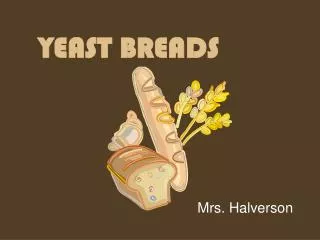
Yeast Breads: Methods and Principles Foods II
Steps in Making Bread • Scale or measure ingredients • Mix ingredients • Knead • 1st rise (Fermentation) • Punch down • Shape • 2nd Rise (Proofing) • Bake • Cool • Package
Traditional Method • Most familiar method of mixing • Add warm water (105 to 115F), sugar,and yeast to bowl and allow to sit till bubbly– called proofing the yeast. (You’re just proving it’s going to work.) • Add flour to mixture to make a soft dough • Knead in flour until dough is smooth and elastic • Allow to rise (fermentation) until doubled in size • Punch down, divide and shape • Allow to rise again (proofing) • Bake
This dough has seriously over risen. Bad things can happen when you leave your dough alone too long. • Fermentationoccurs when the yeast grows because it has the right temperature, a food source and water. • During fermentation, the dough is developing flavor. • The dough rises because during fermentation the yeast is producing carbon dioxide gas, and the gas inflates the dough.
Mixer Method • You can (and should)use a mixer to speed mixing time and shorten kneading time. • Don’t over work the bread.Bread that has been kneaded too long will be tough. 10 minutes is O.K. – 20 minutes is too long. • When ready, the dough should be smooth, elastic and still soft.
Batter Method • Batter bread is made with a very wet dough. • Gluten is formed by stirring or mixing – not by kneading • It is the only method that doesn’t require kneading. • Batter breads are often multi-grain.
One-rise bread • Requires the use of fast-rising yeast • After kneading dough, cover and let rest • Shape dough and allow to rise • Bake • The need for 2nd rising is removed. • Sacrifice flavor for speed. • Must use all-purpose flour • Bread flour requires a second rise
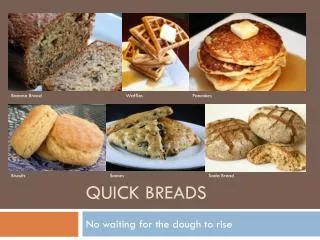
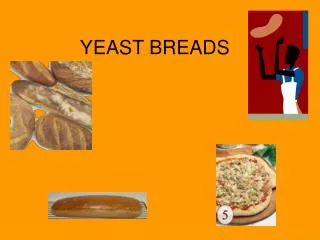
Bread Types • Hard, Lean Dough • French and Italian bread, baguettes, sourdough • Consists of 0-1% fat and sugar • Most basic yeast dough • Made solely of flour, water, yeast and salt • Have a relatively dry, chewy crumb, and hard crust
Bread Types • Soft Medium Dough • Dinner rolls, Parker House rolls, Pullman bread • Consists of no more than 9% fat and sugar • Elastic and tears easily • Have a soft crumb and crust
Bread Types • Sweet Rich Dough • Coffee cakes, cinnamon buns, and doughnuts • Incorporates up to 25% fat and sugar • Structure is soft and heavy • High gluten allows the dough to support the additional fat and sugar
Bread Types • Rolled –in Fat Yeast Dough • Croissants and Danish pastries • Through a folding action and cold butter, dough yields many thin, alternating layers of fat and dough • As the dough bakes, the heated fat releases moisture making steam and lifts the dough