Download
1 / 13
130 likes | 263 Vues
LOGIN & Password Policy Employing Technology for Business Benefits. Contents Webxpress Login Assign Rights to User Set & Update Password Policy. Screen for To Pay docket entry. Login System of WebXpress

E N D
LOGIN & Password Policy Employing Technology for Business Benefits • Contents • Webxpress Login • Assign Rights to User • Set & Update Password Policy
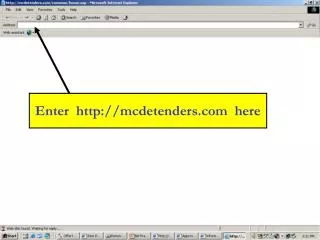
Screen for To Pay docket entry • Login System of WebXpress • WebXpress follows as user based login system, this means that every user has his own username and password. • To use WebXpress, your user name is same as your employee id. Your password will be communicated to you by IT manager. • When you login to, WebXpress carries out following actions automatically: • Location at which you are currently deputed is recognized • Your name is recognized • Last date and time when you logged into WebXpress is checked • Your rights; that is what you can do and can not do; are checked
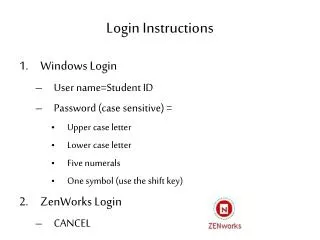
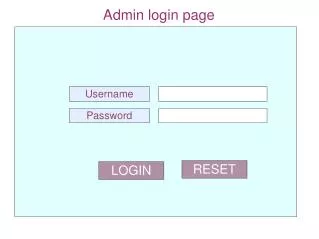
LOGIN screen Enter your employee id and Password, and click on login button
Next Step • WebXpress will check your location and your rights • Your current window will close and a new browser window will open • You will then see WebXpress main screen with your name on right-hand top • You will also see menus as per your rights. Thus, if you are not allowed to see Reports, you will NOT see Reports menu • Note: • If you are using Windows XP or a Yahoo Toolbar, it is possible that all Pop-up windows are blocked • In this case, your login window will close BUT new window will not open • Turn off pop-up blocker in Tools > Pop-up blocker > Turn off pop-up blocker • You can remove Yahoo or MSN toll bar using control panel
Screen after Login C003 is employee id And Hqtr is Current working Location
Assign Rights to User • It is possible to define activities of every user in WebXpress. Following example will give you an idea of activities and rights: • Operations-Allowed Privilege user • Finance-Not Allowed • Reports-Allowed Normal user • Marketing-Not Allowed • Admin-Not Allowed • 10001-Rajesh • Thus, Mr. Rajesh can access only Operations and Reports part of WebXpress. Rest of the functions are “Not Allowed” for him to use. At the same time, in Operations, he has been provided with special rights called “Privileges”. • You not have to remember your rights as WebXpress automatically checks the same and allows you to use WebXpress accordingly.
Select Module Select Employee to Assign Right
Set Password Policy Click on Password policy
Screen for Password policy Update Click on Update
Thank You APURVA MANKAD Founder and CEO apurva@webxpress.in +91 93242 42802 ECFY Consulting Private Limited Employing Technology for Business Benefits www.webxpress.in