Download
1 / 33
350 likes | 424 Vues
Learn how to produce sound using output devices, understand sound characteristics, connect speakers, and play melodies through Arduino. Explore sound frequencies, musical tones, and volume controls. Enhance your knowledge of sound production with practical examples.

E N D
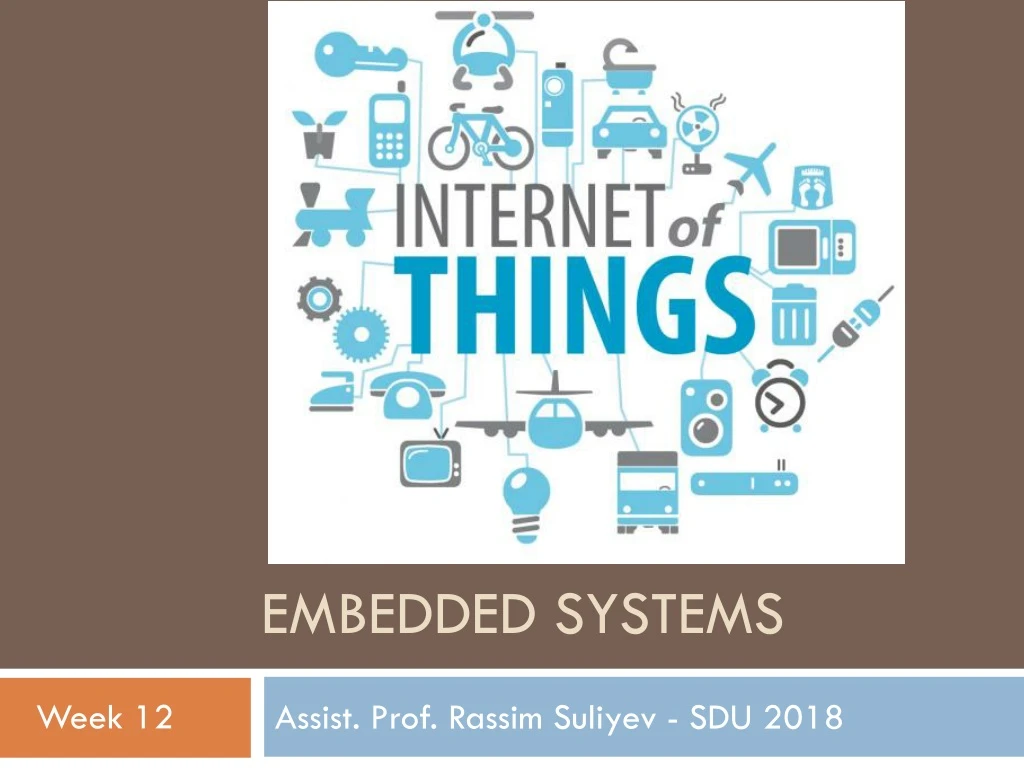
Embedded SYstems Week 12 Assist. Prof. Rassim Suliyev - SDU 2018
Audio Output • Produce sound through an output device such as a speaker • Sound is produced by vibrating air • A sound has a distinctive pitch if the vibrationrepeats regularly • The Arduino can create sound by driving a loudspeaker or Piezo device • Converts electronic vibrations into speaker pulses that vibrate the air
Sound Characteristics • The pitch (frequency) of the sound is determined by the time it takes to pulse the speaker in and out • The shorter the amount of time, the higher the frequency • The unit of frequency is measured in hertz • Number of times the signal goes through its repeating cycle in one second • The range of human hearing is from around 20 hertz (Hz) up to 20,000 hertz
Producing Sound • Arduino software includes a tone function which useshardware timers • Arduino UNO board can produce only one tone at a time • Tone uses timer2 which is also used by analogWrite on pins 9 and 10 • Simultaneous use of both is impossible • The sound that can be produced by pulsing a speaker is limited and does not sound very musical
Producing Sound • The output is a square wave • Sounds harsh and more like an antique computer • It’s difficult for Arduino to produce more musically complex sounds without external hardware • shield that play back audio files from a memory card • send Musical Instrument Digital Interface (MIDI) messages to a MIDI device
Connecting Small speaker or Piezo • Volume control - variable resistor (200 ~ 500 ohms) • Capacitor - 100 microfarad electrolyte • Speake is not polarized but Piezo is • Alternatively, you can connect the output to an external audio amplifier
Playing Tones tone(pin, freq[, dur]) • pin: where to generate the tone • freq: frequency of the tone in HZ • dur: the duration of the tone in milliseconds const int speakerPin = 9; const int pitchPin = 0; void setup(){ } void loop(){ //read the sensor int sensorReading = analogRead(pitchPin); // convert the value to frequency 100Hz to 5kHz int frequency = map(sensorReading, 0, 1023, 100,5000); int duration = 250; // how long the tone lasts tone(speakerPin, frequency, duration); // play the tone }
Playing a Simple Melody const int speakerPin = 9; // connect speaker to pin 9 char noteNames[] = {'C','D','E','F','G','a','b'}; unsigned int frequencies[] = {262,294,330,349,392,440,494}; const byte noteCount = sizeof(noteNames); // number of notes (7 here) char score[] = "CCGGaaGFFEEDDC GGFFEEDGGFFEED CCGGaaGFFEEDDC "; //space is a rest byte beats[] = {1,1,1,1,1,1,2,1,1,1,1,1,1,1,1, 1,1,1,1,1,1,2,1,1,1,1,1,1,1,1, 1,1,1,1,1,1,2,1,1,1,1,1,1,1,1}; const byte scoreLen = sizeof(score)-1; // the number of notes in the score void setup(){} void loop(){ for (int i = 0; i < scoreLen; i++){ int duration = 333; // each note lasts for a third of a second playNote(score[i], duration*beats[i]); // play the note } delay(2000); // wait two seconds before repeating the song } void playNote(char note, int duration){ //play the tone corresponding to the note for (int i = 0; i < noteCount; i++){ // try and find a match for the noteName to get the index to the note if (noteNames[i] == note) // find a matching note name in the array tone(speakerPin, frequencies[i], duration); // play the note } delay(duration); // if there is no match then the note is a rest, so just delay }
Using Time and Dates • delay(duration) - pauses the execution of your sketch for the duration • delayMicroseconds() to delay short periods • millis() can be used if need to perform other tasks within the delay period if (millis() - previousMillis > interval){ // save the last time you blinked the LED previousMillis = millis(); // if the LED is off turn it on and vice versa: if (ledState == LOW) ledState = HIGH; else ledState = LOW; // set the LED with the ledState of the variable: digitalWrite(ledPin, ledState);}
Time.h library • #include <Time.h> • Time library enables you to keep track of the date and time • It allows a sketch to get the time and date as • second, minute, hour, day, month and year • Arduino boards use a quartz crystal for timing • accurate to a couple of seconds per day • it does not have a battery to remember the time • time will restart from 0 each time a sketch starts
<Time.h> Functional Overview • hour(); - returns the system hour now (0-23) • minute(); - returns the minute now (0-59) • second(); - returns the second now (0-59) • day(); - returns the day now (1-31) • weekday(); - returns the weekday now (1-7) • Sunday is day 1 • month(); - returns the month now (1-12) • year(); - returns the year now (ex:2009) • All functions can take an optional parameter for the time, Ex: • hour(t); - returns the hour for the given time t • year(t); - returns the year for the given time t
<Time.h> Functional Overview • hourFormat12(); - returns the hour now in 12 hour format • isAM(); - returns true if time now is AM • isPM(); - returns true if time now is PM • now(); - returns the current time as seconds since Jan 1 1970 • time_t t = now(); - store the current time in time variable t • setTime(hr,min,sec,day,mnth,yr); - set the system time • yr is 2 or 4 digit (ex: 2010 or 10 sets year to 2010) • setTime(t); - set the system time to the give time t
Using Arduino as a Clock void digitalClockDisplay(){ printDigits(hour()); Serial.print(":"); printDigits(minute()); Serial.print(":"); printDigits(second()); Serial.print(" "); printDigits(day()); Serial.print("."); printDigits(month()); Serial.print("."); printDigits(year()); Serial.println(); } void printDigits(int digits){ // prints leading 0 if(digits < 10) Serial.print('0'); Serial.print(digits); } #include <Time.h> void setup(){ Serial.begin(9600); setTime(15,30,0,26,04,17); } void loop(){ digitalClockDisplay(); delay(1000); }
TimeAlarms Library • Is a companion to the Time library • Makes it easy to perform tasks at specific times or after specific intervals • Tasks scheduled at a particular time of day are called Alarms • Tasks scheduled after an interval of time has elapsed are called Timers • These tasks can be created to continuously repeat or to occur once only
Creating Alarms • Call a function every day at a particular time • Alarm.alarmRepeat(hours, minutes, seconds, function); • Call a function every week on a specific day at a particular time • Alarm.alarmRepeat(dayofweek, hours, minutes, seconds, function); • Call a function once at a particular time • Alarm.alarmOnce(hours, minutes, seconds, function); • Call a function once, at specific day and time • Alarm.alarmOnce(dayofweek, hours, minutes, seconds, function); * dayofweek can be: dowSunday, dowMonday, dowTuesday, dowWednesday, dowThursday, dowFriday, dowSaturday.
Creating Timers • Call function repeatedly at an interval of … seconds • Alarm.timerRepeat(seconds, function); • Call a function once in … seconds • Alarm.timerOnce(seconds, function); • Each constructor returns an id for created object • Alarm.disable(id) / Alarm.enable(id) – disable / enable object by its id. • Alarm.free(id) – delete object and recycle its memory
Normal Running Usage • Alarms and Timers are only checks • Their functions called whith Alarm.delay() • Pass 0 argument for minimal delay • Call the Alarm.delay() function instead of the normal delay() function when using the Alarms library • Intervals range from one second to several years • Tasks are scheduled for specific times • If you change the system time the trigger times will not be adjusted
Periodically Call a Function #include <Time.h> #include <TimeAlarms.h> AlarmId id; void setup() { Serial.begin(9600); setTime(15,30,0,26,04,17); // create the alarms, to trigger at specific times Alarm.alarmRepeat(15,31,0, DailyAlarm); // 15:30am every day Alarm.alarmRepeat(dowWednesday,15,30,30,WeeklyAlarm); // 15:30:30 every Wednesday // create timers, to trigger relative to when they're created Alarm.timerRepeat(15, Timer1); // timer for every 15 seconds id = Alarm.timerRepeat(2, Timer2); // timer for every 2 seconds Alarm.timerOnce(10, OnceOnly); // called once after 10 seconds } void loop() { digitalClockDisplay(); Alarm.delay(1000); // wait one second between clock display } // functions to be called when an alarm triggers: void DailyAlarm() { Serial.println("Daily Alarm: - Check the mail please!"); } void WeeklyAlarm() { Serial.println("Weekly Alarm: - It's IOT lesson today"); } void Timer1() { Serial.println("15 second timer"); } void Timer2() { Serial.println("2 second timer"); } void OnceOnly() { Serial.println("This timer only triggers once, it stops the 2 second timer"); //disable a timer and recycle its memory. Alarm.free(id); } void digitalClockDisplay() { printDigits(hour()); Serial.print(":"); printDigits(minute()); Serial.print(":"); printDigits(second()); Serial.println(); } void printDigits(int digits) { if (digits < 10) Serial.print('0'); Serial.print(digits); }
I2C and SPI • I2C (Inter-Integrated Circuit) and SPI (Serial Peripheral Interface) • provide simple ways for digital information to be transferred between sensors and microcontrollers • Choice between I2C and SPI is usually determined by the devices you want to connect • I2C advantage: it only needs two signal connections • I2C disadvantages: • data rate is slower than SPI • data can only be traveling in one direction at a time
I2C and SPI • SPI advantages: • runs at a higher data rate • has separate input and output connections • thus, can send and receive at the same time • SPI disadvantage: uses one additional line per device to select the active device • SPI generally used for high data rate applications such as Ethernet and memory cards • I2C is more typically used with sensors that don’t need to send a lot of data
I2C • I2C bus uses two connections called SCL and SDA • SCL – on analog pin 5 (provides a clock signal) • SDA – on analog pin 4 (used for transfer of data) • One device on the bus is considered the master • coordinate the transfer of information between the other attached devices (slaves) • there must be only one master • in most cases the Arduino is the master • controls other chips attached to it
I2C • Devices need a common ground to communicate • Slave devices are identified by their address number • Each slave must have a unique address
I2C • Some I2C devices have a fixed address • Others are configured by setting pins high or low or by sending initialization commands • Arduino uses 7-bit values to specify I2C addresses • If device uses 8-bit address divide that value by 2 toget the correct 7-bit value • I2C and SPI only define how communication takes place between devices • controlling messages depend on each individual device • consult the data sheet to determine required commands
Wire.h library for I2C connection • Wire.begin([addr]) - Initiate and join the I2C bus as a master(no addr) or slave(with addr) • Wire.requestFrom(a,n) - Used by the master to request n bytes from a slave device • Wire.beginTransmission(a) - Begin a transmission to the I2C slave device with the given address • Wire.endTransmission() - transmits the bytes that were queued by write() • Wire.available() - Returns the number of bytes available for retrieval with read()
Wire.h library for I2C connection • Wire.write(d) - Writes data from a slave device in response to a request from a master, or queues bytes for transmission from a master • Wire.read() - Reads a transmitted byte • Wire.SetClock(clk) - modifies the clock frequency • Wire.onReceive(f) - Calls function f when a slave device receives message from master • Wire.onRequest(f) – Calls function f when a master requests data from the slave device
Communicating Using I2C // I2C MASTER #include <Wire.h> void setup(){ Wire.begin(); Serial.begin(9600); } void loop() { while(Serial.available() > 0){ char c = Serial.read(); Wire.beginTransmission(8); // transmit to device #8 Wire.write((char)c); // sends one byte Wire.endTransmission(); // stop transmitting } } // I2C SLAVE #include <Wire.h> void setup() { Wire.begin(8); // join i2c bus with address #8 Wire.onReceive(receiveEvent); // register event Serial.begin(9600); // start serial for output } void loop(){} void receiveEvent(int howMany){ while (Wire.available() > 0){ char c = Wire.read(); // receive byte as a character Serial.print(c); } }
SPI • SPI has three lines connected to the respective lineson one or more slaves: • MOSI - separate input (pin 11 on Uno) • MISO - separate output (pin 12 on Uno) • SCLK - clock line (pin 13 on Uno) • Slaves identified by SS - Slave Select line (pin10)
SPI configuration • When a device's Slave Select pin is: • LOW - it communicates with the master • HIGH - it ignores the master • To communicate SPI device note a few things • What is the maximum SPI speed your device can use? • Is data shifted in Most Significant Bit (MSB) or Least Significant Bit (LSB) first? • Is the data clock idle when high or low? • Are samples on the rising or falling edge of clock pulses?
SPI configuration • Each device implements SPI a little differently • Pay special attention to the device's datasheet • There are four modes of transmission • These modes and other configurations are controlled by three parameters in SPISettings
SPISettings • The SPISettings object is used to configure the SPI port for your SPI device • SPISettings(spdMax, dataOrder, dataMode) • spMax: maximum speed of communication • dataOrder: MSBFIRST or LSBFIRST • dataMode : SPI_MODE0, SPI_MODE1, SPI_MODE2, or SPI_MODE3 • Example of usage: SPI.beginTransaction(SPISettings(14000000, MSBFIRST, SPI_MODE0))
SPI library • SPI.begin() - Initializes the SPI bus • setting SCK, MOSI, and SS to outputs, pulling SCK and MOSI low, and SS high • SPI.end() - Disables the SPI bus (leaving pin modes unchanged) • SPI.beginTransaction(mySettings) - Initializes the SPI bus using the defined SPISettings • SPI.endTransaction() - Stop using the SPI bus • SPI.transfer(val) - based on a simultaneous send and receive • the received data is returned by the function • In case of buffer transfers like SPI.transfer(buffer, size) • the received data is stored in the buffer in-place the old data is replaced with the data received
SPI communication // SPI MASTER #include <SPI.h> void setup() { SPI.begin(); Serial.begin(9600); } void loop() { while(Serial.available() > 0){ char c = Serial.read(); //select the chip: digitalWrite(SS, LOW); //send in the char: SPI.transfer(c); //de-select the chip: digitalWrite(SS, HIGH); delay(20); // wait for Slave } } // SPI SLAVE #include <SPI.h> void SlaveInit(void) { // Initialize SPI pins. pinMode(SCK, INPUT); pinMode(MOSI, INPUT); pinMode(MISO, OUTPUT); pinMode(SS, INPUT); SPCR = (1 << SPE); // Enable SPI as slave. } // Function for transfering data as a Slave byte SPItransfer(byte value) { SPDR = value; while(!(SPSR & (1<<SPIF))); delay(10); return SPDR; } void setup() { SPI.begin(); SlaveInit(); Serial.begin(9600); } void loop() { if (digitalRead(SS) == LOW) { char rx = SPItransfer(255); Serial.print(rx); } }