Download
1 / 6
60 likes | 80 Vues
Trouble in Officejet Printer Install Driver.Don't panic ! our expert team is always ready to help you.just follow few easy steps.for more information visit https://www.officejetprinters.com/ or call toll free number tel: 1(800)6738163<br>

E N D
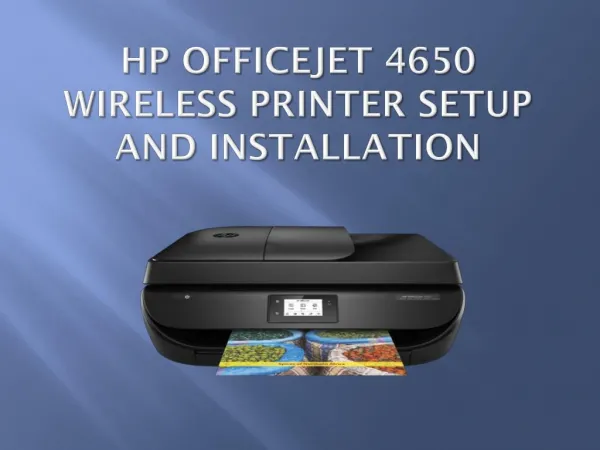
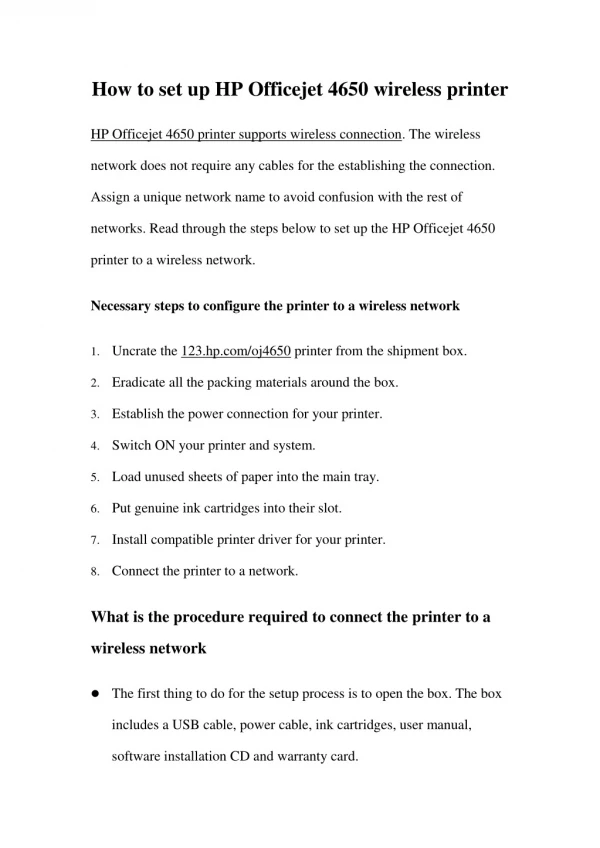
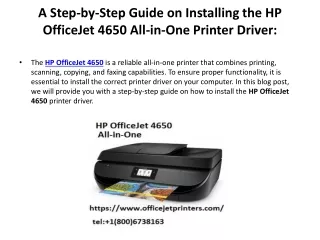
A Step-by-Step Guide on Installing the HP OfficeJet 4650 All-in-One Printer Driver: • The HP OfficeJet 4650is a reliable all-in-one printer that combines printing, scanning, copying, and faxing capabilities. To ensure proper functionality, it is essential to install the correct printer driver on your computer. In this blog post, we will provide you with a step-by-step guide on how to install the HP OfficeJet 4650 printer driver.
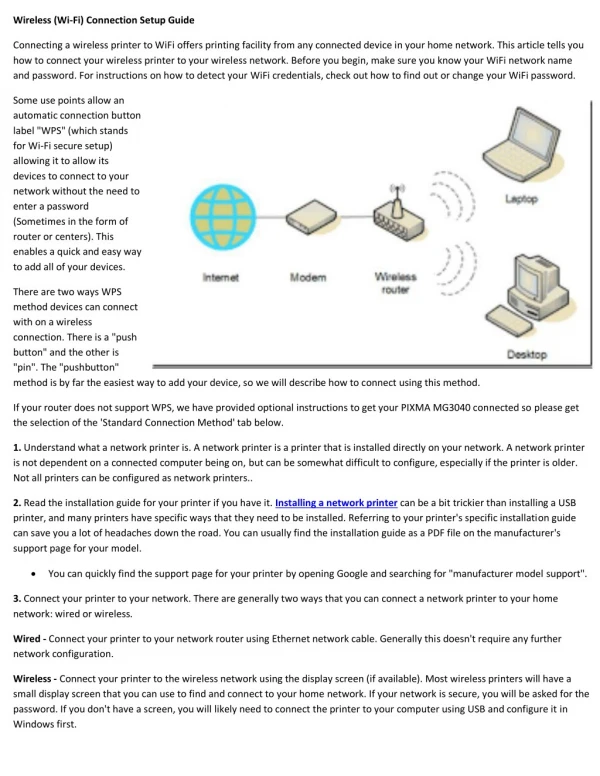
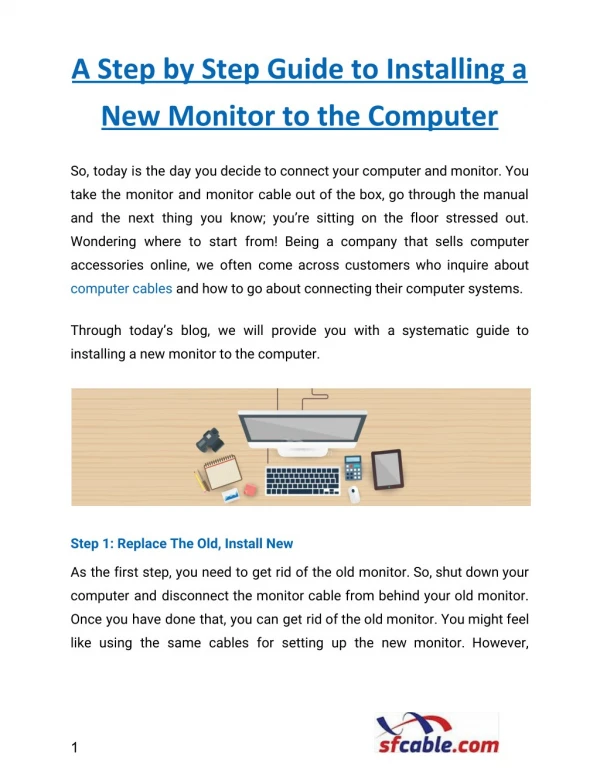
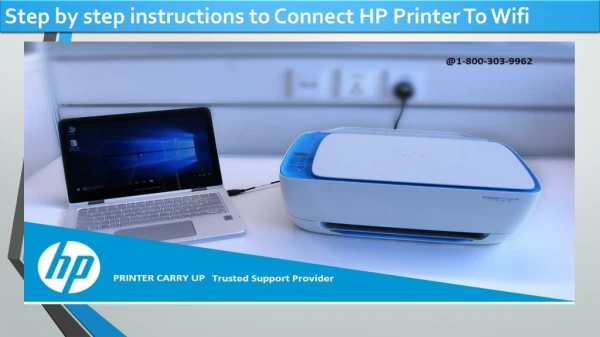
A Step-by-Step Guide on Installing the HP OfficeJet 4650 All-in-One Printer Driver: • Step 1: Unboxing and Preparing the Printer: • Start by unboxing your HP OfficeJet 4650 printer and remove all the packaging materials. Connect the printer to the power cord and plug in it into an electrical outlet. Power on the printer using the power button located on the control panel. Then, follow the on-screen instructions to select your language, region, and other initial settings. • Step 2: Connecting the Printer to your Computer: • To connect your HP OfficeJet 4650 printer to the computer, you have two options: wired or wireless. For a wired connection, use a USB cable to connect the printer and computer. For a wireless connection, ensure that your printer and computer are connected to the same Wi-Fi network.
Step 3: Downloading the Driver from the HP Support Website: • Visit the official HP support website (https://support.hp.com) using a web browser on your computer. Navigate to the "Drivers and Downloads" section. Enter "HP OfficeJet 4650" in the search bar and select your operating system as Windows. • Locate the correct driver for your printer model and click on the "Download" button. The website will provide you with the latest driver version available. It is recommended to download the full-featured driver, which includes all the necessary software and utilities for your printer. • Step 4: Installing the Printer Driver: • After the driver file is downloaded, locate it in your computer's Downloads folder and double-click on it to start the installation process. Follow the on-screen instructions, accepting the terms and conditions and selecting the desired installation options. You may have the option to choose between a wired or wireless connection during the installation process. Select the appropriate option based on your printer's connection method.
A Step-by-Step Guide on Installing the HP OfficeJet 4650 All-in-One Printer Driver: • If you are using a USB cable connection, connect the cable to the printer and computer when prompted by the installation wizard. Make sure that the cable is securely connected. • If you are using a wireless connection, the installation wizard will prompt you to temporarily connect the via USB for initial setup. Follow the instructions to complete the temporary USB connection. • Step 5: Completing the Installation and Testing: • Once the installation process is complete, the wizard will notify you. At this point, you can choose to perform a test print to ensure that the HP OfficeJet 4650 printer is functioning correctly. Follow the instructions provided by the installation wizard to perform the test print. • If the test print is successful, the printer driver installation is complete. You can now start using your HP OfficeJet 4650 printer to print, scan, copy, and fax documents.
A Step-by-Step Guide on Installing the HP OfficeJet 4650 All-in-One Printer Driver: • Conclusion: • Installing the HP OfficeJet 4650 printer driver is crucial for optimal performance and functionality. By following this step-by-step guide, you can easily install the driver on your Windows computer and begin using the printer's diverse capabilities. Enjoy your printing experience!
A Step-by-Step Guide on Installing the HP OfficeJet 4650 All-in-One Printer Driver: • Contact us: • For more information visit https://www.officejetprinters.com/ • or • call toll free number tel:+1(800)6738163 • our expert team available 24/7.