The Microscope
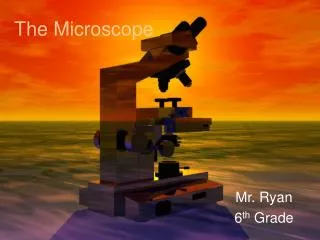
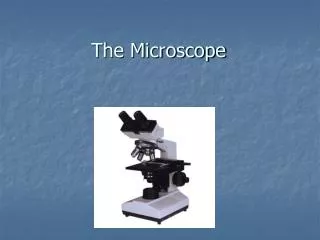
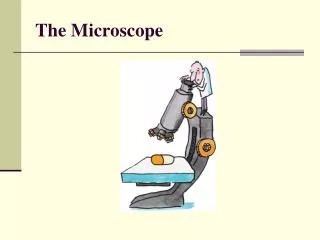
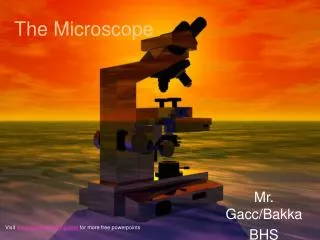
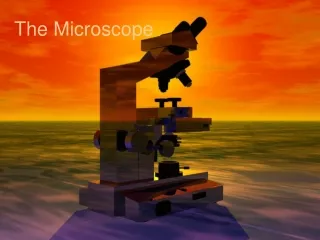
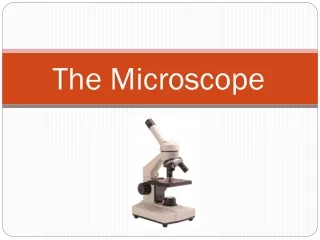
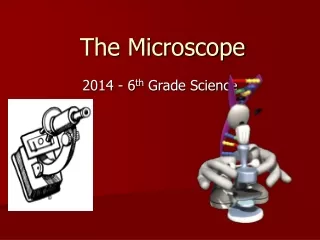
The Microscope Sixth Grade Science Class DTresten.Hildebrandt.2001/2 Modified by TCrannie 02/03 Modified by SDillon 12/03/2007 This is the microscope that is similar to the one we will use in our science lab. It’s the one used in science labs all over the world. Photo by D. Tresten, 2002

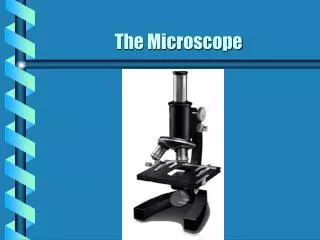
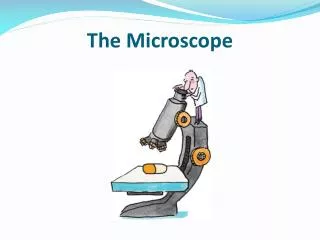
The Microscope
E N D
Presentation Transcript
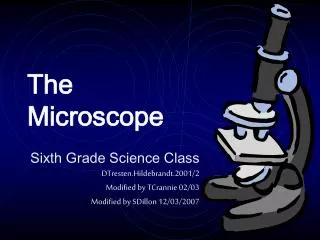
The Microscope Sixth Grade Science Class DTresten.Hildebrandt.2001/2 Modified by TCrannie 02/03 Modified by SDillon 12/03/2007
This is the microscope that is similar to the one we will use in our science lab. It’s the one used in science labs all over the world. Photo by D. Tresten, 2002
Background Information Two types of lenses: • Convex Lens • Concave Lens Molecular Expressions: Light and Color - The Bi-Convex Lens: Interactive Java Tutorial Molecular Expressions Microscopy Primer: Light and Color - Human Vision: Interactive Java Tutorial Molecular Expressions: Light and Color - Bi-Concave Lenses: Interactive Java Tutorial
The Human Eye http://micro.magnet.fsu.edu/primer/anatomy/introduction.html Molecular Expressions Microscopy Primer: Light and Color - Human Vision: Interactive Java Tutorial
Microscopes Work on the Principal of Magnification • Looking through crystals and raindrops taught people about magnification. • Microscopes contain convex lenses, which magnify objects. Molecular Expressions: Light and Color – The Bi-Convex Lens: Interactive Java Tutorial
Objects in Which Convex Lenses are Used: Click to see 5 images
Use • Parts • Types • History • Care • Images Table of Contents
Back to Contents Next Page History of the Microscope Molecular Expressions Microscopy Primer: Anatomy of the Microscope - Introduction General History A-Z Microscope Welcomes You! Leeuvenhoek Famous People Hooke
Anton Von Leeuvenhoek • Lived during 17th century • First man to make and use microscope • His microscope magnified 270x and looked like this: A-Z Microscope Welcomes You! http://micro.magnet.fsu.edu/primer/anatomy/introduction.html Back to History Scroll down this site to see a detailed drawing of the scope: A-Z Microscope Welcomes You! Glass-sphere microscope
Robert Hooke A-Z Microscope Welcomes You! Hooke wanted to know what something living looked like when it was strongly magnified. Since he knew that he would need to cut a really thin layer to view through his microscope, he chose to view a piece of easily-sliced cork tree… Next Page
http://www.britannica.com/eb/art?id=10558&type=A Next Page Cork oak (Quercus suber) with sections of cork removedEric G. Carle—Shostal/EB Inc. ENCYCLOPÆDIA BRITANNICA
Credit: National Library of Medicine, NIH Cork Cells When Hooke viewed the thin layer of cork through his micro-scope, this is what he saw: Next Page NIGMS -- Inside the Cell/ Drawing of cork tissue
The small structures that “made up” cork reminded Hooke of the prison cells of his century… Cork Cells Prison Cells Credit: National Library of Medicine, NIH NIGMS -- Inside the Cell/ Drawing of cork tissue Next Page
…so he named the small structures “cells.” Plant Cells Plant -- Media -- Encarta ® Online Richard Kirby, Oxford Scientific Films Plant Cell (viewed through a modern microscope) Table of Contents Prison Cells
Use • Parts • Types • History • Care • Images Table of Contents
Next Page Why Use a Microscope?To see this… Click on Image Gallery to see why: CELLS alive! CELLS alive!
Next Page And this… Click on Image Gallery to see why: CELLS alive! CELLS alive! Dangerous water-born parasite. Most dangerous for persons with Compromised immune systems.
Next Page And this… Click on Image Gallery to see why: CELLS alive! CELLS alive! Ascorbic Acid (vitamin C) crystals.
Next Page And this… Click on Image Gallery to see why: CELLS alive! CELLS alive! Daphnia (water flea) found in pond water.
Next Page And this… • Dust mite, • found in beds, • carpets, and • sofas. • Eat dead skin • cells and • crumbs from • crackers or • cookies. • May cause • itching if too • many of them. CELLS alive! CELLS alive!
Back To Table of Contents And this…
Back to Contents Jump to Cells PPT Images Seen Through Microscopes Guess It! The Molecular Expressions Photo Gallery Click on Image Gallery to view cells through compound scope http://www.mos.org/sln/SEM/gallery.html CELLS alive! http://www.mos.org/sln/SEM/ Molecular Expressions Microscopy Primer: Electron Microscopy Interactive Java Tutorials - Virtual Scanning Electron Microscopy
Use • Parts • Types • History • Care • Images Table of Contents
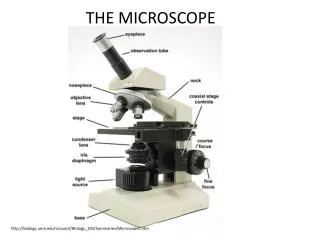
Let’s learn the names of the parts of the microscope, so that we can later learn how to use each part… Click here to begin
1 2 3 7 4 8 13 5 12 6 11 Eyepiece (or Ocular) (10x) See the Names of the Parts Body tube Click to see names Coarse Adjustment Knob Revolving Nosepiece Low Power Objective (10x) 4 Arm High Power Objective (50x) Fine Adjustment Knob 9 Disc Diaphragm In-base illuminator Light Source (Mirror, not lamp) 10 Inclination Joint Base (Legs) http://www3.telus.net/micron/microscope/lab scope.jpg Stage Stage Opening Stage clips
Back To Table of Contents Watch How Light Travels Through a Microscope Molecular Expressions Microscopy Primer: Anatomy of the Microscope - Transmitted Light Microscopy Optical Pathways: Interactive Java Tutorial
Use • Parts • Types • History • Care • Images Table of Contents
Back to Contents Repeat this Slide Magnify 10x Learn the Functions Support lenses A-Z Microscope Welcomes You! Focus quickly but coarsely To turn objectives into place over specimen Hold slide Hold body tube/Carry Magnify 10x Magnify 50X Slowly and finely move objectives toward/away from specimen to focus finely Allow more/less light Send light up through specimen Bend eyepiece toward your eye Support microscope Allow light to reach specimen
Back to Contents Name My Functions Game Magnify 10x To play: Name my functions in order, out loud. Click on each part to see if you were correct. Support lenses Focus quickly but coarsely To turn objectives into place over specimen Hold slide Magnify 10x Hold body tube/Carry Magnify 50X Slowly and finely move objectives toward/away from specimen to focus finely Allow more/less light Send light up through specimen Bend eyepiece toward your eye Support microscope Allow light to reach specimen
Back To Table of Contents Zeiss Microscope(Ours)Name its parts
Use • Parts • Types • History • Care • Images Table of Contents
Care of the Microscope,Page 1 of 3Click in each blank after you say the answer aloud: Always carry a microscope with _______ hands, one on the ______ and the other on the ________. two arm base Click here to view answers Go to Page 2: Care of Microscope Back to Table of Contents
Care of the MicroscopePage 2 of 3 Clean lenses with ______ _________ only. lens paper NEVER touch _________ with finger tips. lenses Click here to view answers Go to Page 3: Care of Microscope Back to Table of Contents
Care of the MicroscopePage 3 of 3 Always keep the scope _____ from the _______ of the _________. away edge Click here to view answers table Go to Page 1: Care of Microscope Back to Table of Contents
How to Wake It Up How to Focus How to Put it to Bed How to Make a Wet Mount Back To Table of Contents How to Use the Microscope
Back to Contents More About Use To Use the Scope, Wake It Up: Use of the MicroscopePage 1 • Check: Is objective AWAY from stage? • Place LOW powered (10x) objective over stage opening. • Plug in scope. • Place wet-mounted slide on stage (only if objective is far away). • Turn on lamp. Click to see 5 steps
How to Wake It Up How to Focus How to Put it to Bed How to Make a Wet Mount Back To Table of Contents How to Use the Microscope
Back to Contents What does “focus” mean? In this site, raise and lower the “focus” knob to see how blurry and sharp the image of the specimen will appear. Molecular Expressions Microscopy Primer: Electron Microscopy Interactive Java Tutorials - Virtual Scanning Electron Microscopy How to Focus
Back to Contents Step 1: Focusing How to Focus on a Specimen: Click below to practice focusing: Molecular Expressions Microscopy Primer: Electron Microscopy Interactive Java Tutorials - Virtual Scanning Electron Microscopy
Back to Contents Set Disc Diaphragm to 1,“Least Light” Setting See Close-Up of Disc Diaphragm See Next Step
Close-up of disc diaphragm (as seen from underneath the stage) Back to Contents See Next Step
Set Scope to Low Power (100x) In other words, set the 10x objective in place over the stage opening.
Back to Contents Place specimen (which is on a slide) directly over the stage opening and secure it with stage clips… See Next Step
Back to Contents Looking from the side, use the coarse adjustment knob to raise the stageas close as possible to the objectives… See Next Step
Back to Contents Looking through the eyepiece for the first time (with both eyes open), use the coarse and/or fine adjustment knob/s untilthe specimenis in sharp,clearfocus. See Next Step
Back to Contents More About Use How to Focus on a Specimen, Cont’d: Use of the MicroscopePage 3 If there is too little light, rotate the discdiaphragm to another opening. See Next Step Click below to practice focusing: Molecular Expressions Microscopy Primer: Electron Microscopy Interactive Java Tutorials - Virtual Scanning Electron Microscopy
Back to Contents Note: If the object is a blur or just a shadow, it is NOT in focus. Keep turning the coarse/fine adjustment knobs. See Next Step
Back to Contents How to Focus on a Specimen, Cont’d: Click below to practice focusing: Molecular Expressions Microscopy Primer: Electron Microscopy Interactive Java Tutorials - Virtual Scanning Electron Microscopy
How to Wake It Up How to Focus How to Put it to Bed How to Make a Wet Mount Back To Table of Contents How to Use the Microscope