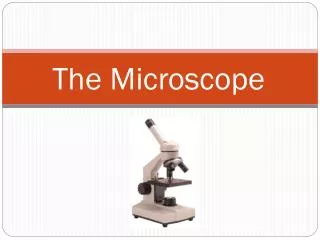
The Microscope
Learn about optical microscopes, their parts, and how to set up and use them. Explore magnification, focusing techniques, and common procedures with step-by-step instructions.

The Microscope
E N D
Presentation Transcript
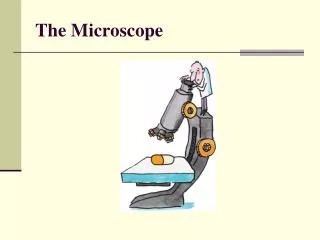
The Microscope Micro – small Scope – to look at
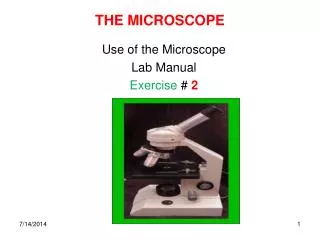
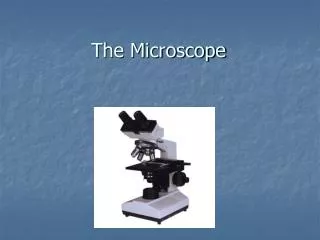
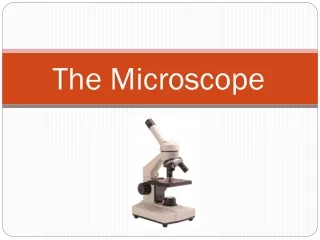
Microscopes • Are instruments used to see objects that are too small for the naked eye. • There are many types of microscopes. The most common (and the one we will use) is the optical microscope, which uses light to image the sample.
How they work • Light passes through a series of lenses, with each lens magnifying the specimen a little more.
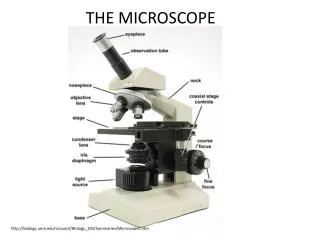
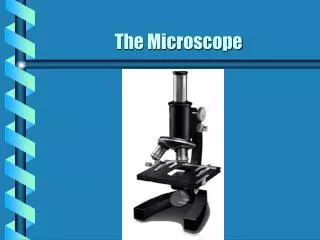
Parts of a microscope Eyepiece The lens you look through that magnifies the specimen.
Parts of a microscope Body tube The hollow tube through which light passes. It holds the lenses in place.
Parts of a microscope • Nosepiece • the round part that holds the objective lenses. • Rotates to change objectives.
Parts of a microscope Objectives • Low power (short) • Magnifies the specimen a small amount. • High power (long) • Magnifies the specimen at a greater power.
Parts of a microscope • Arm • Supports the body tube. Used to carry the microscope.
Parts of a microscope • Stage • Supports the slide containing the object that you are viewing.
Parts of a microscope • Stage clips • Holds down the slide on the stage.
Parts of a microscope • Diaphragm • Changes the amount of light reaching the objective lenses. • Located under the Stage.
Parts of a microscope • Coarse adjustment • Raises or lowers the stage to make big focus adjustments • fine adjustment • Raises and lowers the Body Tube to make fine focus adjustments.
Parts of a microscope • Light source • Located beneath the Stage and diaphragm. • Sends light through the aperture (hole) in the stage.
Parts of a microscope • Base • Bottom part of the microscope that houses the light bulb and electrical circuits.
Magnification • Multiply the eyepiece magnification (10X) by the objective magnification (4X, 10X, 40X) • Example: 4 x 10 = 40X total
Setting up the microscope • To carry the microscope, grasp the ARM with one hand. Hold the BASE with your other hand. • When you plug in the microscope, make sure that the cord is not hanging off the table.
How to use a microscope • Place the slide on the stage, centered over the aperture. • Use stage clips to secure slide • Adjust nosepiece to lowest setting • (Lowest = shortest objective)
How to coarse focus • Use coarse focus knob to raise the stage until the objective nearly touches the slide. • While looking through the eyepiece, adjust the coarse adjustment knob until the specimen is clear.
How to fine focus • Looking at the side of the microscope, turn the nosepiece until the high power objective clicks into place. • Only adjust focus using the fine adjustment knob.