Download
1 / 14
140 likes | 155 Vues
Learn how to design a specific Nursing Unit patient list based on location groups. Understand system-generated entries and patient list maintenance. Create your list using the Modify Patients Lists dialog box. Specify locations and discharge criteria for accurate patient selection.

E N D
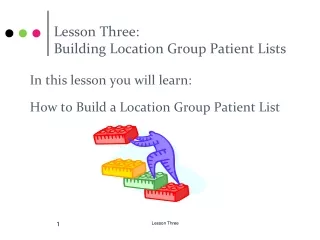
Lesson Three: Building Location Group Patient Lists In this lesson you will learn: How to Build a Location Group Patient List Lesson Three
Building Location Group Patient Lists Understanding Location Patient Lists When you build a Location Group Patient List, you designate a specific Nursing Unit. All patients currently located in that unit are listed. You cannot manually add or remove patients to or from a Location List, since all entries on the Patient List are system-generated. Lesson Three
Building Location Group Patient Lists To begin building a Patient List, open the Modify Patients Lists dialog box by selecting List Maintenance from the Patient List Menu. Lesson Three
Once you have selected List Maintenance, you will be presented with the Modify Patient List Window. Choose New to create a New Patient List. Building Location Group Patient Lists Lesson Three
Building Location Group Patient Lists The system will prompt you to specify what type of List to build. You can choose any type of list that you want, based on your personal preferences. Lesson Three
Building Location Group Patient Lists To begin creating a Location Group Patient List, select Location from the Patient List type window. Lesson Three
Building Patient Lists Begin specifying the Location Group that you want to select for your Patient List by double-clicking the Locations Groups folder. Lesson Three
Building Patient Lists Choose the Locations Groups that you want used on your Patient List by putting a checkmark in the box beside the correct locations (i.e., 7C, PICU- POD A). Lesson Three
Building Patient Lists The system will automatically create a name for the Patient List based on the Location Group that you have chosen. If you wish to change the name of the Patient List, enter the name in the Name box. Lesson Three
Building Patient Lists Click on the Discharged Criteria filtering category. Select the option button, “Only display patients that have not been discharged.” Choosing this option will ensure that your patient list displays only patients who have not been discharged from the selected location. 10 Lesson Three
Building Patient Lists Move the list to the Active Lists box by highlighting the List in the Available Lists box and clicking the right arrow located in the center of the screen. 11 Lesson Three
Building Patient Lists After the list is in the Active Lists, click the OK button. 12 Lesson Three
Building Patient Lists Click OK to save changes and return to the Patient List. Lesson Three
When you are ready to proceed to Lesson 4: Building Medical Service Patient Lists, please click on the eKids logo below: Lesson Three