Essential Tips for Effective Dimensioning in Technical Drawings
190 likes | 303 Vues
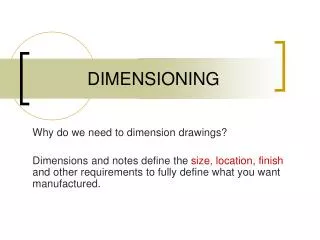
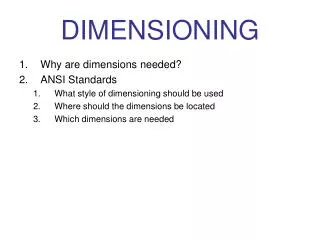
Dimensioning can be overwhelming, but it doesn't have to be! Start your drawing correctly by centering the text and following essential guidelines. Ensure leaders are at 30 to 60 degrees with arrows inside the radius. Avoid common errors by placing four views: front, top, right, and ISO. Place overall dimensions first, and ensure hidden lines are shown appropriately. Remember to dimension holes using the callout tool and never to hidden or center lines. Create ANSI-standard templates for both inches and mm to streamline your process.

Essential Tips for Effective Dimensioning in Technical Drawings
E N D
Presentation Transcript
Dimensioning can be overwhelming at first...
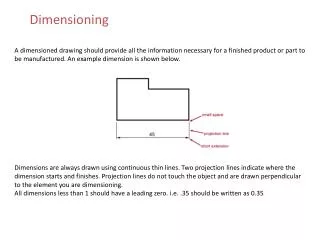
Start your drawing like this !
Leaders: 30 to 60 degrees
Arrows inside on radius
COMMON ERROR !!
Checklist for CREATING a drawing Place four views – FRONT, TOP, RIGHT, and ISO Place overall dimensions FIRST Two out of three overall dimensions should go BETWEEN the views The FRONT, TOP and RIGHT view should SHOW HIDDEN LINES The iso view should be SHADED or HIDDEN LINES REMOVED
Holes should be dimensioned using the HOLE CALLOUT tool. Dimensions for holes should always be placed on the hole’s profile view DO NOT DIMENSION TO HIDDEN OR CENTER LINES DO NOT DIMENSION TO THE CENTER POINT/ORIGIN OF THE PART DO NOT COPY THE DRAWINGS IN THE TEXT – THEY ARE NOT DONE TO ANSI STANDARD
CREATE TWO DRAWING TEMPLATES – ONE FOR INCHES AND ONE FOR MM BOTH TEMPLATES SHOULD USE ANSI STANDARD – NOT ISO USE ARIAL FONT SET LEADERS TO BENT GO THROUGH ALL THE DIMENSION SETTINGS TO ENSURE ANSI IS BEING USED SAVE YOUR TEMPLATE IN SHEET MODE – NOT SHEET FORMAT MODE SAVE AS A TEMPLATE IN THE TEMPLATE FOLDER
Don't Forget - Check your drawing !!