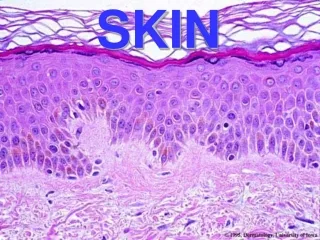
Skin
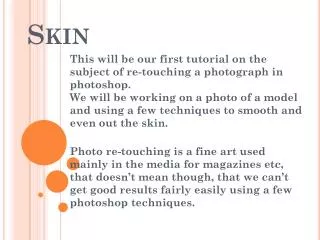
Skin. This will be our first tutorial on the subject of re-touching a photograph in photoshop . We will be working on a photo of a model and using a few techniques to smooth and even out the skin.

Skin
E N D
Presentation Transcript
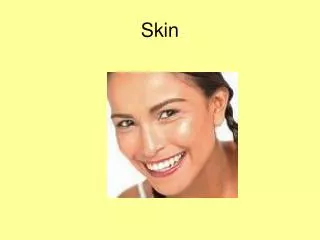
Skin This will be our first tutorial on the subject of re-touching a photograph in photoshop.We will be working on a photo of a model and using a few techniques to smooth and even out the skin. Photo re-touching is a fine art used mainly in the media for magazines etc, that doesn’t mean though, that we can’t get good results fairly easily using a few photoshop techniques.
The first technique we will be using is the clone stamp tool : You use this tool by holding down ‘alt’ , selecting an area of the skin that is unblemished but near to the blemish so the skin tone is similar. Click on the clear skin, let go of ‘alt’ and click over the blemish - this will replace it with the area you ‘alt’ clicked with:
Have a play around with this, zoomed in to the image and go around removing the big blemish’s. Once you have removed them, duplicate the layer you are working on and click Filter > Blur > Gaussian Blur.Blur this layer by around 0.6 pixels :
Now staying on that layer and selecting the eraser brush, delete around the eyes and lips so these stay sharp :
Next, take the opacity of the layer down slightly, (right click on the layer, select blending options) :
Now we will create an adjustment layer, on your layer palette window click this button : And choose ’selective color’ This step is a bit harder to explain as you will need to play with the settings by eye, these are the settings used in this example :
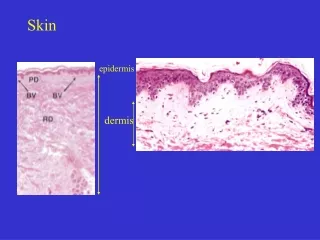
As you can see from this comparison, a few simple touches can improve the skin texture quite a bit: