How to Create a PowerPoint Presentation
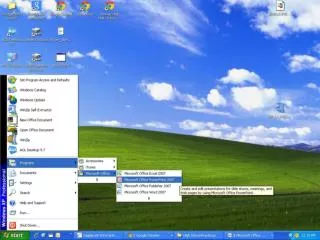
How to Create a PowerPoint Presentation. Click Start , Programs , Microsoft PowerPoint . Click Blank Presentation . Click OK . Choose the blank slide. Click OK. Starting PowerPoint. PowerPoint 2007 Ribbon. *Refer to your handout. The First Slide.

How to Create a PowerPoint Presentation
E N D
Presentation Transcript
Click Start, Programs, Microsoft PowerPoint. • Click Blank Presentation. Click OK. • Choose the blank slide. Click OK Starting PowerPoint
PowerPoint 2007 Ribbon *Refer to your handout
The First Slide When PowerPoint starts, you will see a window like this one.
Typing Text 1) Click on Click to add title, then start typing 2) Click on Click to add subtitle, then start typing Subject You Teach Your Name
To Insert a Text Box • Click Insert. Select Text Box. • In 2003, you can Click Format, select Font. Choose font, font style, size and color. Click OK. Type text. And click outside of the box to save. • In 2007, after you select Text Box, and place it where you are going to insert it you just start typing. You can then click the home tab and select the font and size from the ribbon.
Adding a New Slide Move your mouse to right end of the toolbar at the top of your PowerPoint Window and click New Slide, once … a new slide will appear In 2007 you will find the New Slide button here.
Click to add a new slide after this one. • On the slide you add, type in your • name and the name of the course or • grade that you teach.
Inserting Pictures 1) Move your mouse to the Insert Menu and click once to activate the menu 2) Choose Picture 3) Choose Clip Art From Microsoft Clipart -1
Religious leader • Civil rights activist • Author/poet • Labor activist • Minister • Antiwar activist
Martin Luther King Jr. • Religious leader • Civil rights activist • Author/poet • Labor activist • Minister • Antiwar activist
Inserting Pictures – From Microsoft Clipart - 2 • The Clip Art Tool Will Show up on the right edge of the window. • Type in a keyword for the picture you want in the “Search for” box • After the search is done, click on picture you want to add • The picture will be placed on your slide
Inserting Other Pictures Pictures can be files saved on a local disk C: hard drive (My Documents, My Pictures) A: floppy D: CD-ROM F: memory stick OR you can copy and paste.
Inserting Pictures 1) Move your mouse to the Insert Menu and click once to activate the menu 2) Choose Picture 3) Choose From File From File -1
When the Insert Picture dialog box opens: • Choose the location of your file, for example, the floppy, by clicking once on the down arrow at the end of the “Look in” rectangle • Click on the picture you want to add and it will appear on your slide Inserting Pictures From File -2
Inserting Pictures 2 Different Ways 1) Select the Insert Tab on the ribbon then click on the Picture Icon. You will then select your saved picture from the My Pictures folder. 2) Or click on the Picture Icon in the middle of the blank text box.
Go to Google and find a picture (of anything), right click and copy it, then paste it on your page.
Changing Picture Size & Location Size 1) Click on the picture and then click on a corner circle and drag to adjust the size. Location 2) Hover over the picture until the four-sided arrow appears then click and drag picture to new location.
Changing Slide Design • Click on the design • tab and select a new design. You can change the background and colors on all your slides In 2007 you have a tab for Designs.
Adding Animation • if you want it to appear Separate your text into different text boxes in different ways or at different times.
After adding the text boxes and pictures you want on the slide: How to Add the Animation -1 1) Move your mouse to the Slide Show Menu and click once to activate the menu 2) Choose Custom Animation … Again, 2007 has a tab.
Adding Animation 1) Select the Animations Tab on the ribbon. 2) Click on the text or picture you want to animate. 3) Click on Custom Animation on the ribbon. (Look to right of slide for pop-up box) 4) Add Effect by clicking on the drop-down arrow. 5) You can change the order of your animation by clicking and dragging the items in your Custom Animation list. Add animation to your Title Slide
Animate this sentence to come in • from the left. • Animate this sentence to come in • from the bottom. • Choose an animation of your choice • for this sentence.
Adding Sound 1) Select the Insert Tab on the ribbon. 2) Click on the Speaker Icon to add a sound from your files. 3) Click on the drop-down arrow to select a sound from the Clip Organizer or to record your own sound. (you will need a mic) Tip- Save your music file to your USB drive
Adding Video & Hyperlinks United Streaming
United Streaming 1) Go to http://streaming.discoveryeducation.com/ 2) Sign in and click on a video (any video) 3) Change download type to Windows Media, click Film Strip Icon to start download. Save to My Documents
Adding Video & Hyperlinks 1) Select the Insert Tab on the ribbon. 2) Click on the Movie Icon. You will be prompted to find the video in your files (tip- I created a Video Folder in My Documents) 3) Formats: avi, wmv 4) United Streaming videos download as wmv files 5) Select the text/picture you want to hyperlink and click Hyperlink on the ribbon (you’ll need the URL to paste in the address bar).
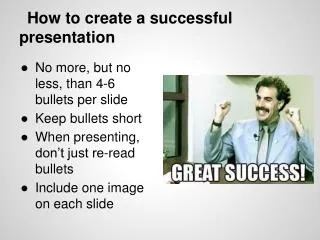
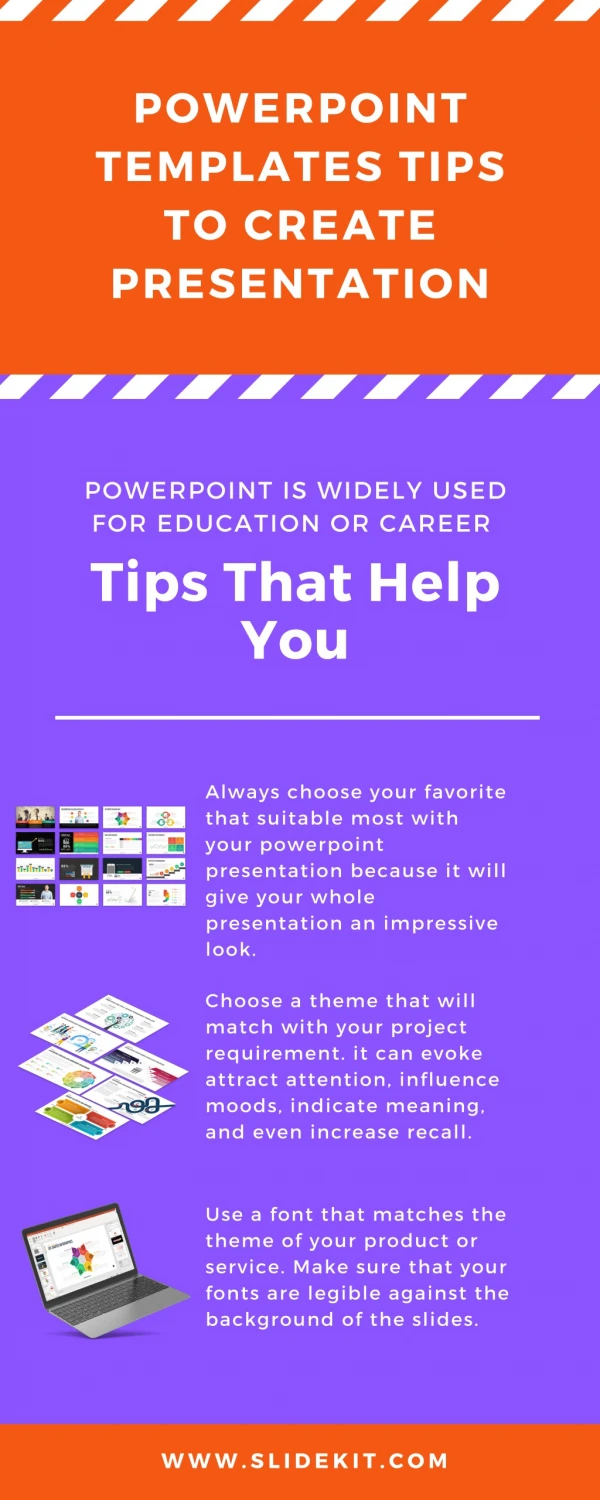
Make it clear • Use keywords and phrases – not sentences • Use slides to guide your presentation not give it • Keep plenty of “white space” on your slides • Keep your slide design and animation simple • After your last slide, add a “Credits” slide to cite your sources
Make it clear • Make the font large enough to read. • 12 point font • 20 point font • 36 point font • 44 point font
Make it clear • Use color wisely For many pupils a pastel coloured background makes the text much easier to read… …than the same text on a plain White background. It reduces glare.
Make it clear • Be aware of colour blind pupils… avoid certain combinations. • Ex: Red/Green Avoid this And this
Make it clear • Use text sparingly • Six points per page • Break text up into bullets • ALL CAPITALS IS HARD TO READ • Mixed case text is clearer. • Split over several slides if necessary.
Can you read it? • Test out your presentation • Go to the back of your classroom and see if you can read it • Don’t just assume it can be read.
Remember! JUST BECAUSE YOU CAN Doesn’t mean you should!
There is a great deal more you can do in PowerPoint! Experiment with the toolbar buttons and see what happens Visit on-line websites with PowerPoint advice http://sqworl.com/hc5a63
Credits George Mason Statue picture from http://condor.gmu.edu/photofile/rights.html Other clip art from Microsoft In MS Office Suite Clipart On-line at http://office.microsoft.com/clipart/ Adapted from: PowerPoint screenshots by Laurie Miller Creation date: September 2005 by Laurie Miller Adapted from Carrie Heninger, Enterprise City Schools