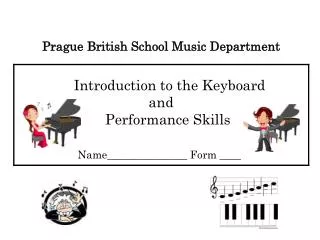
THE STENOTYPE MACHINE AND KEYBOARD
210 likes | 655 Vues
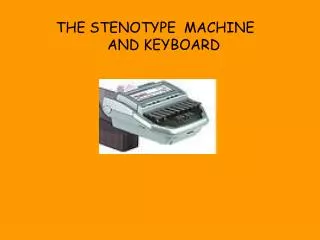
THE STENOTYPE MACHINE AND KEYBOARD. The actual keyboard has all black keys with no letters displayed on the keyboard. The number bar is the horizontal bar across the top of the keyboard. We create numbers by depressing the number bar and a vertical key at the same time. The left side

THE STENOTYPE MACHINE AND KEYBOARD
E N D
Presentation Transcript
THE STENOTYPE MACHINE AND KEYBOARD
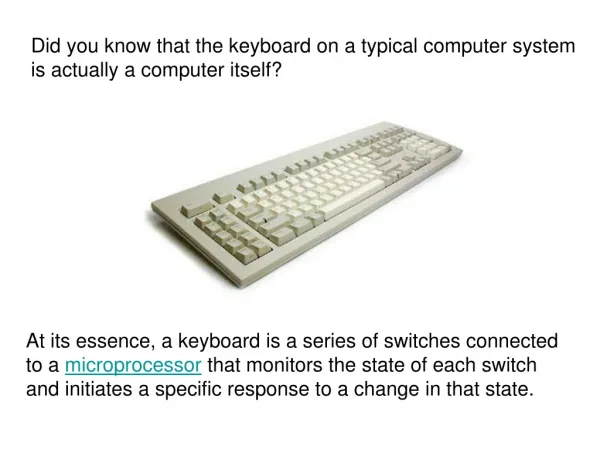
The actual keyboard has all black keys with no letters displayed on the keyboard.
The number bar is the horizontal bar across the top of the keyboard. We create numbers by depressing the number bar and a vertical key at the same time.
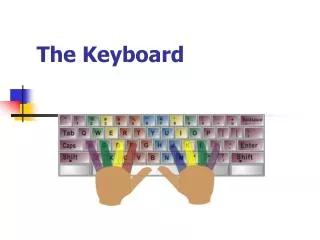
The left side of the steno keyboard is known as the initial side.
The asterisk key is used alone to erase mistrokes or in conjunction with other keys.
The right side of the steno keyboard is called the final side.
The keys on the top row are the upper bank of keys.
The lower row of keys is known as the lower bank.
All vowel sounds are made with these vowel keys.
WHERE DO OUR HANDS AND FINGERS GO? Beginning with your left hand, place your fifth, or pinky finger over the initial S key, your ring finger over the T and K keys, your middle finger over the P and W keys and your index finger over the H and R keys. Your index finger will also reach over to depress the asterisk key. Your left thumb should be positioned across the A and O vowel keys.
WHERE DO OUR HANDS AND FINGERS GO? Beginning with your left hand, place your fifth, or pinky finger over the initial S key, your ring finger over the T and K keys, your middle finger over the P and W keys and your index finger over the H and R keys. Your index finger will also reach over to depress the asterisk key. Your left thumb should be positioned across the A and O vowel keys.
WHERE DO OUR HANDS AND FINGERS GO? Moving to your right hand, place your index finger over the final F and R keys, your middle finger over the P and B keys, your ring finger over the L and G keys and finally, your fifth finger should be positioned over the T and S keys. The fifth finger will also manipulate the D and Z keys. Your right thumb should be positioned across the E and U vowel keys. Your index finger will also reach over to depress the asterisk key.