Step-by-Step Guide to Upload and Embed Your Project on Class Wiki Page
This comprehensive guide provides detailed instructions on how to upload your project to the class wiki page. Begin by logging in with your credentials and navigate to the edit mode. Ensure to position your cursor appropriately, maintaining space from others' work. Learn how to create hyperlinks to your work, upload files, and even embed presentations directly from various websites. Each action is outlined clearly to help you successfully integrate your project into the wiki, fostering collaboration and sharing among peers.

Step-by-Step Guide to Upload and Embed Your Project on Class Wiki Page
E N D
Presentation Transcript
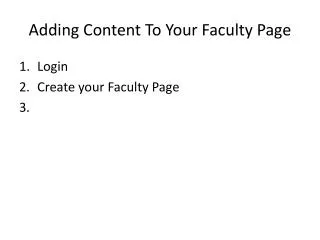
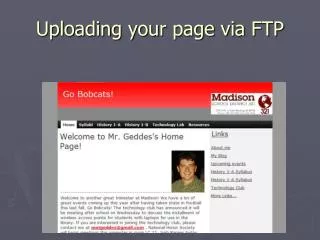
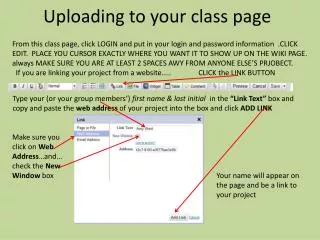
Uploading to your class page From this class page, click LOGIN and put in your login and password information .CLICK EDIT. PLACE YOU CURSOR EXACTLY WHERE YOU WANT IT TO SHOW UP ON THE WIKI PAGE. always MAKE SURE YOU ARE AT LEAST 2 SPACES AWY FROM ANYONE ELSE’S PRJOBECT. If you are linking your project from a website….. CLICK the LINK BUTTON Type your (or your group members’) first name & last initial in the “Link Text” box and copy and paste the web address of your projectinto the box and click ADD LINK Make sure you click on WebAddress…and… check the New Window box Your name will appear on the page and be a link to your project
Click EDIT. Click on FILE. This window will open. Click UPLOAD FILES. This allows you to search for your files. When the file is completely loaded, the proper icon will appear here. Double click on it and it will load Uploading a document
EMBEDDING YOUR PROJECT: if your presentation can be embedded you will see an embed option on the website Click EDIT at top of YOUR CLASS WIKI page Click on the widget button Click on the appropriate format in the right hand column, then click on the correct sub format in the left hand column. A new window will open. Copy and paste the EMBED code from the website in the box and clock SAVE. It will upload onto the wiki Click Save on the wiki tool bar