Download
1 / 7
70 likes | 198 Vues
This document outlines a step-by-step procedure for conducting a light leak check on the MUX Box system utilized by the Indiana University team. It emphasizes the importance of proper cable routing, inspection of rubber bands, and connections, as well as testing techniques. The light leak check involves careful monitoring of high voltage (HV) levels, systematic ramping, and frequency counter observations. Essential documentation for the MUX Box checkout procedures is available at the provided link for further reference.

E N D
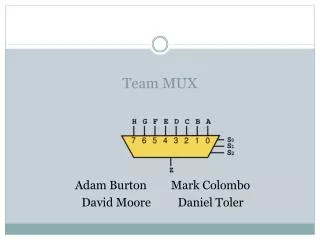
4 Plane MUX Box Checkout Brian Rebel Indiana University January, 2002
Pre-Light Leak Check • The MUX Box expert should examine the cable routing job done by the crew for each plane. • Look for cables routed incorrectly – braided cables, places where the prescribed method wasn’t followed • Look at the rubber bands for any that are over the connector lip, tucked under themselves, or curled up on the box • Hook up the front end boards and the HV cables to both the box and the crates • Update the Plex and HV databases
Light Leak Check • We have used the following procedure since August • Hook up HV to the middle PMT and IU analog readout board to the stacker connectors • Take the dynode out from the board and connect it to an oscilloscope, which is connected to a frequency counter through the TTL output. • Ramp the HV up to near operating level • Shine a large flashlight (4D cell, krypton bulb) around all the connectors looking for jumps in the frequency counter rate • We tested the procedure both with the rubber bands on and off and with a shop light about 6” away from the connectors.
Light Leak Check • We would like to implement the following procedure using the DAQ for only the 4 planes in the set • Ramp the HV up from -600V to operating voltage in steps of –50V • At each step take a 10 sec run and look at the results using the online monitoring – probably the VAChip histogram would be the best to look at • Turn off the HV between runs to ensure that the PMT’s aren’t overloaded if there is a leak • Take one additional run at operating voltage with a shop light within 6 inches of the connectors to find any small leaks
Documentation • You can find the documentation for all the MUX box check out procedures at http://beaker.astro.indiana.edu/brebel/far_documentation/