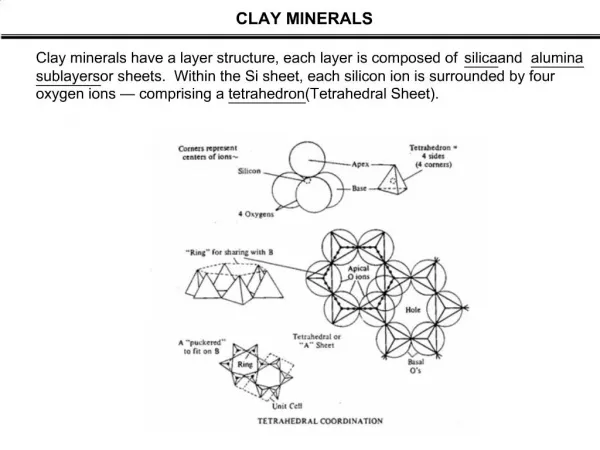
Clay
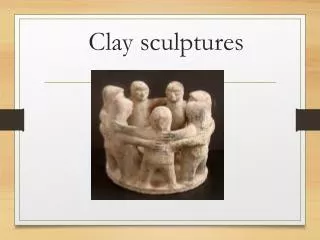
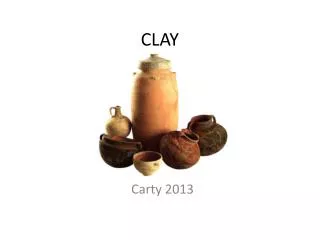
Clay. Ceramic artists. Artists in very different cultures that use clay to make Art and Pottery. Eva Hild, (1966-) Ceramic artist, Sweden. Potter in Afghanistan, early 1970s. Clay Stages. 1. Wet clay. Clay Stages. 1. Wet clay 2. Leatherhard. Clay Stages. 1. Wet clay 2. Leatherhard
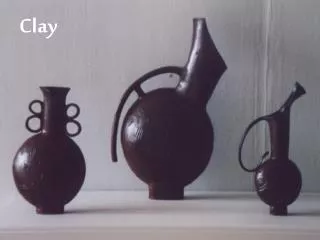

Clay
E N D
Presentation Transcript
Ceramic artists Artists in very different cultures that use clay to make Art and Pottery Eva Hild, (1966-) Ceramic artist, Sweden. Potter in Afghanistan, early 1970s
Clay Stages • 1. Wet clay
Clay Stages • 1. Wet clay • 2. Leatherhard
Clay Stages • 1. Wet clay • 2. Leatherhard • 3. Greenware (must be bone dry)
Clay Stages • 1. Wet clay • 2. Leatherhard • 3. Greenware • 4. Bisqueware
Clay Stages • 1. Wet clay • 2. Leatherhard • 3. Greenware • 4. Bisqueware • 5. Glazeware
Forming methods • Pinchpot
Forming methods • Pinchpot • Coil
Forming methods • Pinchpot • Coil • Slab
Joining Clay Score Score Wet Wiggle Smoooooooth!!! http://www.expertvillage.com/videos/ceramic-teapot-spout-attach.htm
Finishing the Ceramic Creation • Burnishing while Leatherhard • Scoring texture
Finishing the Ceramic Creation • Burnishing while Leatherhard • Scoring texture • Painting Bisqueware with glaze • Glaze is made of watered down clay and chemicals.
Creating a Clay Bell • First we will make a pinch pot. • Then we will create a hole at the top • We will need to create the ringer which is a small ball of clay with a hole in it.
Creating a Pinch Pot Start with a ball of clay about the size of a medium orange.
Creating a Pinch Pot The first step to making your pinch pot is to start the opening. Cradle the ball of clay in one hand and gently press the end of your thumb into the clay. A good method is to press down a bit with your thumb and then give the clay a bit of a turn — press down some more and then give it another little turn. This helps to keep the hole you are making centered and the walls an even thickness. When you sense that you are getting close to the other side of the clay ball, stop before you go through.
Creating a Pinch Pot Now the fun part begins — forming your pot! The idea is to gently press the clay from the inside with your thumb against your fingers on the outside. Each time you press a bit with your thumb, give the clay a bit of a turn before you press again.
Creating a Pinch Pot Continue the pinching and turning method until the walls of the pot are thinned out to a thickness that seems about right to you.
Creating a Pinch Pot -first bells of human history clay bells -Burned clay bells were found in central and east Europe, in Thracians area and was dated 3 to 5 thousands years B.C