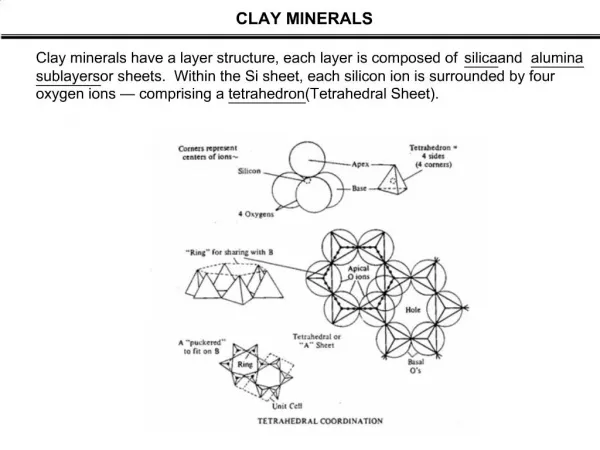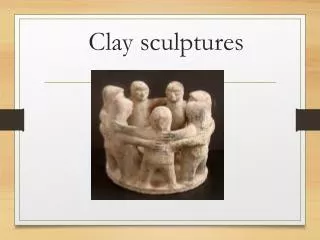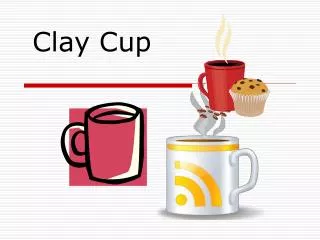
Clay
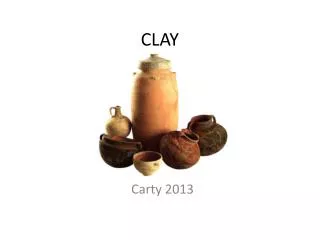
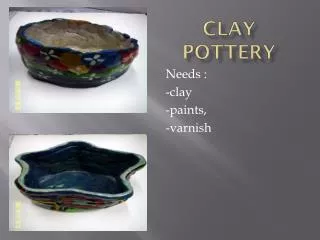
Clay . Clay. Clay is a naturally material composed primarily of fine- grained mineral and water The combination of the two controls plasticity ((flexibility)) of the clay body. It hardens when fired. Tips.


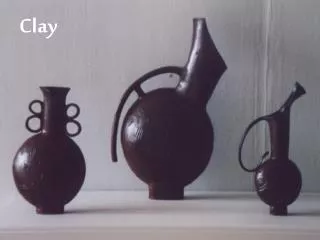
Clay
E N D
Presentation Transcript
Clay • Clay is a naturally material composed primarily of fine-grained mineral and water • The combination of the two controls plasticity ((flexibility)) of the clay body. It hardens when fired.
Tips • 1. Keep all the clay projects in plastic you will want the clay to stay moist until you are completely finished. • 2. Whenever possible, store projects in the class drawer and label it with your name. • 3. The maximum thickness for any part of a project is ¼ of an inch. Because if it’s too thick it will crack . • 4. Clay is non toxic whenit is in its damp form. When it become dry dust it can be harmful to your health, if inhaled. • 5. For the health , safety and enjoyment of everyone who uses this room, clean up after yourselves when the period ends. • 6. While working if your clay starts to crack, it means you need to wet your hands. • 7. You will get dirty!!!
Fire • During this process, chemical and physical reactions occur which cause the material to be permanently altered. Ceramic pieces are fired in order to change them permanently from mud to stone. • It is often done in a high temperature. • Low fire – 1800 degree F • High fire 3200 degrees F
Kiln • The “oven” used to fire ceramic pieces. • There are earth kilns, gas and electric kilns. • ( In this class we will be using self handing clay, so it will dry and become permanent by air ) • In the case of pottery, clay materials are shaped, dried and then fired in a kiln.
6 Stages of Clay • 1. PLASTIC- clay is soft and workable, has a lot of moisture, feels wet • 2. GREENWARE– Clay that has become bone-dry and has not been fired. • 3. LEATHER HARD -Clay -Stage between Bone and Glass ware, best time for attaching pieces and carving. • The condition of a clay or clay body when it has been partially dried to the point where all shrinkage has been completed.
Steps… • 4. BONEDRY- Completely Dry, no trace of moister • 5. BISQUE WARE– Clay that has been fired once • 6. GLAZED- coating that has been matured to the glassy state on a formed ceramic article, or the material or mixture from which the coating is made. Once covered with glaze, It is fired again to become sold, or displayed.
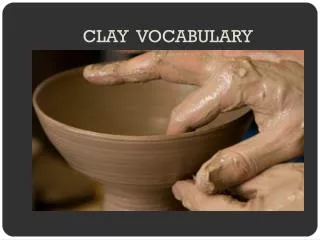
Wedge • the process of hand-mixing or kneading clay to squeeze out all the air-bubbles and achieve consistency.
Wheel Throwing • In pottery, a potter’s wheel is the machine used in shaping of round ceramic wars. • Throwing on the potters wheel is a skill that may seem impossible to master at first. The best way to build your skills throwing on the potters wheel is through practice. • Some you need to throw over 6,000 pounds of clay before your skills are honed.
Hand Building • Before potters had the wheel, they were creating spectacular pots and clay forms, Using clay, their hands, and a minimum of tool. • The three most common forms of producing hand built pots. Pinch pot, Coils, Slabs
Pinch Pot • The basic method of all is to work with a ball of clay directly, with no intermediate steps. • It is achieved from pressure between the thumb and fingers, these are called pinch pots.
More on Pinch Pot • Work in a spiral from bottom to top. The majority of the clay tends to be at the bottom spread it to walls. • Use the tip of your thumb on the interior, while supporting the exterior with your other hand • If your clay starts to crack, wet your hands • Make sure the side wall have the same thickness, not to thick not to thin.
Coil • Roll this ball between your palms to create a cylinder. • Place the cylinder on your working surface. Using light, even pressure, begin to roll the cylinder at one end while moving your hand down the length to the other end. • You will see your cylinder thinning and growing longer. Aim for a coil approximately 1/4 inch in diameter. (The thickness of a pencil)
Slab • Asheet flat pie3of clay. • One of the easiest methods of making slabs is to use a rolling pin. Large, heavy ones with ball bearings at each end tend to work the best. • If you want to be certain that a slab is uniform in thickness, you can use two slats of wood on either side of the slab as depth guides. Just be sure to rotate the slab as you roll, rather like rolling out pie dough
Score & Slip • Slip - A fine, liquid form of clay applied to the surface of a vessel prior to firing. Slip fills in pores and gives uniform color. • Score -a pot or piece of clay means to scratch hatch marks into it. This is done prior to brushing on slurry and joining the pieces together.
Tips for scoring and slipping • SCORE- like tic-tac-toe, crosshatching the two spots you want to connect • SLIP- add ONE finger of water over the score marks • SMOOTH- put the two pieces together and smooth around the two attached parts, making them look like they are one.
Parts of a Pot LIP NECK SHOULDER BELLY FOOT