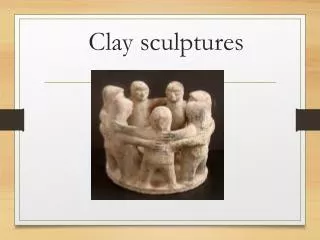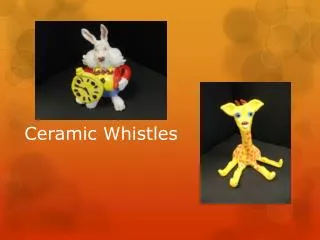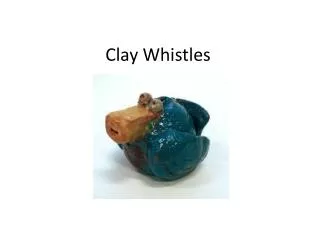
Clay Whistles
Clay Whistles. Steps for building a clay whistle. Big Sphere. 2. Small Sphere. 1. Small Sphere. Medium Sphere. Make four spheres: two small spheres, one medium sphere and one large sphere. 1. Small Sphere. Medium Sphere.

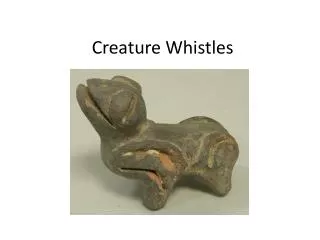
Clay Whistles
E N D
Presentation Transcript
Steps for building a clay whistle. Big Sphere 2. Small Sphere 1. Small Sphere Medium Sphere Make four spheres: two small spheres, one medium sphere and one large sphere
1. Small Sphere Medium Sphere Take the medium sphere and press it between your palms and make a flat circle, as thick as a cookie. Take one of the small spheres and make it into a cube and form it into a flat rectangle.
Big Sphere 1. Small Sphere Medium Sphere 2. Small Sphere Take the big sphere, use your thumb and poke a hole and form it into a bowl, big enough to fit the flat circle. Take the second small sphere and turn into a cube and make a flat rectangle.
Take the flat circle and one of the flat rectangle. Place the rectangle on top of the circle at the edge and merge them together. So that you don’t see the seam.
Take a popsicle stick and place it on top of the merged circle and the rectangle. Place the bowl upside down on top of the circle and blend the edges.
Take the second rectangle and place it on top of the first rectangle, blend and smooth the edges.
On the back take a needle tool and make a square or a rectangle, starting where the Circle and the rectangle meets. Cut off the clay in the U shape, the side towards the rectangle. The edges have to be straight. The fourth side cut it at a forty- five degree angel. Take all the clay out.
Gently take the popsicle stick out and blow to check if the whistle works.
Start building up with clay on top of the whistle to make your animal or an object.
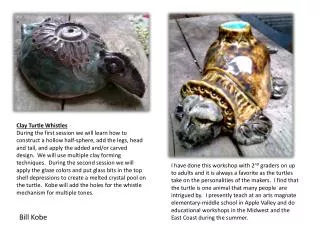
Piece after firing Piece after glazing and firing
Lesson Plan Clay Whistles 7th Grade Number of Periods:4 for introduction and use of wet clay, 2 for glazing Goals: Students will use the pinch technique and clay additive process to create a clay whistle and sculpture in the round. Objectives: Students will be able to: describe how culture and environment influence an artwork create a well-crafted clay whistle sculpture. display two different textures within their work. evaluate the success of their piece using the various senses. Sol’s: 7.5 The student will communicate information and ideas through illustration. 7.11 The student will create works of art by representing and interpreting ideas from other fields of knowledge. 7.14 The student will use problem-solving skills to create a work of art that communicates ideas or emotions. 7.21 The student will identify and apply criteria for judging works of art.
Materials:paper, handouts, pencils, clay, clay tools, newspaper (for tables), water, slip, Plastic bags, Styrofoam trays, Popsicle sticks. Resources and Visuals: Previous student’s work and teacher’s example. Vocabulary: texture: real, visual, invented and simulated, sculpture in the round, pinch technique, clay, slip, score additive process, needle tool, bisque, leather hard. Motivation/Initiation: Discuss works by other students. Teacher’s demonstration of various techniques for making a whistle. Process/Procedure: Day 1: Class discussion with teacher, observing visuals and demonstration. Students create sketches of their piece. Day 2: Review building techniques and basic shape of a whistle. Students create basic shape of their whistle. Days 3 and 4: Review procedure on how to make a cut on the base of the whistle for sound. Students will create their sculptures around their whistle and finish decorating. Days 5 and 6: Review glazing techniques. Students glaze their pieces and complete evaluation sheets on their whistles: subject, texture and sound. Closure:Ask students to identify successful works of art based on the sense of sight, touch and sound. Why is sound important in judging this project? Student Assessment:Students handout to be completed and turned in with work.