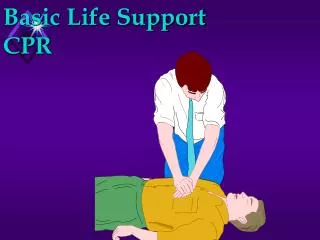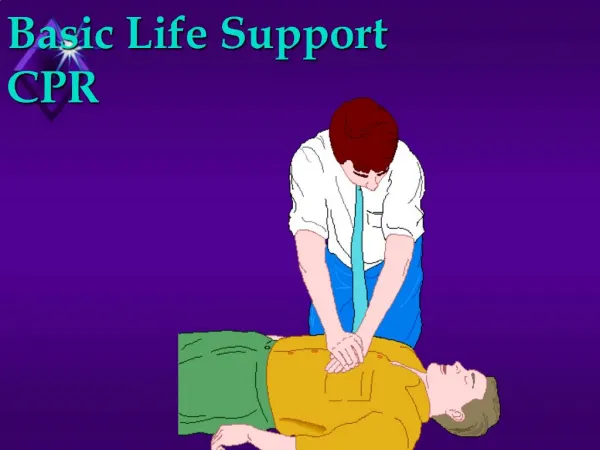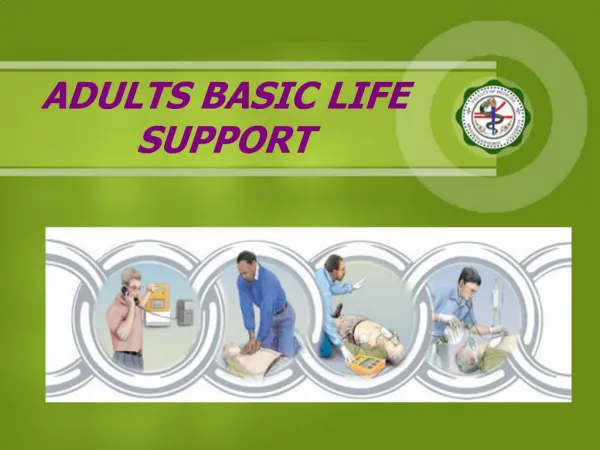
Basic Life Support
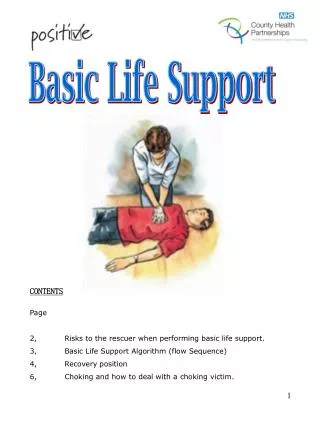
Basic Life Support. CONTENTS. Page 2, Risks to the rescuer when performing basic life support. 3, Basic Life Support Algorithm (flow Sequence) 4, Recovery position 6, Choking and how to deal with a choking victim. Important Note

Basic Life Support
E N D
Presentation Transcript
Basic Life Support CONTENTS Page 2, Risks to the rescuer when performing basic life support. 3, Basic Life Support Algorithm (flow Sequence) 4, Recovery position 6, Choking and how to deal with a choking victim.
Important Note • Rescuers who have been taught adult BLS, but have no specific knowledge of paediatric resuscitation, should use the adult sequence in the event of a child collapse. The following modifications to the adult sequence will, however, make it more suitable for use in children: • Give five initial rescue breaths before starting chest compressions • If you are on your own, perform CPR for 1 min before going for help. • Compress the chest by approximately one-third of its depth. Use two • fingers for an infant and one or two hands for a child over 1 year, as needed to achieve an adequate depth of compression. RISKS TO RESCUER The safety of both the rescuer and victim are paramount during a resuscitation attempt. There have been few incidents of rescuers suffering adverse effects from undertaking CPR, with only isolated reports of infections such as tuberculosis (TB) and severe acute respiratory distress syndrome (SARS). Transmission of HIV during CPR has never been reported. There have been no human studies to address the effectiveness of barrier devices during CPR: however, laboratory studies have shown that certain filters, or barrier devices with one-way valves, prevent oral bacteria transmission from the victim to the rescuer during mouth-to-mouth ventilation. Rescuers should take appropriate safety precautions where feasible, especially if the victim is known to have a serious infection, such as TB.
Adult Basic Life Support Algorithm UNRESPONSIVE ? Shout for help Open Airway NOT BREATHING NORMALLY? Call 999 30 chest compressions 2 rescue breaths: 30 chest compressions
Resuscitation Council UK Guidance 2010 Points of Note • Rescuers begin CPR if the victim is unconscious or unresponsive and not breathing normally (ignoring occasional gasps). • When obtaining help, ask for an automated external defibrillator (AED), if one is available. • Compress the chest to a depth of 5-6 cm and at a rate of 100-120 min-1. • Give each rescue breath over 1 second rather than 2 seconds. • Do not stop to check the victim or discontinue CPR unless the victim starts to show signs of regaining consciousness, such as coughing, opening his eyes, speaking, or moving purposefully AND starts to breathe normally. • If the victim has to be kept in the recovery position for more than 30 min turn him to the opposite side to relieve the pressure on the lower arm.
Recovery position The recovery position can be used for the unconscious breathing casualty. It is important to observe the lower arm to ensure the circulation is not impaired. • Remove the victims glasses • Kneel beside the victim and make sure that both his legs are straight. • Open the airway by tilting the head and lifting the chin. • Place the arm nearest to you out at right angles to his body, elbow bent with the palm uppermost. • Bring the far arm across the chest and hold the back of the hand against the victims cheek.
With your other hand, grasp the far leg just above the knee and pull it up, • keeping the foot on the ground. • Keeping his hand pressed against the cheek, pull on the leg and roll the victim toward you onto his side. Adjust the upper leg so that both the hip and knee are bent at right angles. • Tilt the head back to make sure the airway remains open. • Adjust the hand under the cheek, if necessary, to keep the head tilted. • Check breathing regularly.
CHOKING • Recognition • Because recognition of choking (airway obstruction by a foreign body) is the key to successful outcome, it is important not to confuse this emergency with fainting, heart attack, seizure or other conditions that may cause sudden respiratory distress, cyanosis or loss of consciousness. • Foreign bodies may cause either mild or severe airway obstruction. The signs and symptoms enabling differentiation between mild and severe airway obstruction are summarised in the table below. It is important to ask the conscious victim ‘Are you choking?’ • Adult choking sequence • (This sequence is also suitable for use in children over the age of 1 year)
1. If the victim shows sign of mild airway obstruction: • Encourage him to continue coughing, but do nothing else. • If the victim shows signs of severe airway obstruction and is conscious: • Give up to five back blows • Stand to the side and slightly behind the victim. • Support the chest with one hand and lean the victim well forwards so that when the obstructing object is dislodged it comes out of the mouth rather than goes further down the airway. • Give up to five sharp blows between the shoulder blades with the heel of your other hand. • Check to see if each back blow has relieved the airway obstruction. • The aim is to remove the obstruction with each blow rather than necessarily give all five.
If five back blows fail to relieve the airway obstruction give up to five abdominal thrusts. • Stand behind the victim and put both arms round the upper part of the abdomen. • Lean the victim forwards. • Clench your fist and place it between the umbilicus (navel) and the bottom end of the sternum (breastbone). • Grasp this hand with your other hand and pull sharply inwards and upwards. • Repeat up to five times. • If the obstruction is still not relieved, continue alternating five back blows with five abdominal thrusts. 3. If the victim becomes unconscious • Support the victim carefully to the ground. • Immediately call an ambulance. • Begin CPR. Healthcare providers, trained and experienced in • feeling for a carotid pulse, should initiate chest compressions • even if a pulse is present in the unconscious choking patient.
ADULT CHOKING SEQUENCE (Suitable for use in children over the age of 1 year) ASSESS SEVERITY SEVERE AIRWAY OBSTRUCTION (INEFFECTIVE COUGH) MILD AIRWAY OBSTRUCTION (EFFECTIVE COUGH UNCONSCIOUS START CPR ENCOURAGE COUGH CONTINUE TO CHECK FOR DETERIORATION TO INEFFECTIVE COUGH OR RELIEF OF OBSTRUCTION CONSCIOUS 5 BACK BLOWS 5 ABDOMINAL THRUSTS