Basic Life Support
Basic Life Support. Introduction.

Basic Life Support
E N D
Presentation Transcript
Introduction The OSU College of Dentistry often deals with life and death situations. Being fully prepared for these events both in and out of the college is a very important part of our jobs. The purpose of this CBL is to familiarize students with the necessary components to successfully complete a renewal course in Basic Life Support with the New 2010 Guidelines.
End Menu For best comprehension, complete this course in the sequence it was written by clicking on the next button on each slide. If you would like to go back to review a section again click the links below to jump to selected topics in this program. C A B 1 and 2 Person Adult CPR CPR and the Use of an AED CPR in Children Adult/Child Choking 1 and 2 Person Infant CPR Infant Choking
Critical Components of CPR • The earlier the need for CPR is established and help arrives the chances for survival are increased by 50%. • Once unresponsivenesshas been determined and help has been called - begin the steps of CPR. • Check for Pulse for no more than 10 seconds • Begin compressions (if no pulse or unsure) • After 30 Compressions open airway and deliver 2 breaths • Use an AED as soon as one becomes available.
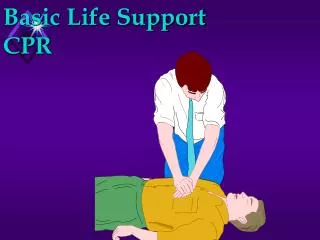
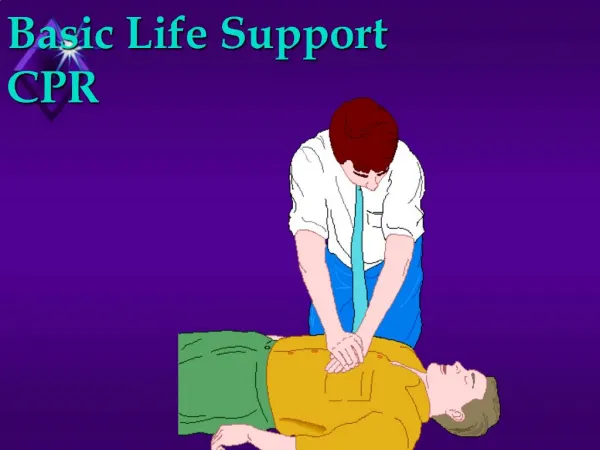
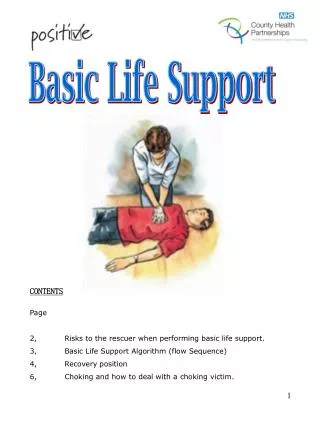
C – Compressions • C – stands for Compressions • Place hands in the center of the chest between the nipple line on the lower half of the sternum
A – Stands for Airway • Open the airway with the head tilt chin lift and deliver 2 breaths • Look for chest rise
B- Breathing • After 30 compressions give 2 breaths
Compressions • With a ratio of 30:2 we are trying to achieve a compression rate of at least 100 beats per minute. • Compress the chest hard and fast at a depth of at least 2 inches
Automated External Defibrillator (AED) 4 Universal steps to follow: • Turn on (voice prompts will tell you what to do) • Attach pads to patient’s bare chest: looking at picture placement on pad (choose correct pads: adult or pediatric) • Remove medication patches and wipe skin • Do not apply pads over pacemakers/internal defibrillators (noted as a lump on top of the chest) place pad 1 inch away • May need to remove chest hair if pads do not attach firmly on chest • Connect cord to AED • Stand back from the patient so the AED can analyze the rhythm • AED will advise if a shock is needed: Make sure to clear the patient (no one is touching the patient) and press the shock button
AED Considerations • With the 2010 Guidelines we now use an AED on the Adult, Child, and Infant victim as soon as it is available. • Pediatric pads cannot be use on adult victims. • Adult pads can be use on all victims, if they are the only pads available (they should be placed front to back on infants). • Once the AED shocks the victim, chest compressions are resumed immediately.
2 Person CPR • While rescuer A is performing compressions, rescuer B maintains open airway and performs ventilations. • Ratio is still 30:2 • Switch back and forth minimizing interruptions- chest compressions are fatiguing. • Switch compressors every 2 minutes
Universal Steps of CPR • Assess responsiveness (are you okay)- if no response and no effective respirations call for help , activate the emergency response system , and get an AED. • Check for pulse – if no pulse- begin chest compressions • After one cycle of 30 chest compressions, open the airway and give 2 breaths • Use the AED as soon as it is available no matter where you are in the sequence. • Ratio 30: 2
Special Considerations • As a lone rescuer a bag valve mask device is not recommended as a ventilation device • Once an advanced airway is in place (eg. ET tube, LMA), CPR is continued at a rate of at least 100 compressions per minute and ventilations are continued at 1 breath every 6-8 seconds. • You must assure that the scene is safe prior to attending to a potential victim.
CPR In Children • Modifications of CPR in Children include: • Amount of air for breaths • Depth of compressions (at least 1/3 the depth of the chest or approximately 2 inches) • Chest compressions may be done with one hand • AED • 2 person CPR in children the ratio becomes 15:2 • In an unwitnessed arrest of a child perform CPR for 2min. Or 5 cycles before calling 911
Infant CPR • Determine unresponsiveness (stimulate rub or smack the bottom of the feet) do not “shake and shout” • If the infant is unresponsive, check for a brachial pulse • If there is no pulse, or the rate is less than 60 with signs of poor perfusion, begin chest compressions. • After 30 compressions open the airway and give 2 breaths. • Apply the AED as soon as it is available
Infant Compressions and Breathing • Compressions are performed at a rate of at least 100 beats per minute • The ratio is 30 : 2 in one rescuer CPR. • The compressions should be performed with 2 fingers placed between the nipple line and the chest should be compressed at least 1/3 the depth of the chest or approximately 1½ inches. • When performing breathing in an infant give just enough air to achieve visible chest rise.
2 Rescuer CPR in Infants • When performing 2 rescuer CPR on an infant, the rescuer has the option of using the “2 thumbs-encircling hands technique”. • This technique allows one rescuer to be at the infants head for breaths and the other rescuer to be at the feet for compressions. • In 2 person CPR in infants the ratio becomes 15:2 (10 cycles-2 person) • In an unwitnessed arrest of an infant perform 2 minutes or 5 cycles of CPR before calling 911 & getting AED.
Choking • Cases of Choking can be mild or severe. • If the victim is coughing , and air is moving, let them continue to cough. If the victim is unable to speak, moving no air, and has no cough, they have severe airway obstruction. Begin Abdominal Thrusts!
Choking continued • Perform abdominal thrusts until the victim either expels the item or becomes unresponsive. • Once the choking individual becomes unresponsive begin CPR- starting with chest compressions. • After compressions, and before giving breaths, open the airway and check to see if anything is in the mouth. If you see something, take it out, and then give 2 breaths. • We no longer perform blind finger sweeps.
Infant Choking • To clear an infants airway we perform a series of 5 back slaps followed by 5 chest thrusts. • Hold the infant prone, resting on your forearm with the head slightly lower than the chest. • Support the infants head with your hand, and deliver 5 forceful back slaps with the heel of your hand between the infants shoulder blades. • Rotate the infant over and deliver 5 quick downward chest thrusts (deliver these in the same location as you would do compressions).
Infant Choking Continued • Continue performing alternating sets of back slaps and chest thrusts until the infant expels the object or becomes unresponsive. • Once the infant becomes unresponsive begin the steps of CPR starting with chest compressions. Before giving breaths, open the airway and look for an object. If you see something remove it , do not perform a blind finger sweep.
In Summary • We hope that you have learned the steps of BLS for the Healthcare Provider. • By completing this CBL you should be able to perform the skills necessary to maintain you certification in BLS. • Remember good CPR is saving more and more lives everyday.
Exit Instructions We hope this Computer Based Learning course has been both informative and helpful. Feel free to review the screens of this course until you are confident about your knowledge of the material presented. Select Exitto close the student Interface.