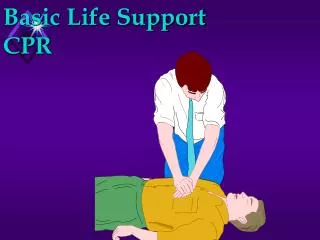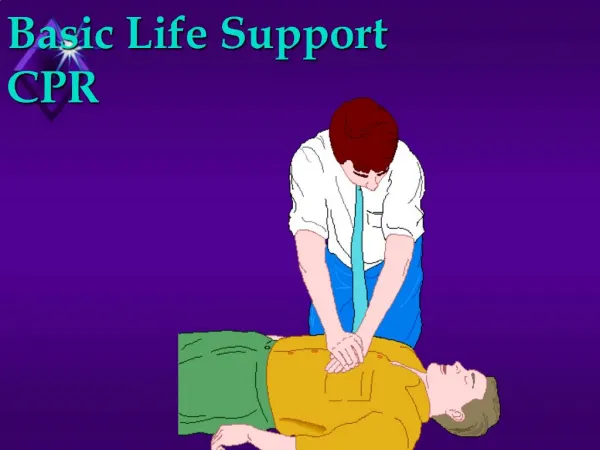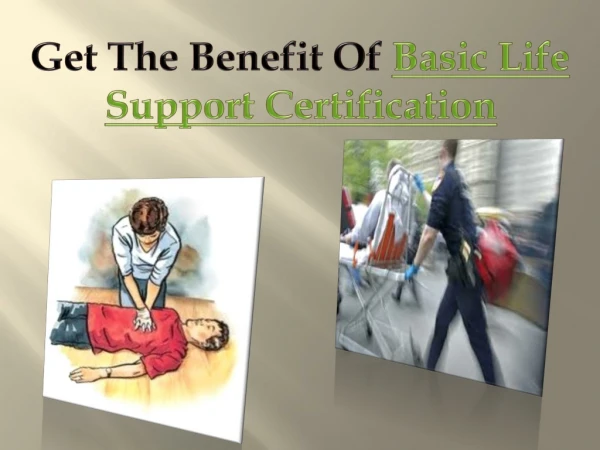
Basic Life Support
Basic Life Support. 12. Standard. Learning outcomes. 12. Standard. 12.1 Understand your responsibilities 12.2 Understand your employers responsibilities 12.3 Understand basics of life support 12.4 Understand how to respond to an emergency. Responsibilities.


Basic Life Support
E N D
Presentation Transcript
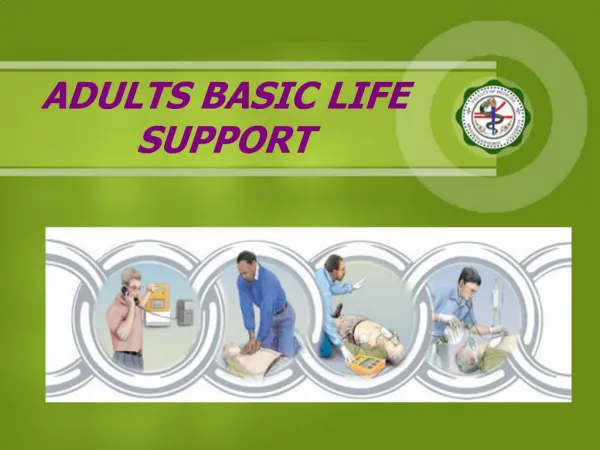
Basic Life Support 12 Standard
Learning outcomes 12 Standard 12.1 Understand your responsibilities 12.2 Understand your employers responsibilities 12.3 Understand basics of life support 12.4 Understand how to respond to an emergency
Responsibilities As an employer we will provide you with practical and classroom training to be able to put this knowledge into practice in order to be able to carry out basic life support competently. As an Employee to achieve competence you would are required to undertake specific first aid training within your workplace The care certificate requires the company to teach you basic life support (BLS) but this will notqualify you as a first aider
Agreed way of working The company does not want you to be accountable for any first aid you might administer therefore in all cases you should: Call 999 or 112 and ask for medical assistance Be prepared to give them explicit details of the customer you are with and who you are They will direct you and explain what to do Our aim is to make you a goodresponder NOTa first aider
Basic Life Support (BLS) • First Aid is the initialor immediateassistance given to someone who has been injured or taken ill beforethe arrivalof qualifiedmedical assistance. • Its aimis to: • Preserve Life • Prevent a condition worsening • Promote Recovery • There are three elements to BLS • Initial assessment • Airway maintenance • Cardiopulmonary Resuscitation (CPR).
Overview DDanger - Make sure the area is safe before you approach (Gas, Electricity, Water) RResponse - Check to see if the casualty responds to verbal command or a pain stimulus using the primary assessment tool A V P U Shout for help AAirway - Open the airway by tilting the head back and lifting the chin with two fingers BBreathing - Look, listen and feel for normal breathing for up to ten seconds C Circulation – Check for a pulse, look for movement of the chest, look at colour of lips DDefibrillation – If available, an AED (Automated External Defibrillator) should be used alongside CPR. (If trained to use) we don’t expect that this will ever be the case Alert – are they? Responds to Voice – do they? Responds to Pain – do they? Unresponsive – are they? AVPU The different stages can be remembered by the acronym DRSABCD(or the easy way to remember; Doctors ABCD).
(BLS) Danger Electricity GAS WATER • Look • Listen • Smell • What to do in the event of an emergency? • How to protect yourself? • Where to turn off? • What to look for? • What implications? • How to protect yourself? • Where to turn off? • The silent killer!!! • Signs of electricity fault • What to do in the event of an emergency? • How to protect yourself? • Where to turn off?
Primary Assessment Alert are they looking at you do they know who they are? Responds to Voice speak to them do the respond sensibly Responds to Pain Gently pinch their ear or the back of the hand Unresponsive if there is no response at all from anything you do
(BLS) Airway, Breathing Approach the casualty opentheir mouth by tilting their chin back towards the top of the head and look closelyto see if there is anything blockingthe airway. Bend close lookingdown the lengthof the body at this time you can listenfor breathing and feelfor breathingon your face At the same time look down the length of the body to see if the chestrises or falls Ensure you listen and feel for breathing for 10 seconds before moving on
Cardiopulmonary resuscitation (CPR) CPR is only to be used for a person who is NOTbreathing It is a standard approach and has set criteria CPR is a method of combiningchest compressionswith effective rescue breaths in order to artificially circulate blood and to put air into the lungs. The respiratorySystem supply oxygen via Bloodto all parts of the body. Oxygen is essential to life and we normally get this via breathing in atmosphere (air) of which Oxygenmakes up 20% . CirculatorySystem takes the Bloodaround the body via vein's archeries and capillaries
Cardiopulmonary resuscitation (CPR) Approach the body interlock you hands and place them just below the breast bone with fingers of the left hand facing down the body. Keep your arms straight (don’t bend at the elbow) Rock forward onto your straight arms using the strength of your body to begin the chest compressions Do this for 30 compressions at a rate of 100-120 compressions per minute. (sing Nelly the Elephant, its about that speed) Pinch the nose and get a good seal around the persons mouth and give to breaths each one should be about a second, watch each breath make the chest rise and fall then resume compressions
Obstructed airway (adult) Epiglottis Oesophagus Lungs Diaphragm The obstruction of the airway can be due to different causes including foreign bodies (foods), allergic reactions, asthma, blood, vomit and infections
Choking Someone who is choking will have either a partial or complete obstruction of the airway. The severity of the blockage will determine the difficulty in breathing.
Dealing with Choking The Choking Person has NO air exchange and can not speak or cough Give 5 Back Blows
Dealing with Choking Encourage the casualty to lean forward and cough, if the obstruction remains Administer a maximum of 5 sharp back blows, if the obstruction still remains Administer a maximum of 5 abdominal thrusts (chest thrusts for an infant), if the obstruction remains Repeat the cycle a further two times (3 cycles in total) If after three cycles the obstruction still remains, shout for help, contact the emergency services and be prepared to carry out basic life support (CPR).
ABDOMINAL THRUSTS • For adults and mature children, reach around the choking person, make a fist • Put fist above naval • Put other hand on top of fist • Do inwards and upwards thrusts • A quick upward thrust increases intrathoracic pressure and creates an artificial cough, which forces air and foreign objects out of the airway.
Record keeping • In all cases of medical emergencies an accident/incident form must be completed • The office must be contacted as soon as possible • Medical assistance or advice should be sought after every incident • NOK will be contacted by office