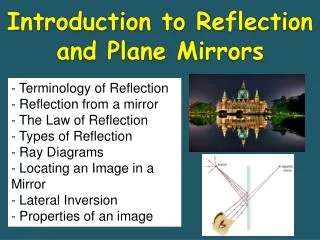
Plane Mirrors
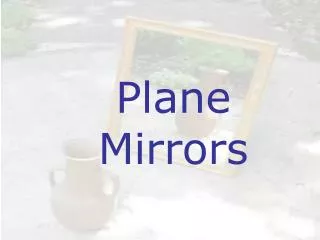
Plane Mirrors . Most objects that you can see are non-luminous (you can see them because they reflect light to your eyes). Most non-luminous objects have rough surfaces and will reflect light in a manner that reveals their shape, colour, and texture.

Plane Mirrors
E N D
Presentation Transcript
Most objects that you can see are non-luminous (you can see them because they reflect light to your eyes). • Most non-luminous objects have rough surfaces and will reflect light in a manner that reveals their shape, colour, and texture. • Some non-luminous objects reflect light is such a way that an image is formed. These are called mirrors. • Polished metal and calm water are also mirrors.
A flat reflecting surface is called a plane. • Plane means two dimensional surface, just like in math!
Plane mirrors have been used for thousands of years. The ancient Egyptians made hand mirrors by polishing flat sheets of copper. • The first glass mirrors were made in Venice, Italy, in the 16th century and were glass with thin layers of tin and mercury laid on it. • Nowadays, reflective coatings are sprayed or painted on the glass. • Glass mirrors reflect 85 to 90% of the light that strikes.
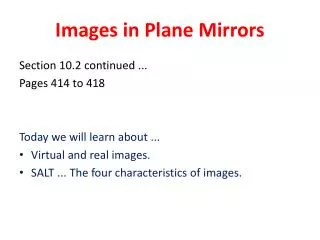
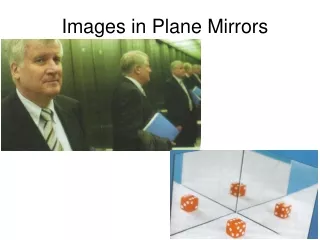
Describing Images • An image is the likeness of an object. • Images can be real or virtual. • A real image can be placed on a screen • A virtual image cannot be placed on a screen. A virtual image can only be seen by looking through an optical device (a device that produces images), like a mirror
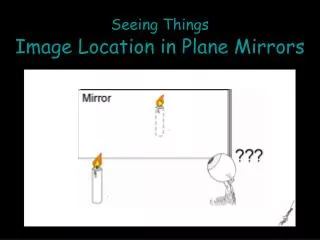
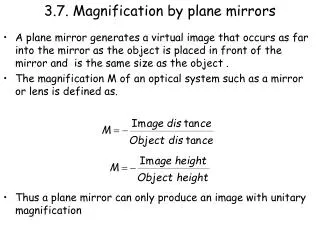
The image of an object reflected by a plane mirror appears to be at the same distance behind the mirror’s surface as the object is itself in front.
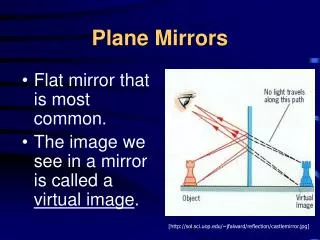
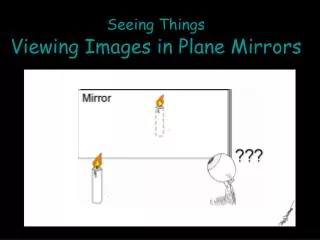
An object can only be seen because light is spreading out from that object.
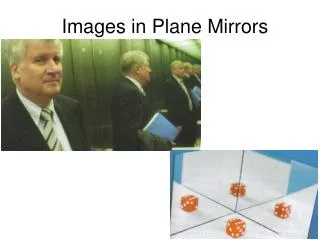
Mirrors can trick the brain! Light is reflected off an object towards a mirror, which then reflects the light to your eyes. • The object appears to be located at a position behind the mirror’s surface. • The image appears to be the same size and shape as the real object, and the image is about the same distance from the plane surface as the real object.
We know that what we see in a mirror is just an image of ourselves. However, a pet bird will chatter for hours to a “friend” in the mirror.
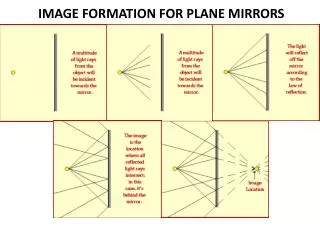
Drawing Images formed by a Plane Mirror • Draw a line representing the mirror and shade one side of it. The shade represents the reflective coating of the mirror. Draw the object in front of the mirror.
2. Draw the normals from the mirror surface to significant points, such as the top and bottom of the object. The number of other points depends on the object.
3. Measure the length of each normal drawn from the mirror to the object. Extend the normal an equal length behind the mirror surface. Complete the image by connecting the ends of the normals behind the mirror.
Drawing Images Based On What a Viewer Sees • This section will illustrates the procedure for drawing ray diagrams. • Start with drawing a ray diagram to show how a person will be able to see the image of the green arrow in the diagram below. Eye Object
We will assume that the person is viewing the image with his/her left eye closed. • We will focus on how light travels from the two extremities of the object arrow (the left and right side) to the mirror and finally to the person’s eye as he/she sights at the image.
Step 1 • Use what you already know about drawing an object to draw the image. • This is the principle that the object distance is equal to the image distance.
Step 2 • Pick one extreme on the image of the object and draw the reflected ray which will travel to the eye as it sights at this point. • It is customary to draw a bold line for the reflected ray (from the mirror to the eye) and a dashed line as an extension of this reflected ray (behind the mirror to the location of the image point).
The reflected ray should have an arrowhead upon it to indicate the direction that the light is traveling. The arrowhead should be pointing towards the eye since the light is traveling from the mirror to the eye, this enables the eye to see the image.
Step 3 • Draw the incident ray for light traveling from the corresponding extreme on the object to the mirror • Draw the incident ray from the extreme of the object to the point of incidence on the mirror's surface.
Be sure to draw an arrowhead on the ray to indicate its direction of travel. The arrowhead should be pointing towards the mirror since light travels from the object to the mirror.
Step 4 • Repeat steps 2 and 3 for the other extremity on the object.
Application of a Plane Mirror • A Periscope! • It is an instrument in which plane mirrors are used to fold light so that the image of an object can be brought down to a lower level. • It is used for observing enemy movements from trenches without any danger of being seen. Sailors on submarines use periscopes to see things above the water level.