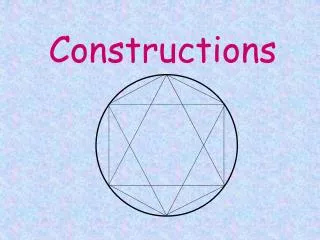
Constructions
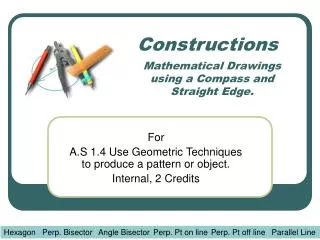
Dive into the world of Euclidean geometry with a focus on compass and straightedge constructions, following the methods of the "Father of Geometry." Learn the art of precision in copying lines, bisecting segments and angles, and creating parallel lines with these detailed step-by-step guides.

Constructions
E N D
Presentation Transcript
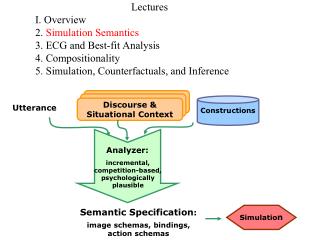
Constructions Euclidean Geometry
Euclid- A.K.A. “Father of geometry” • Euclid was a mathematician whose third century B.C. textbook Elements served as the western world's unchallenged standard for geometry. • Nothing is known about Euclid's life or physical appearance, & what little is known about his career comes from inferences in later sources.
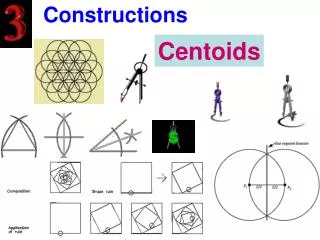
Background Info. About constructions • The "compass" & "straightedge" of compass & straightedge constructions is an idealization of rulers & compasses in the real world • The compass can be opened arbitrarily wide, but it has no markings on it. It can only be opened to widths that have already been constructed, & it collapses when not used for drawing. • The straightedge is infinitely long, but it has no markings on it & has only one edge, unlike ordinary rulers. It can only be used to draw a line segment between two points or to extend an existing line. • Each construction must be exact. "Eyeballing" it (essentially looking at the construction & guessing at its accuracy, or using some form of measurement, such as the units of measure on a ruler) & getting close does not count as a solution. • Centered around circles & angle measurements
# 1: Copying a line segment • Draw a line segment & label it. AB • Next, draw a ray that is longer than your 1st line segment. Label the endpoint, A' • Use your compass to measure the length of the original line segment. Mark this measurement with an arc. • Using the same compass settings, place your compass center on the endpoint of the ray. Mark the ray using an arc. Label the intersection, B' • Notate your congruence. AB ≈ A'B'
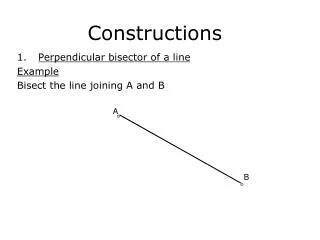
# 2: Bisecting a line ( ┴ ) • Draw a line segment. Label both ends. • Place your compass pt on the left side of the segment & draw an arc that passes through the segment. (Be sure the measurement is more than ½ the way.) • Keep the same measurement. Place the compass pt on the right point & draw the same arc. (Be sure the new arc passes through the segment. ) • Label the pts where the 2 arcs cross above & below the segment. • Draw a line that passes through the segments & these 2 points. • Notate Congruence.
# 3: Copying an angle • Draw an angle. Label it V. • Draw a ray beside the angle. Label the endpoint V’. • Place the compass pt on point V. Draw a arc that intersects both sides of the angle. With the same measurement, put the compass pt on the ray’s endpoint V'. Draw an arc. • Label the angles intersections T & U. Label the ray’s pt of intersection T’. • Use the compass to measure the Length of T to U. Using the measurement, put the compass pt on T’. Draw an arc. Label the intersection of the two arcs U’. • Draw a ray V’U’ to complete the angle. • Notate Congruence.
# 4: Bisecting an angle • Draw an angle. Label it G. • Draw an arc that intersects the sides of <G. Label the intersection E & L. • Place the compass point on E and draw an arc. Using the same measurement, place the compass point on L and draw an arc. Label the intersection Z. • Draw a ray from the angle vertex through point Z. • Notate congruence.
Click here # 5: Parallel lines • Draw a transverse line through R and across the line PQ at an angle, forming the point J where it intersects the line PQ. The exact angle is not important.
2. With the compass width set to about half the distance between R and J, place the point on J, and draw an arc across both lines.
3. Without adjusting the compass width, move the compass to R and draw a similar arc to the one in step 2.
4. Set compass width to the distance where the lower arc crosses the two lines. Label the new lower points K and L.
5. Move the compass to where the upper arc crosses the transverse line and draw an arc across the upper arc, forming point S.