Implant- Secured Dentures using Locator ® Abutments
200 likes | 1.57k Vues
®. Implant- Secured Dentures using Locator ® Abutments. Reline a Locator Denture- Replace Denture Caps Step-by-Step. Reline a Locator ® Denture- Replace Denture Caps.

Implant- Secured Dentures using Locator ® Abutments
E N D
Presentation Transcript
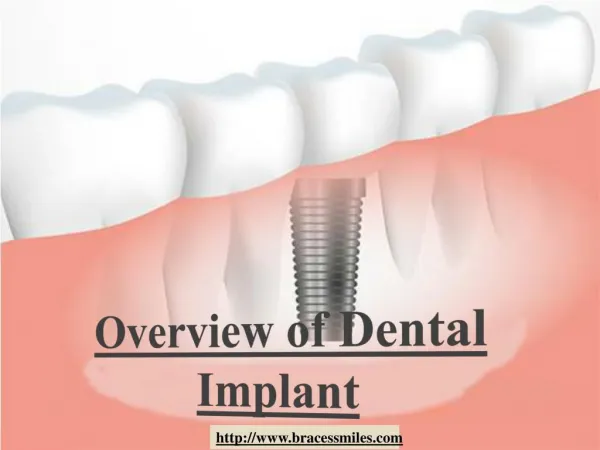
® Implant- Secured Denturesusing Locator® Abutments Reline a Locator Denture-Replace Denture Caps Step-by-Step
Reline a Locator® Denture-Replace Denture Caps Step 1: Grind out Denture Caps from denture and, similar to a retrofit procedure, create a concave recess in the denture with a bur at each location where a new Denture Cap will be retrofitted during the reline process. LOCATOR® IS A REGISTERED TRADEMARKOF ZEST ANCHORS, INC. ALL RIGHTS RESERVED
Reline a Locator® Denture-Replace Denture Caps Denture Cap Step 2: Place new Denture Caps on Locator Abutments. Note: These Denture Caps will act as impression copings at this step in the reline process.
Reline a Locator® Denture-Replace Denture Caps Step 3: Using a marking material, verify passive fit of denture on tissue with no contact to Denture Caps.
Reline a Locator® Denture-Replace Denture Caps Step 4: Apply impression tray adhesive to the internal aspect of the denture.
Reline a Locator® Denture-Replace Denture Caps Denture Caps, acting as impression copings, are picked up into impression Step 5: Apply impression material to the internal aspect of the denture. Take a reline impression with the patient in passive, centric occlusion utilizing a border mold impression technique. Send to lab.
Reline a Locator® Denture-Replace Denture Caps Analog Step 6: Lab places analogs into Denture Caps.
Reline a Locator® Denture-Replace Denture Caps Denture Cap Step 7: Lab pours master cast. Remove Denture Caps from impression and place on analogs.
Reline a Locator® Denture-Replace Denture Caps New Denture Caps retrofitted and cured into relined denture. Step 8: Lab relines denture on master cast with new Denture Caps in place.
Reline a Locator® Denture-Replace Denture Caps Black processing inserts inside the denture cap. Black processing inserts are used for relining the denture only and must be removed.
Reline a Locator® Denture-Replace Denture Caps Removal Tool Step 9: Lab “plucks-out” and removes black processing insert using the Removal Tool of the Locator Core Tool. Image courtesy of Dr. Bob Vogel
Reline a Locator® Denture-Replace Denture Caps Step 10: New Retention Rings are selected and placed into the New Denture Caps of the relined denture.
Reline a Locator® Denture-Replace Denture Caps Step 11: When relined denture is returned from lab, place into patient, check for pressure spots, and adjust the occlusion.