Crafting My Wooden Pencil Box: A Step-by-Step Journey
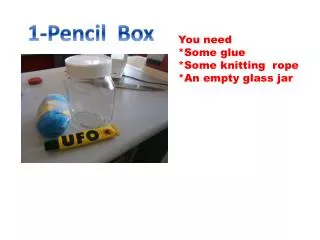
Join me on my woodworking adventure as I create a beautiful pencil box from a 250mm piece of wood! From cutting and chiseling to assembling and varnishing, I document each step of the process. Discover the tools I used, including a routing machine, mallet, chisel, and varnish, as well as the techniques for marking, cutting, and smoothing. See the final product and learn about the joys of woodworking, as I share the challenges and successes along the way. Let's get creative together!

Crafting My Wooden Pencil Box: A Step-by-Step Journey
E N D
Presentation Transcript
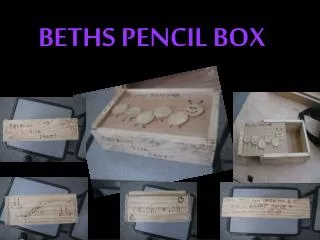
This is a pictures of my 250 mm piece of wood This is my piece of wood cut half way and I am about to chisel it!
This is me when I was using the routing machine and this is what it turned out like!!!
This is my box finished all it needs now is a coat of vanish Here it is varnished
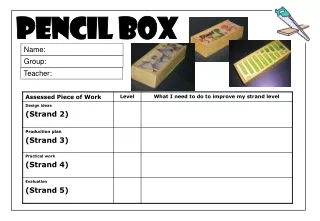
This is the marking gauge I used to mark where I wanted to chisel up to .
These are the clamps I used so that my box would glue together.
This is the disc sander I used to make my box smooth and to round off the edges.
This is the nail punch I used so the nails didn’t stick out.