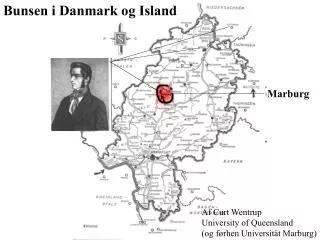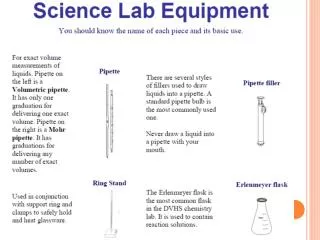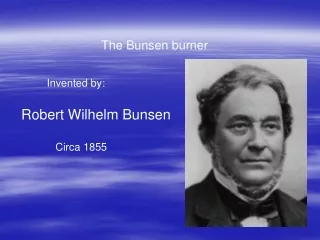
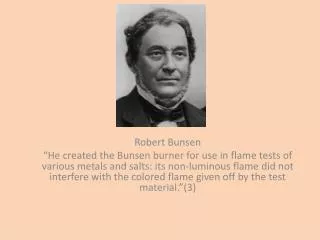
Robert Bunsen
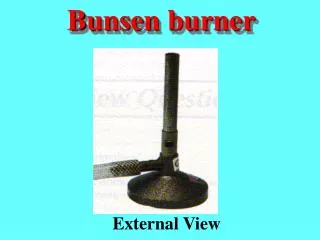
Robert Bunsen “He created the Bunsen burner for use in flame tests of various metals and salts: its non-luminous flame did not interfere with the colored flame given off by the test material.”(3). Parts of the burner. The Gas tap and the Bunsen burner.

Robert Bunsen
E N D
Presentation Transcript
Robert Bunsen “He created the Bunsen burner for use in flame tests of various metals and salts: its non-luminous flame did not interfere with the colored flame given off by the test material.”(3)
The Gas tap and the Bunsen burner. • The gas tap should be in the off position before you place the tube on to the gas jet. • The Bunsen burner should be off when you start.
“In order to have a fire, there must be three elements: • Fuel -- something which will burn • Heat -- enough to make the fuel burn • Air -- more specifically, oxygen”(1)
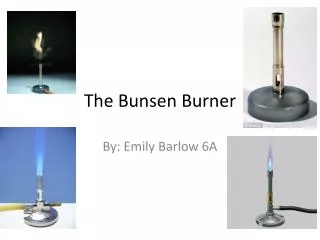
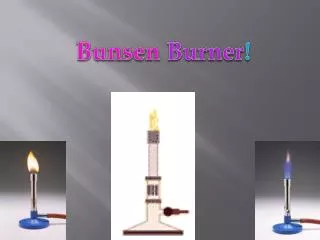
Bunsen burners may be adjusted from a highly luminous flame (left) to a non-luminous flame to the (right).The luminous flame is cooler than the non-luminous flame, which is very hot.
Luminous Bunsen Flame • Yellow • Silent • Visible • Cool • Sooty • Safe The "coolest" flame is a yellow / orange color. It is never used to heat anything, only to show that the Bunsen burner is on. It is called the safety flame. • The Air-hole is closed (1)
“The medium flame, also called the blue flame or the invisible flame is difficult to see in a well-lit room. It is the most commonly used flame.” (1)
“Roaring Flame: Non- Luminous” “The hottest flame is called the roaring blue flame. It is characterized by a light blue triangle in the middle and it is the only flame of the 3 which makes a noise.” • This flame is: • Blue • Noisy • Non-luminous • Very hot • Clean • Dangerous if left unattended The Air-hole is OPEN (1)
How hot is a burner flame? Not easy to answer and not what are focus will be today. • http://www.avogadro-lab-supply.com/content.php?content_id=1003 • The link above will discuss the combustion reaction, (shown below) and the ranges of temperature the flame could fall into. C3H8 + 5O2 ⇒ 3CO2(g) + 4H2O(g) -2020 kJ/mol
Lighting the Bunsen Burner Step 1 • Goggle and lab apron on. • Long hair tied back. • No lose clothing. • Keep lab area clean • Make sure that NO FLAMMABLE objects are near the lit Bunsen Burner. • If you burn yourself, place the burned area under cold water and tell your teacher.
Step 2 • Check that the holes are closed. • The holes can be adjusted to let in more or less air by turning the collar. (1) Open Closed
Sparker Sparkers are used to safely light a Bunsen burner. You may need to practice before you turn on the gas.
Step 3 • Wait for the teacher's permission, to start. • Practice using the sparker before you turn on the gas. Do not over use so we do not waste the flint.
Step 4 • Light the Bunsen burner. • When you have mastered the sparker, turn on the gas tap. • Approach the to the top of the Bunsen burner then create a spark. • If you are having trouble lighting the burner then turn of the gas. Practice with then sparker and try again. The problem is, the gas is leaking out of the tap while you are trying to create a spark.
Step 5 • “Adjust the flame by turning the collar so that you have the appropriate flame for the experiment (usually the medium blue flame).”(1)
Step 6 • “During the experiment, stay vigilant so that if a problem occurs, you are ready to turn off the flame quickly. This means that you should not leave your table unattended.”(1)
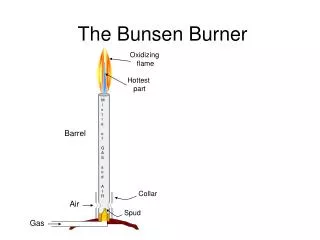
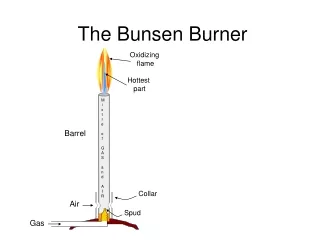
Bunsen burner Gas hose Collar Barrel Air hole Metal Base Gas tap Fuel Heat Air Luminous Non-luminous Hottest part of the flame Coolest part of the flame Things to KnowWhat it is. Where it is. What is does.
Bibiliography • "Powerpoint on How to Light a Bunsen Burner - Google Search." Powerpoint on How to Light a Bunsen Burner - Google Search. N.p., n.d. Web. 14 Sept. 2014. • "Temperature of a Bunsen Burner Flame - Google Search." Temperature of a Bunsen Burner Flame - Google Search. N.p., n.d. Web. 14 Sept. 2014. • "Robert Bunsen and Gustav Kirchhoff | Chemical Heritage Foundation." Robert Bunsen and Gustav Kirchhoff | Chemical Heritage Foundation. N.p., n.d. Web. 14 Sept. 2014.
Images • http://www.nndb.com/people/900/000095615/bunsen-1-sized.jpg • http://upload.wikimedia.org/wikipedia/commons/0/08/Bunsen_burner_flame_types.jpg • http://www.mr-damon.com/experiments/bunsen/lighting.htm • http://dbhs.wvusd.k12.ca.us/Electrons/Bunsen-Burner.html