Download

1 / 21
210 likes | 375 Vues
How to make a powerpoint. Anthony Juliano Handout by Donovan Sra. Torna, period 4. Auto-Content Wizard. Choosing your style

E N D
How to make a powerpoint Anthony Juliano Handout by Donovan Sra. Torna, period 4
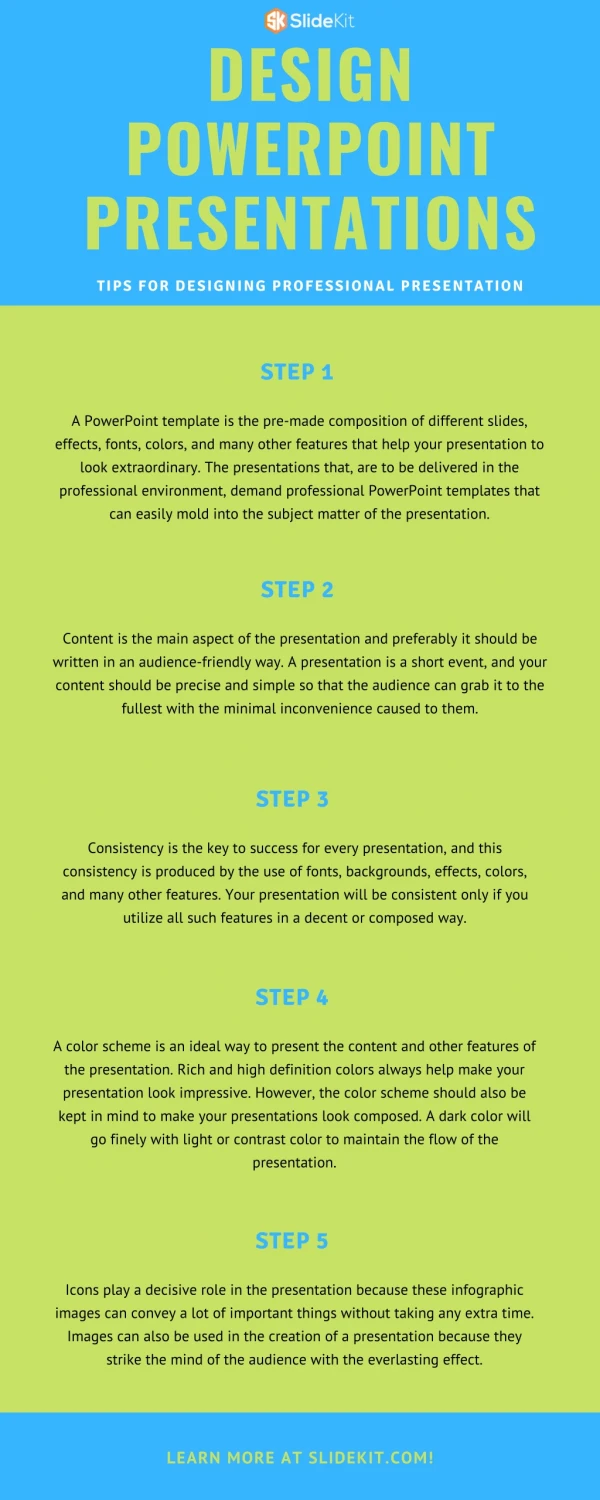
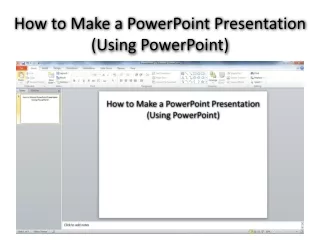
Auto-Content Wizard • Choosing your style • You’ll be faced with many different pre-made templates. The best way to do it is to select a pre-made one, and work from it. Or you can choose the option to start off blank and work from there
Choosing a style • The ‘Other’ button • If you choose ‘other’, you’ll be able to preview the slide style before you choose it.
The Views • There are multiple ways to edit your slides. Slide view / Outline / Slide Sorter
Slide View • Located in the View menu, and in the leftmost button in the lower left-hand corner of the screen. • This gives a precise preview of your slide. From here you can edit the layout of the slide and change the text in a direct view. • Access everything with the right mouse button or clicking on text boxes.
Slide View Tips • Use the bar on the right of the screen to scroll to other slides • Click on Slide Layout at the bottom of the screen to experiment with different styles of layout
Outline View • Located in the View menu and in the button to the immediate right of the slide view button • Best way to start the report is to make the outline of what you want to say. This view gives you a purely textual view of your report.
Outline View Tips • Use ‘Tab’ and ‘Shift + Tab’ to change the priority of lines of text • use multiple sub points • click to the left of a line to highlight it, double click to display that slide
Slide Sorter View • Makes a “story board” for your project • To view a specific slide in slide view, double click.
Slide Sorter View Tips • A button beneath a slide indicates that it has animation, click on it to see the transition for the slide • Use the transition and general animation boxes at the top of the screen to manipulate slide animation
Making it look purty • Background- Right click in slide view and choose “Custom Background.” You can tile a background or change the texture etc. • Pictures- go to the ‘Insert Menu’ and choose pictures. Move the object(s) around the screen to where you please. • Adding line art- play with the buttons on the left, all of them do something different, most make lines or shapes or change the format of the text box
Slide Layout • There are a number of pre-set slide layouts which control where on the slide your text boxes go, etc. To change the current slide layout, right click in slide view and choose “slide layout”
Slide Layout (cont) • To add a text box click the large “A” at the top of the left-hand column of buttons, then click where you want the box to be.
Animation • To Animate, click the flying star on the toolbar (usually more toward the right of the screen) or click the “View” menu and choose “Toolbars…” Then click the box next to ‘Animation Effects.’ A new toolbar should appear.
The Animation Toolbar • Animate Title- the left-most button, use to make the title drop in from the top • Build Slide Text - next button, use to animate the paragraphs and subpoints of text
Types of Animation -Drive-in Effect -Fly -Camera Effect -Flash Once -Laser Text Effect -Typewriter Effect -Reverse Type Build -Drop in Text Effect
Slide Transitions • Goto the Slide Layout view • From here you can alter specific transitions from slide to slide.
Sound • You can also add sound to each page through the animation effects bar • select the animation properties and with each animation you can add sound • or you can go to the insert menu and add a specific sound which can be played when clicked upon
Timings • There are a few ways that animations can be activated • First, you can tell it to animate after certain events (IE a click) • Second, you can have it set to do it after a period of time (4 seconds after page loads) • Third, you can set a pattern for it to go along with a speech. This can be set by using the “Rehearse Timings” button (slide layout on tool bar toward right of screen
SlideShow • To start slideshow : click the right-most button in the set of “view” buttons or ‘View’ menu and choose slide-show • this is the final presentation. Exactly what you’re going to see.