Comprehensive Guide to Managing Contacts in the Program
This tutorial provides a step-by-step guide to entering and managing contact data through the program's File menu. Learn how to export contacts, view the complete contact list, use the Find function to filter crucial information, and create new contacts either via the Quick Entry Wizard or manually. The tutorial covers essential tabs for inputting general information, employment details, advisors, and notes. Effective note-taking and data management are emphasized for compliance and future reference.

Comprehensive Guide to Managing Contacts in the Program
E N D
Presentation Transcript
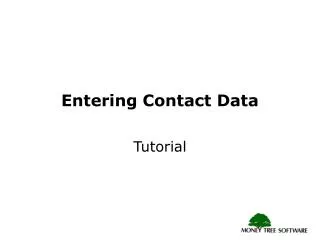
Entering Contact Data Tutorial
Main Menu – FILE All contact functions are available under the File menu. Use Export to save a specific contact outside of the program, allowing you to email the file or save it to a something like a pen drive. Use this to create or change to a different database.
Contact List All contacts that have been entered into the system will be listed here. Double click on one to open it, or highlight it and click on “File”, “Open”.
Expand / Contract This is list of all the scenarios for Abbett. Click on the + or - sign to expand or contract the lists.
Scenarios When you save scenarios of a contact (different sets of data) they will be listed here. This is great for running various planning scenarios or saving a snapshot of data at a specific time. (More about this in the Scenario tutorial)
Find contact Click on “Find” and filter the types you want to display on the Contact List. Use Find to limit the contacts to be displayed to a particular “Account Type”. Leave the buttons set to “Both” and “All” to show everyone.
New Contact Click on “New Contact”. A dialog will display asking you if you wish to create the new contact using the Quick Entry Wizard or to Create an Empty Contact.
Creating a New Contact - Quick Entry Wizard Quick Entry Wizard will guide you through a one time 13 step wizard to help populate the detailed data input.
Creating a New Contact - Create an Empty Contact If you select “Create an empty contact”, you will skip the Quick Entry Wizard and go directly to the detailed data input.
Contact information Start with general Contact Information data. Use this section to control the “Find” list function.
Employment The second tab in this section is Employment. Enter the client and spouse’s employment information.
Advisors On the Advisors tab, Add the client’s advisors – CPA, attorney, insurance, etc.
Notes Notes tab – Use to record notes for the contact. This is a particularly important tool – Used to document all your meetings and conversations with the contact. The next time FINRA or state reviews your office you’ll be glad you kept this data on a timely basis.