Example Interactive Design Brief
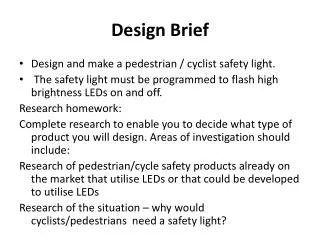
This project aims to address the issue of new students getting lost at school due to a lack of signage. We propose creating clear, vibrant signs for key locations such as the Library, Canteen, First Aid Room, and restrooms. These signs will combine both images and text to ensure they are easily understandable. The design process will include investigating room needs, sketching multiple designs, and using appropriate materials to create weatherproof and visually appealing signs. The final evaluation will confirm if they meet the required visibility and functionality.

Example Interactive Design Brief
E N D
Presentation Transcript
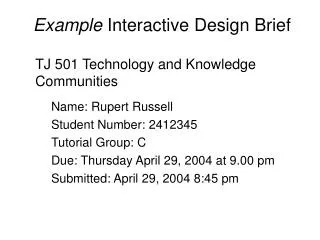
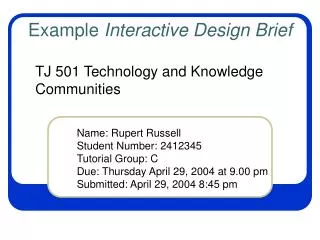
Example Interactive Design Brief • Name: Rupert Russell • Student Number: 2412345 • Tutorial Group: C • Due: Thursday April 29, 2004 at 9.00 pm • Submitted: April 29, 2004 8:45 pm TJ 501 Technology and Knowledge Communities
CSF II LEVEL 2 Information strand: Learning Outcome 2.2 Develop and modify simple information products to meet specific needs, using a limited range of information technology skills, processes and equipment.
CSF II LEVEL 2 Learning Outcome Indicators This is evident when the student is able to: • identify and engage in each phase of the technology process when solving simple information problems • identify and use different presentation styles and information types to meet two different needs • prepare simple freehand drawings of the solutions (content, appearance, main software functions) and use these as guides in the producing phase • apply, with some self-reliance and responsibility, a limited range of editing and formatting functions and equipment to produce information products that contain minimal typographic or formatting errors • identify some similarities and differences between plans and finished information products.
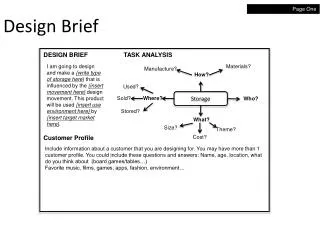
THE PROBLEM There are not enough signs around the school. Preps and new students are getting lost!
THE PROBLEM Cont… We need signs for the: • Library; • Canteen; • First Aid Room;
THE PROBLEM Cont… We need signs for the: • Girls & Boys Toilets;
THE PROBLEM Cont… We need signs for the: • Office; • Music Room • Any other rooms you think shouldhave them.
REQUIREMENTS • Signs must use words and pictures. • Signs need to be big enough to be seen and read from a distance of 20 meters.
REQUIREMENTS Cont… • Signs must be colourful and tasteful. • Any outside signs must be weatherproof.
INVESTIGATE • Which rooms need signs? • Where should signs be placed? • How big should the signs be?
DESIGN YOUR SIGN Working in groups, draw 3 or 4 designs for your sign, include dimensions, materials & equipment required. 47 cm 110cm
DESIGN Cont… Materials: • Cardboard sheet • Coloured paper • Plain paper • Drawings & Stock Photographs • UHU Glue • Lamination film
DESIGN Cont… Equipment: • Computer with Internet access • Colour printer • Textas • Paint & Paint brushes • Scissors or guillotine • Poster laminator
DECIDE Decide on the sign you want to make first. If time permits you may be able to make more than one sign.
PRODUCITON • Using your design and the images you have collected or drawn & painted create your sign • Use cautionwhen cutting paper and cardboard. Never cut towards yourself or another person.
PRDUCTION Cont… Time to make your. 47 cm 110cm
EVALUATION Does your sign meet the requirements? • Is it readable from 20 meters? • It is weatherproof? If not your may have to change the Design & Produce a new sign.