Download
1 / 8
80 likes | 206 Vues
Charon on the River Stix By: Victoria , Josh, and Cody. Pieces Included. x1. x1. x1. x1. x2. x6. x2. x1. x1. x2. x4. x1. x1. x1. x2. x7. x3. x1. x1. x1. x1. x1. x1. x2. Step 1: Boat Assembly. Attach red block to back space of the boat.

E N D
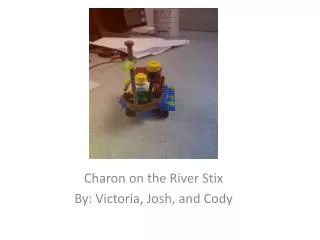
Charon on the River Stix By: Victoria, Josh, and Cody
Pieces Included x1 x1 x1 x1 x2 x6 x2 x1 x1 x2 x4 x1 x1 x1 x2 x7 x3 x1 x1 x1 x1 x1 x1 x2
Step 1: Boat Assembly • Attach red block to back space of the boat. • Attach blue flat block to back ¾ of the red block. • Attach white flat block to back ½ of blue flat block.
Step 2: Brig Assembly • Attach brown cylindrical walls to sides of red block. • Attach yellow block with eye to flat white block. • Attach brown bars to the back part of the white block. • Attach brown block to the top of the cylindrical walls.
Step 3: Final Boat Assembly • Attach black block to front of boat. • Attach brown chest to flat white block directly against black block. • Attach minifigure directly in front of chest.
Step 4: Water Assembly (make sure boat is upside down) • Attach the seven blue (water) blocks as shown in the picture below. • Attach triangular blue flat block to rear blue block as shown. • Attach long flat blue block to right underside of water.
Step 5: Axel Assembly • Attach wheels to the two axels. • Attach two blue blocks to both sets of axels. • Use long blue block to attach both axels. • Attach complete axel assembly to bottom of boat.
Step 6: Accessories • Attach flag pole to front of boat. • Attach minifigure head to spear then place in minifigure hand. • Use creativity to randomly place colored round blocks(souls) minifigure heads around water.